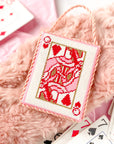
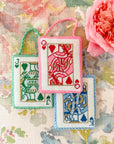
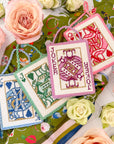
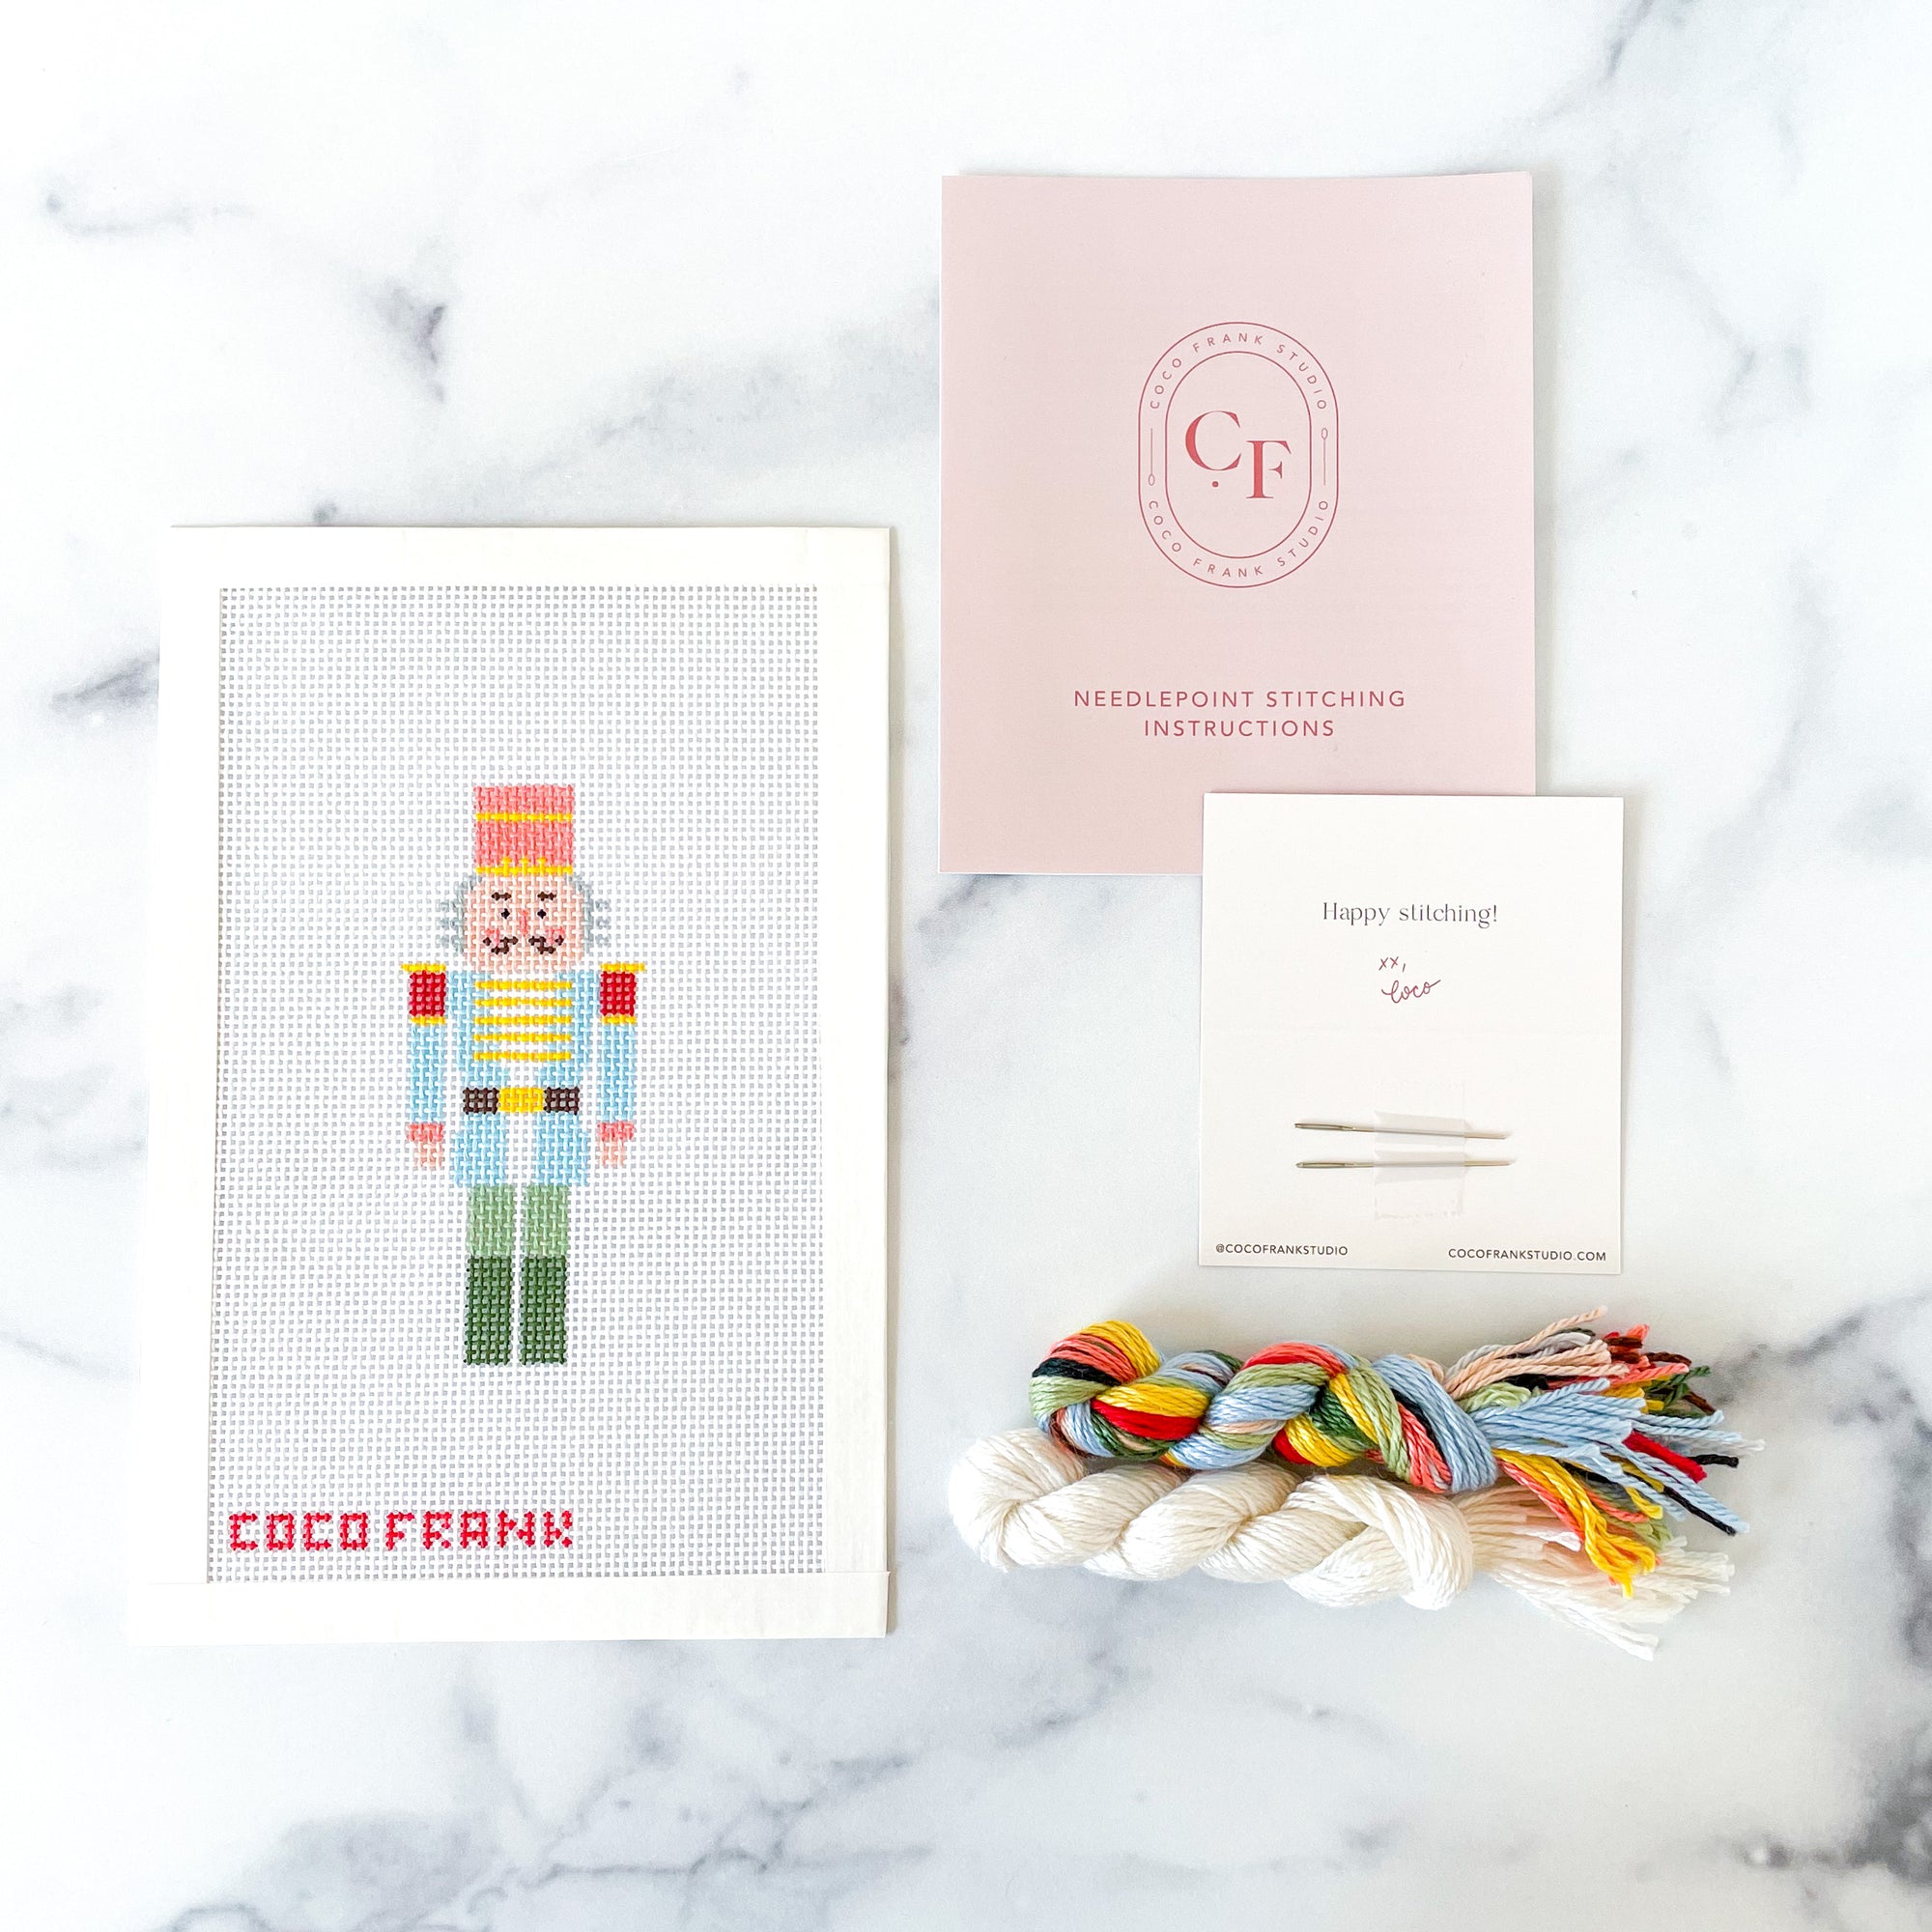
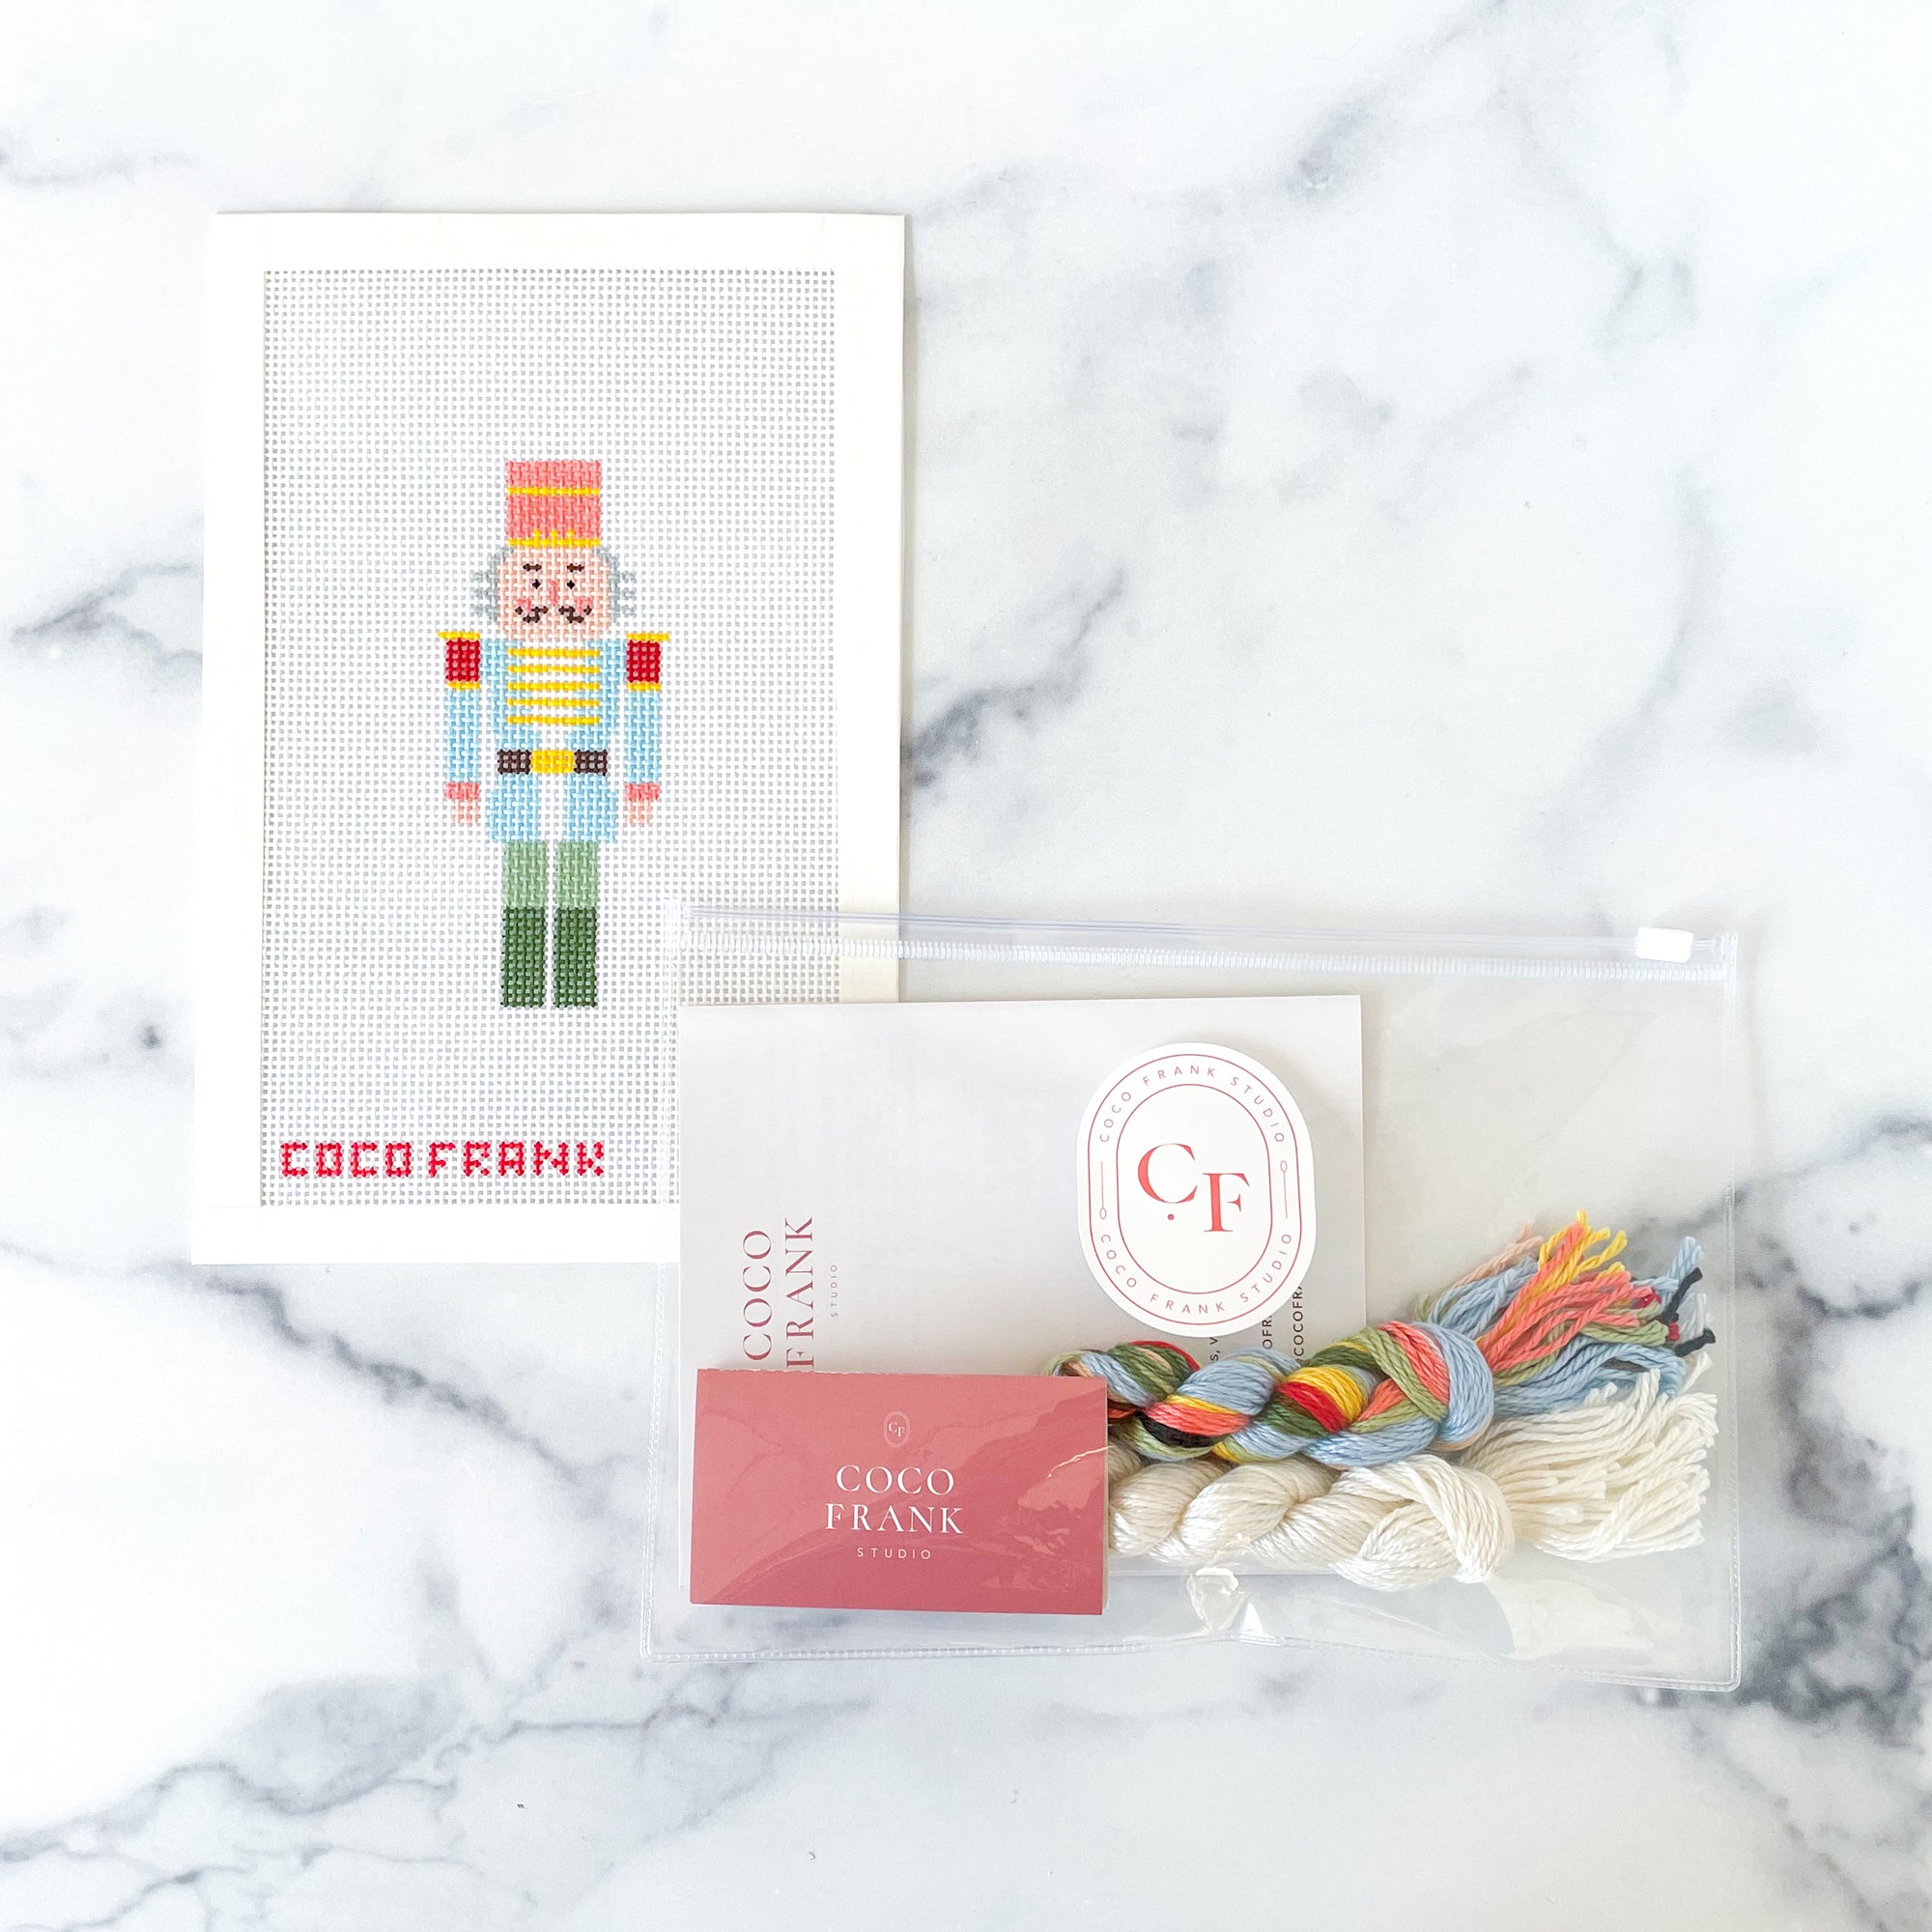
Welcome to needlepoint, a hobby I hope you will enjoy for a lifetime! Everyone has different reasons for taking up needlepoint, but I find it to be a relaxing, meditative hobby that encourages creativity yet is flexible for different phases of life. Not only is the process of stitching a project enjoyable, but the finished piece is a beautiful heirloom that you (or a very lucky loved one you gift it to) will enjoy for many years to come. No matter how you found us, I am so glad you’re here and I hope you feel encouraged to try out needlepoint!

So what is needlepoint?
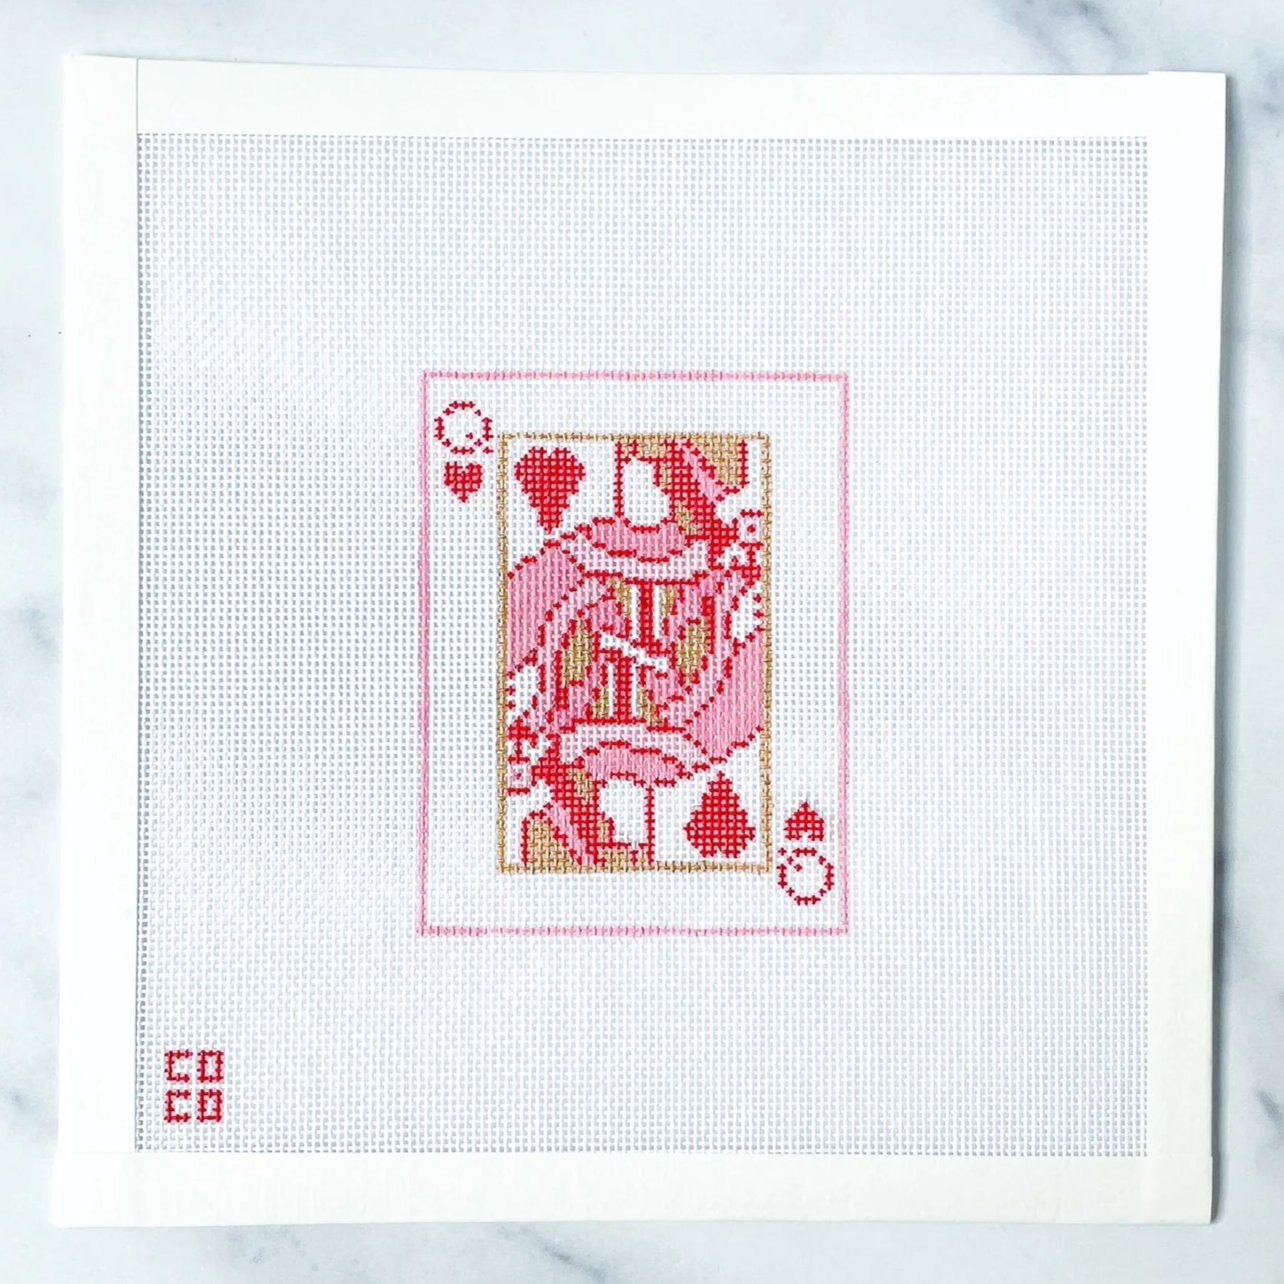
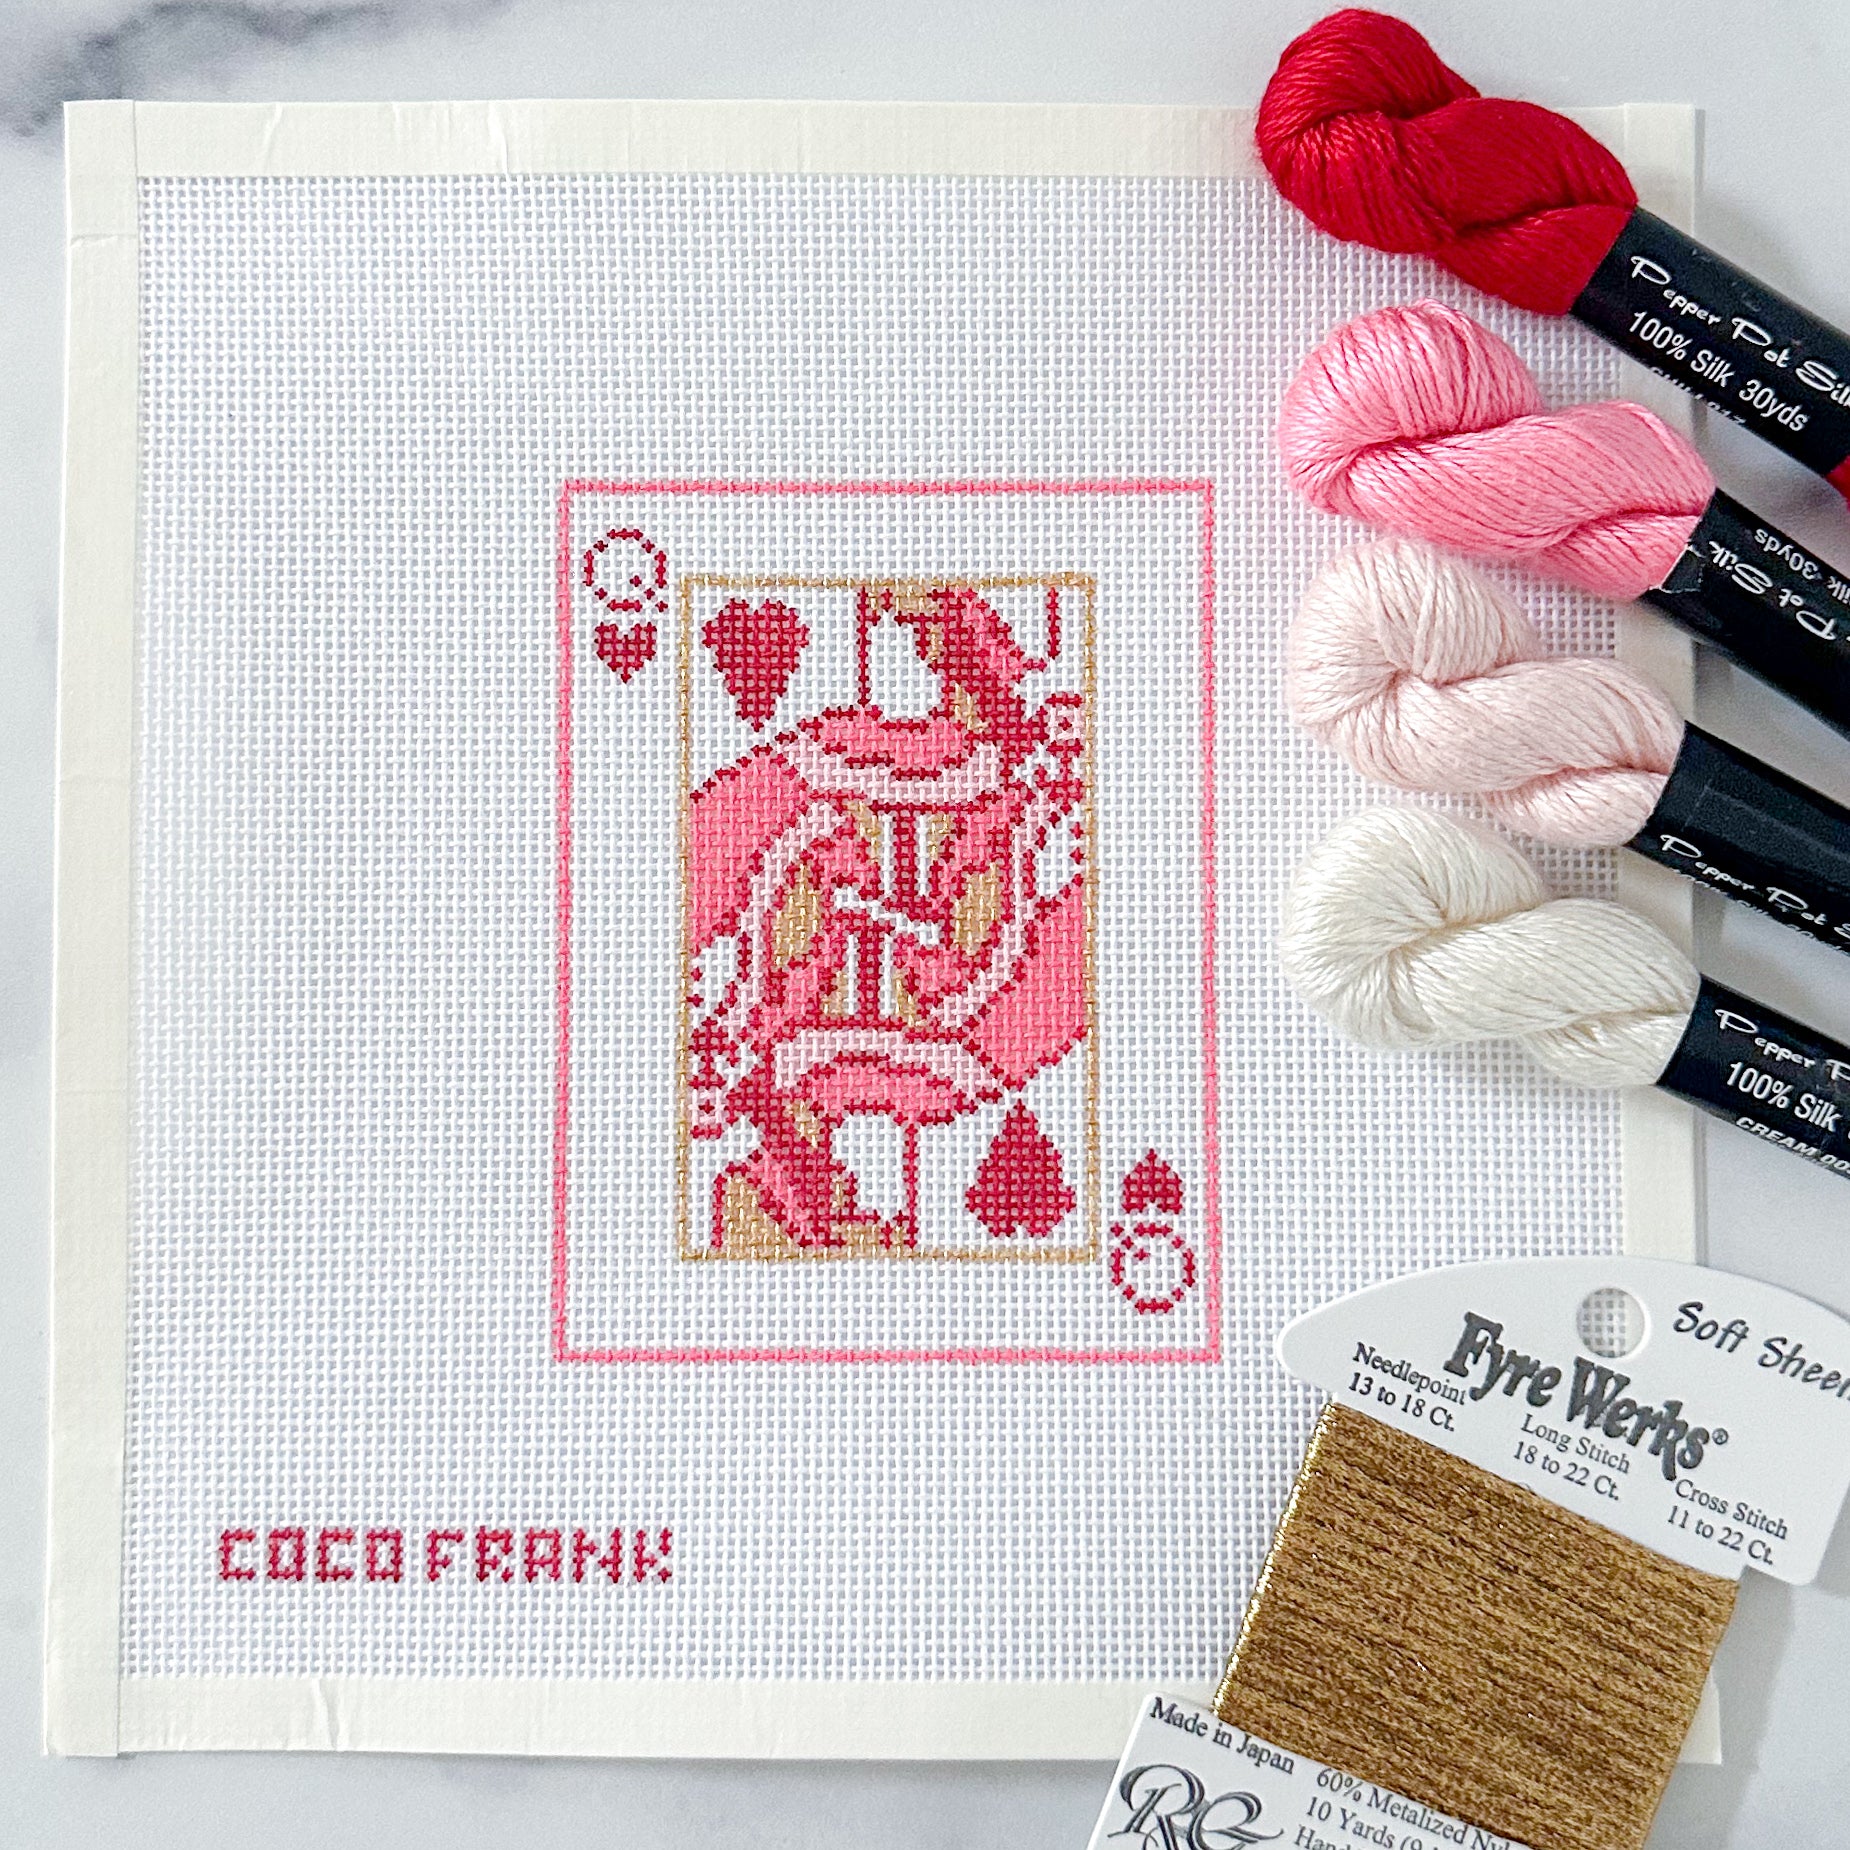
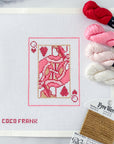
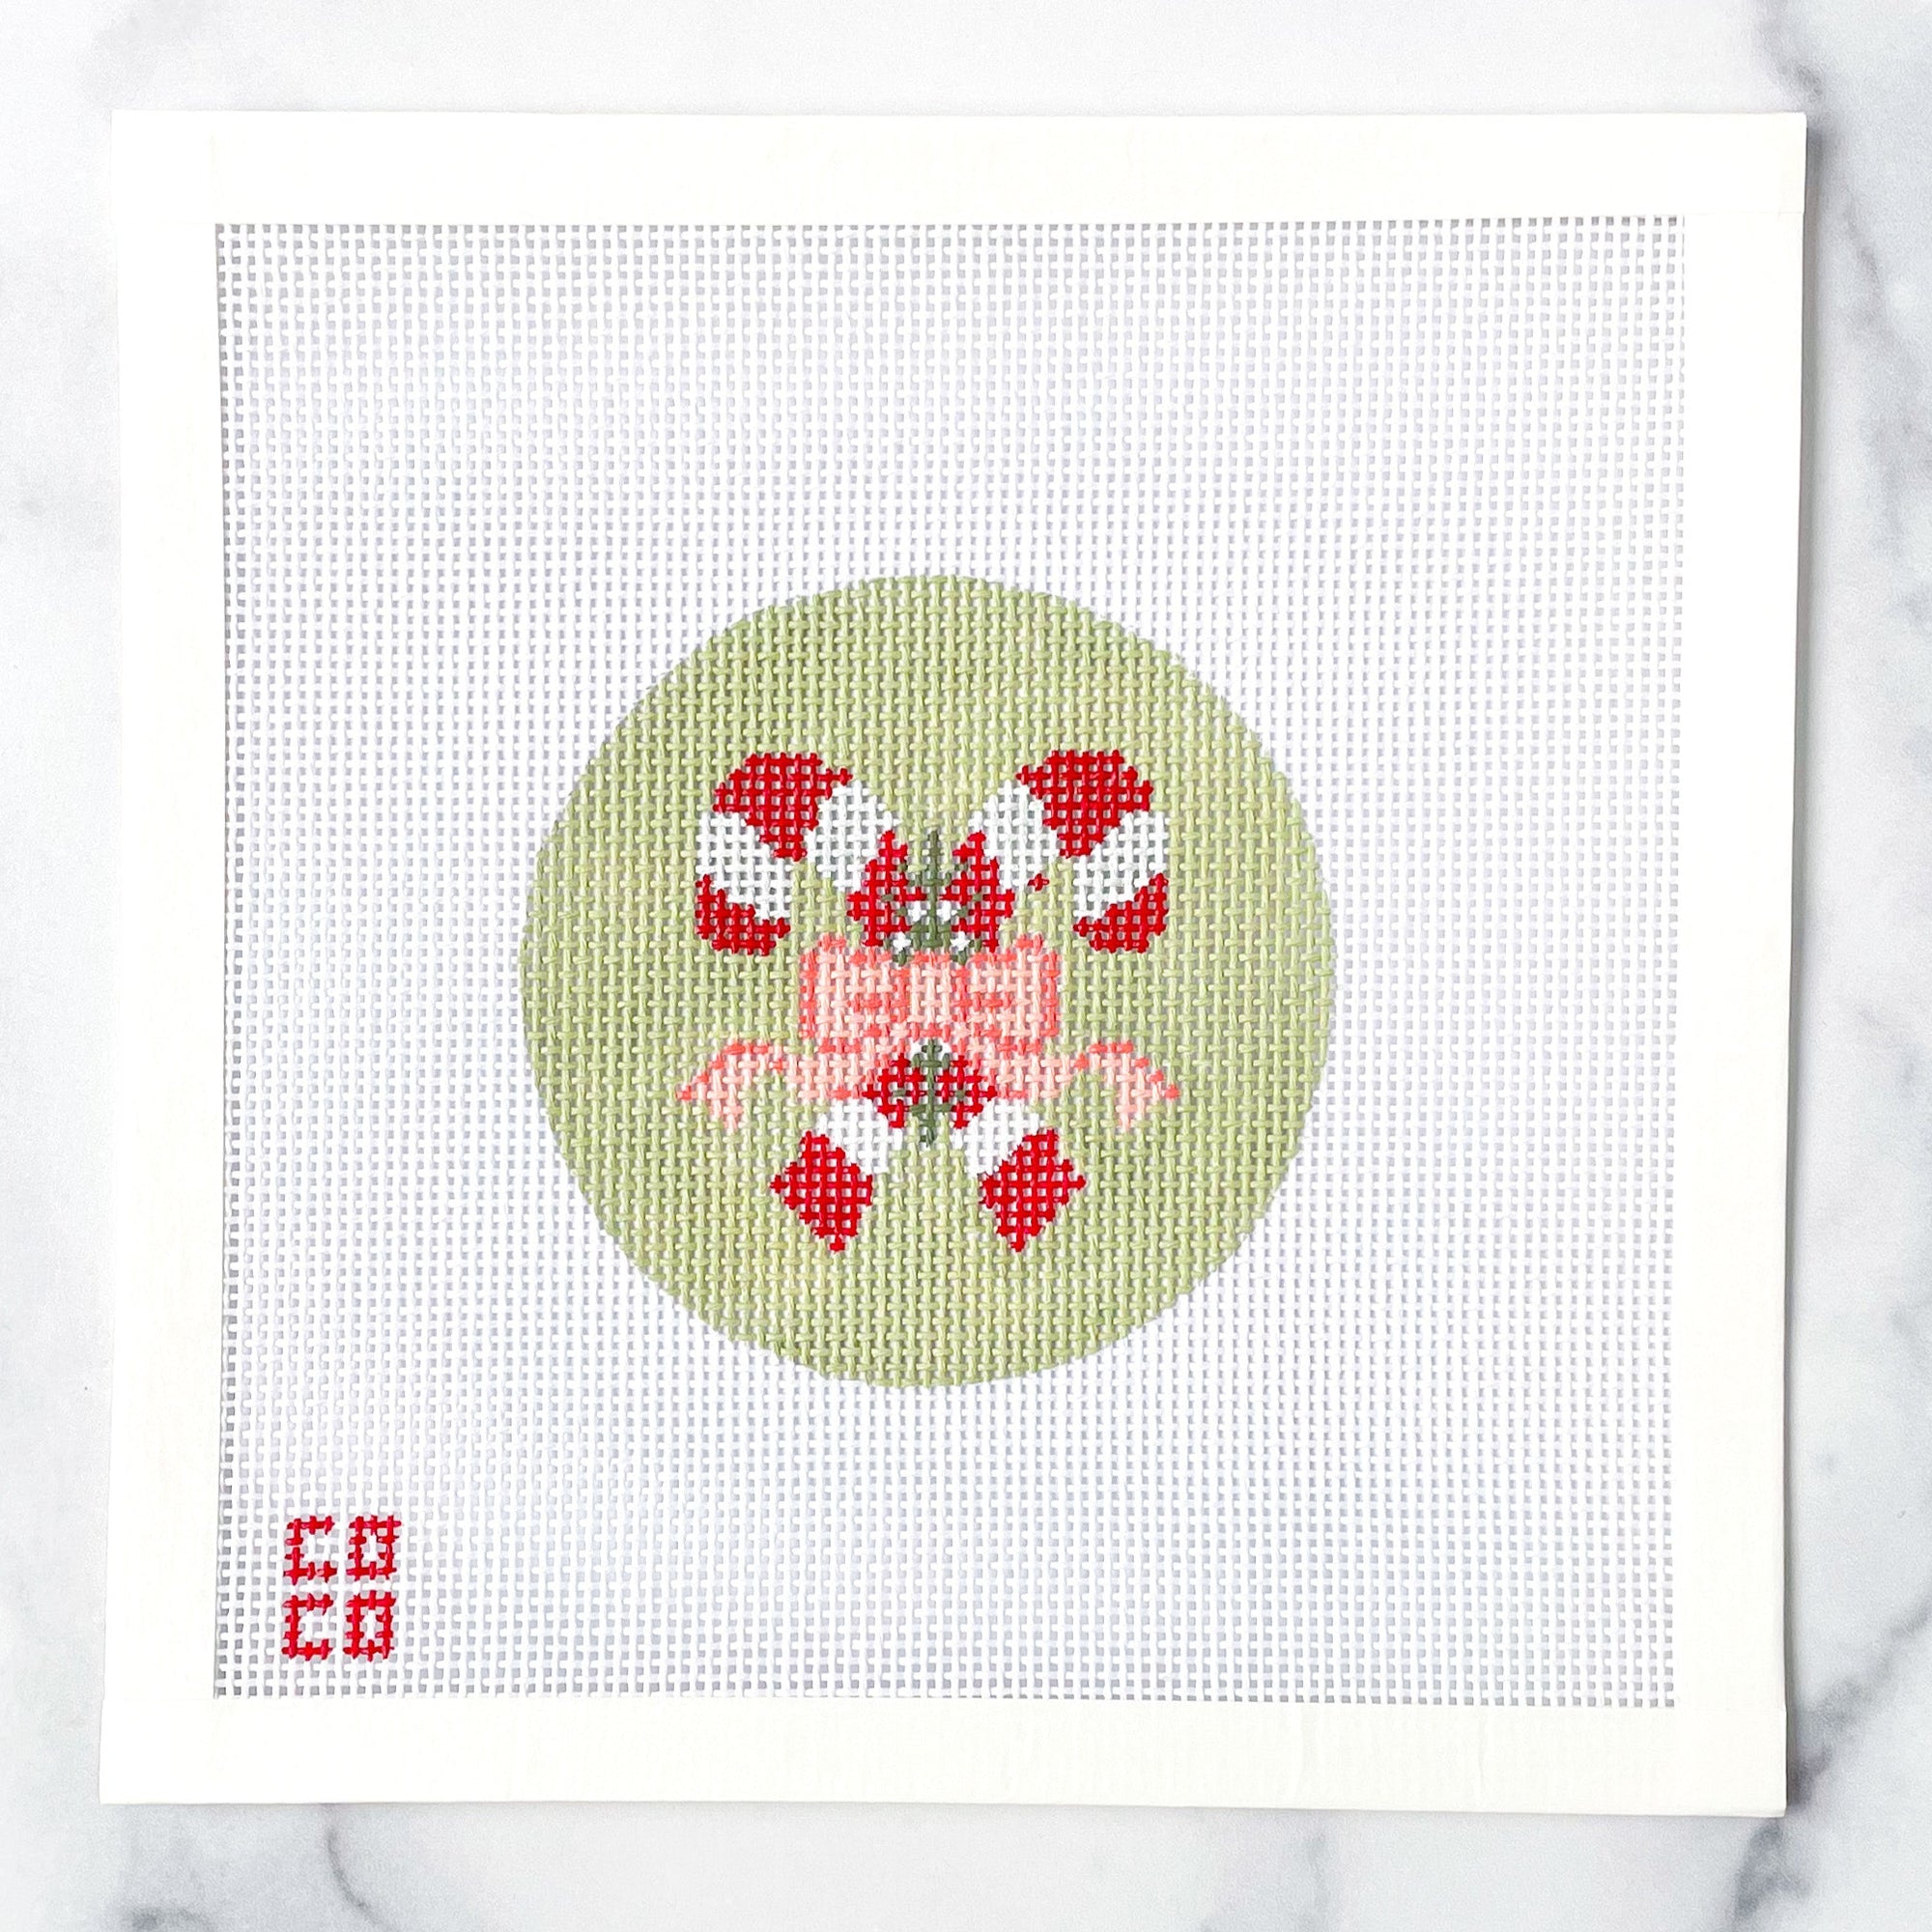
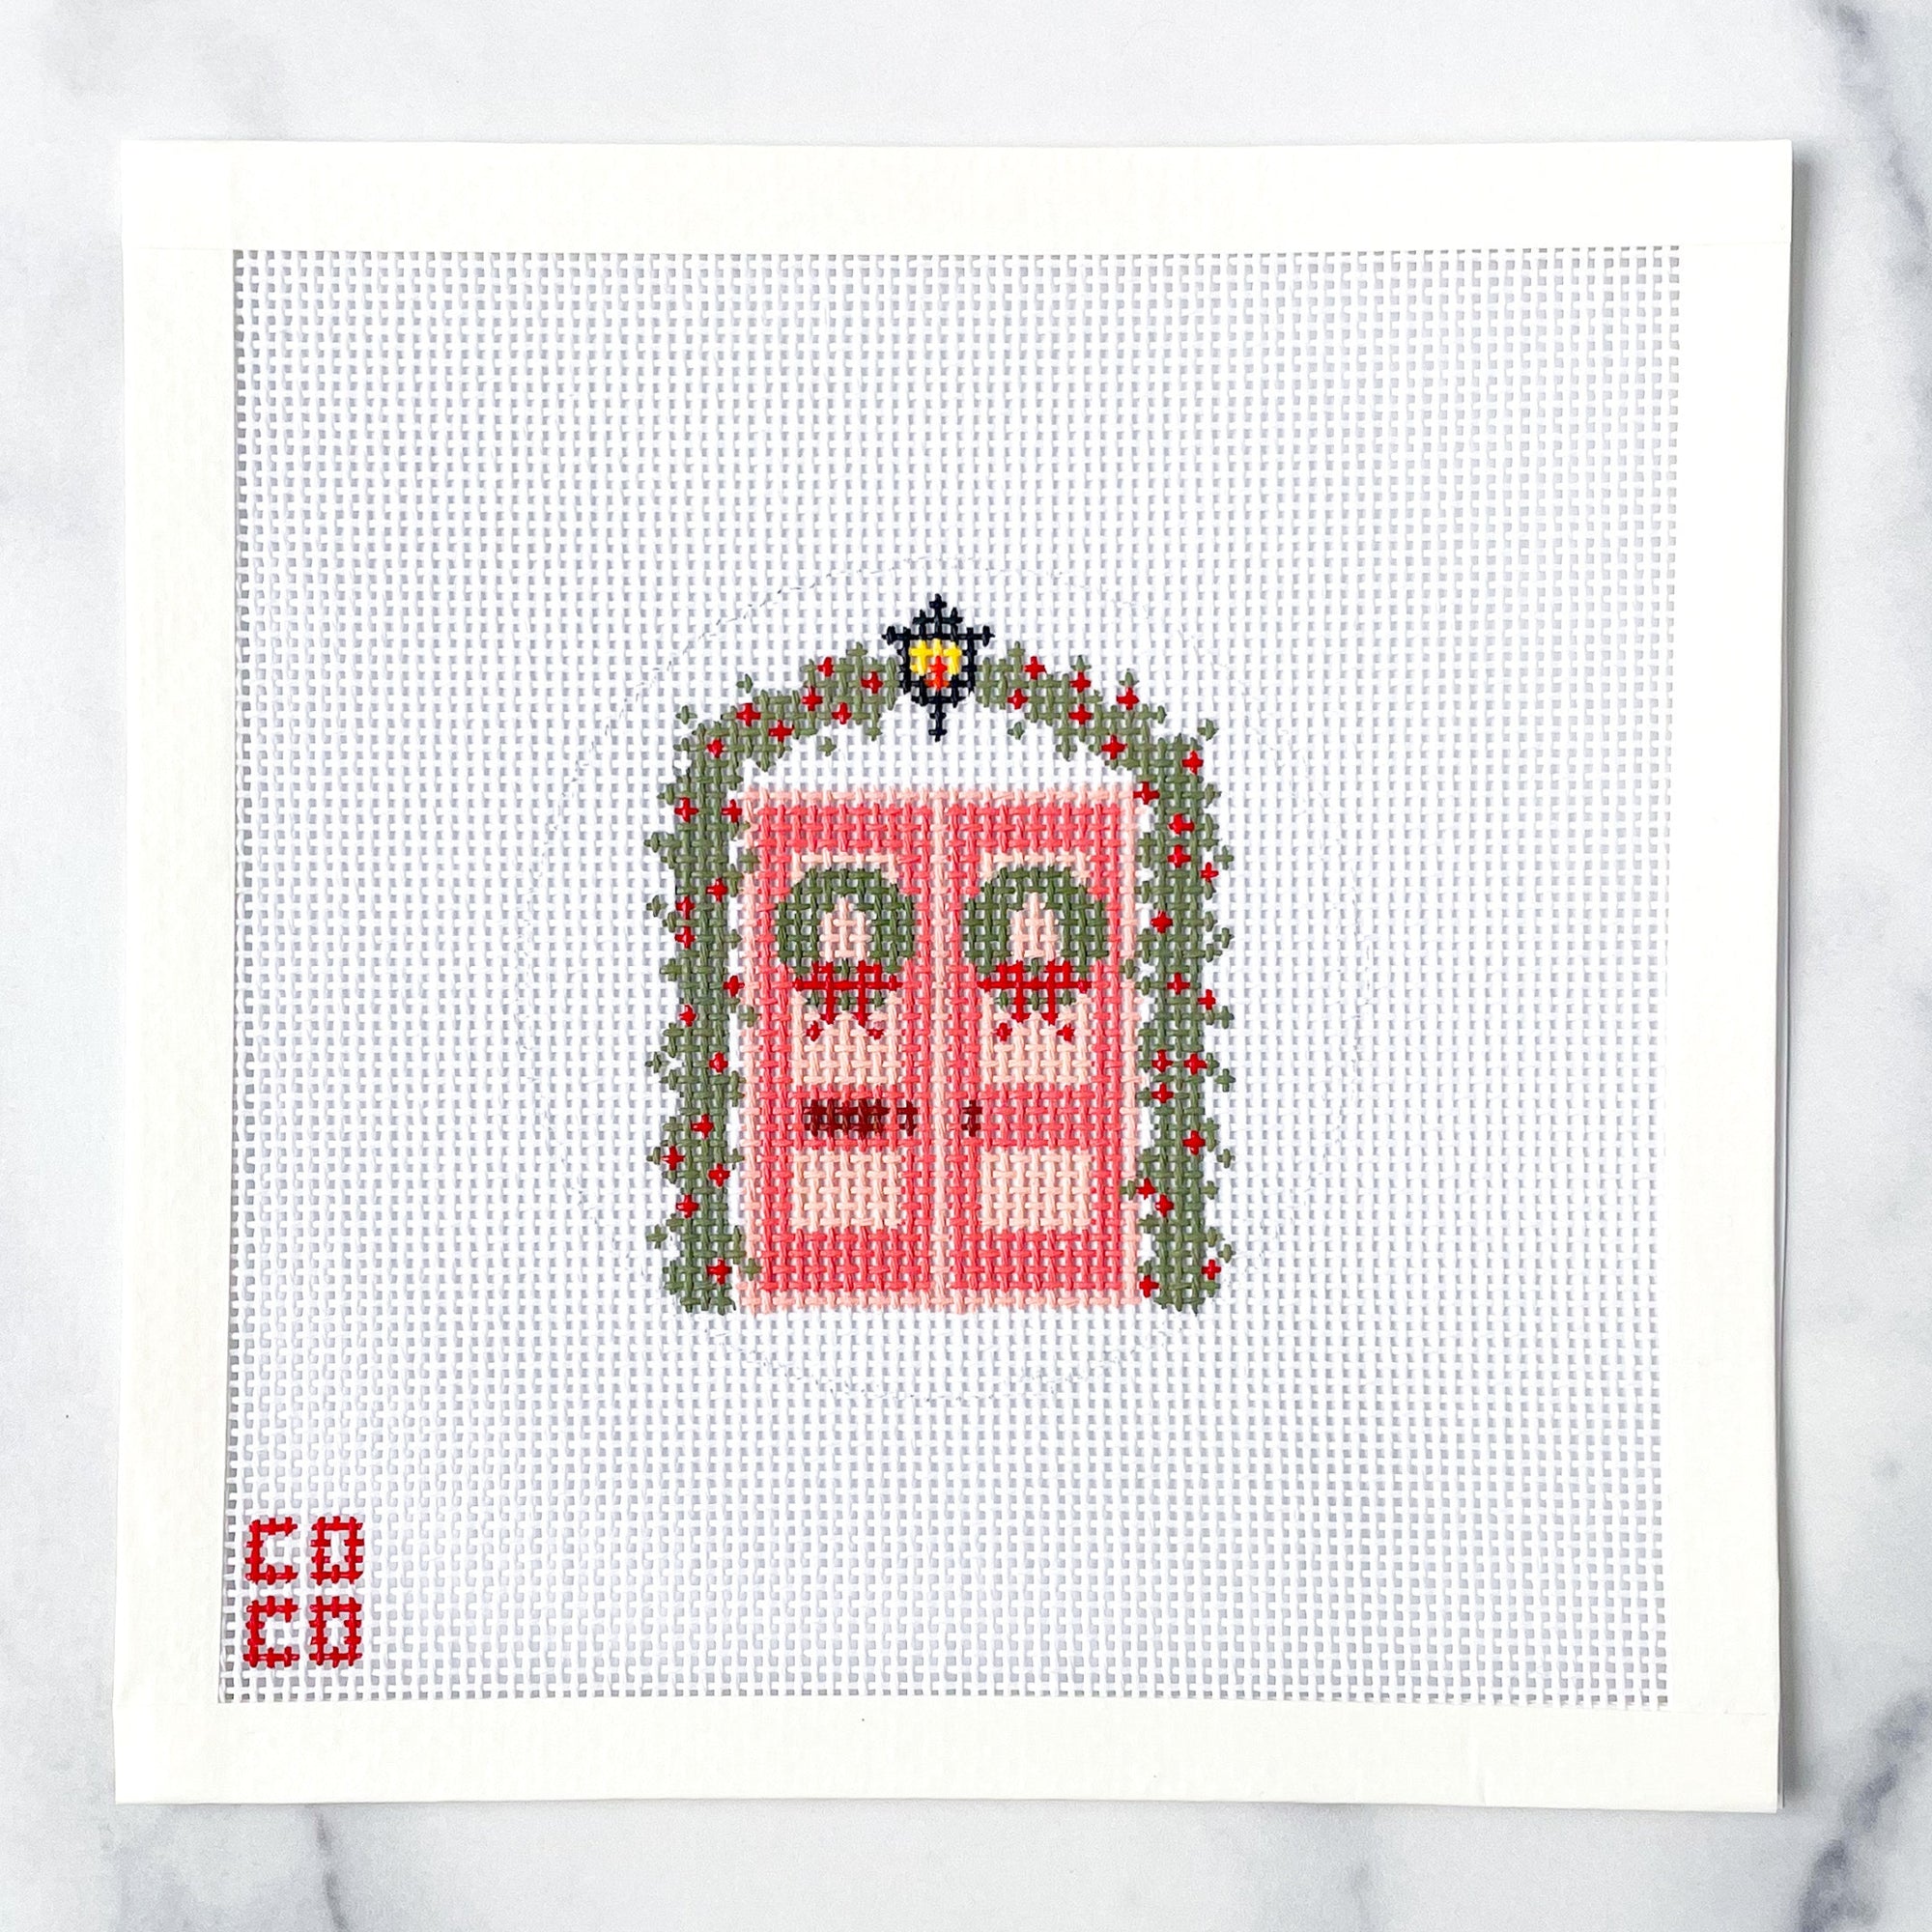
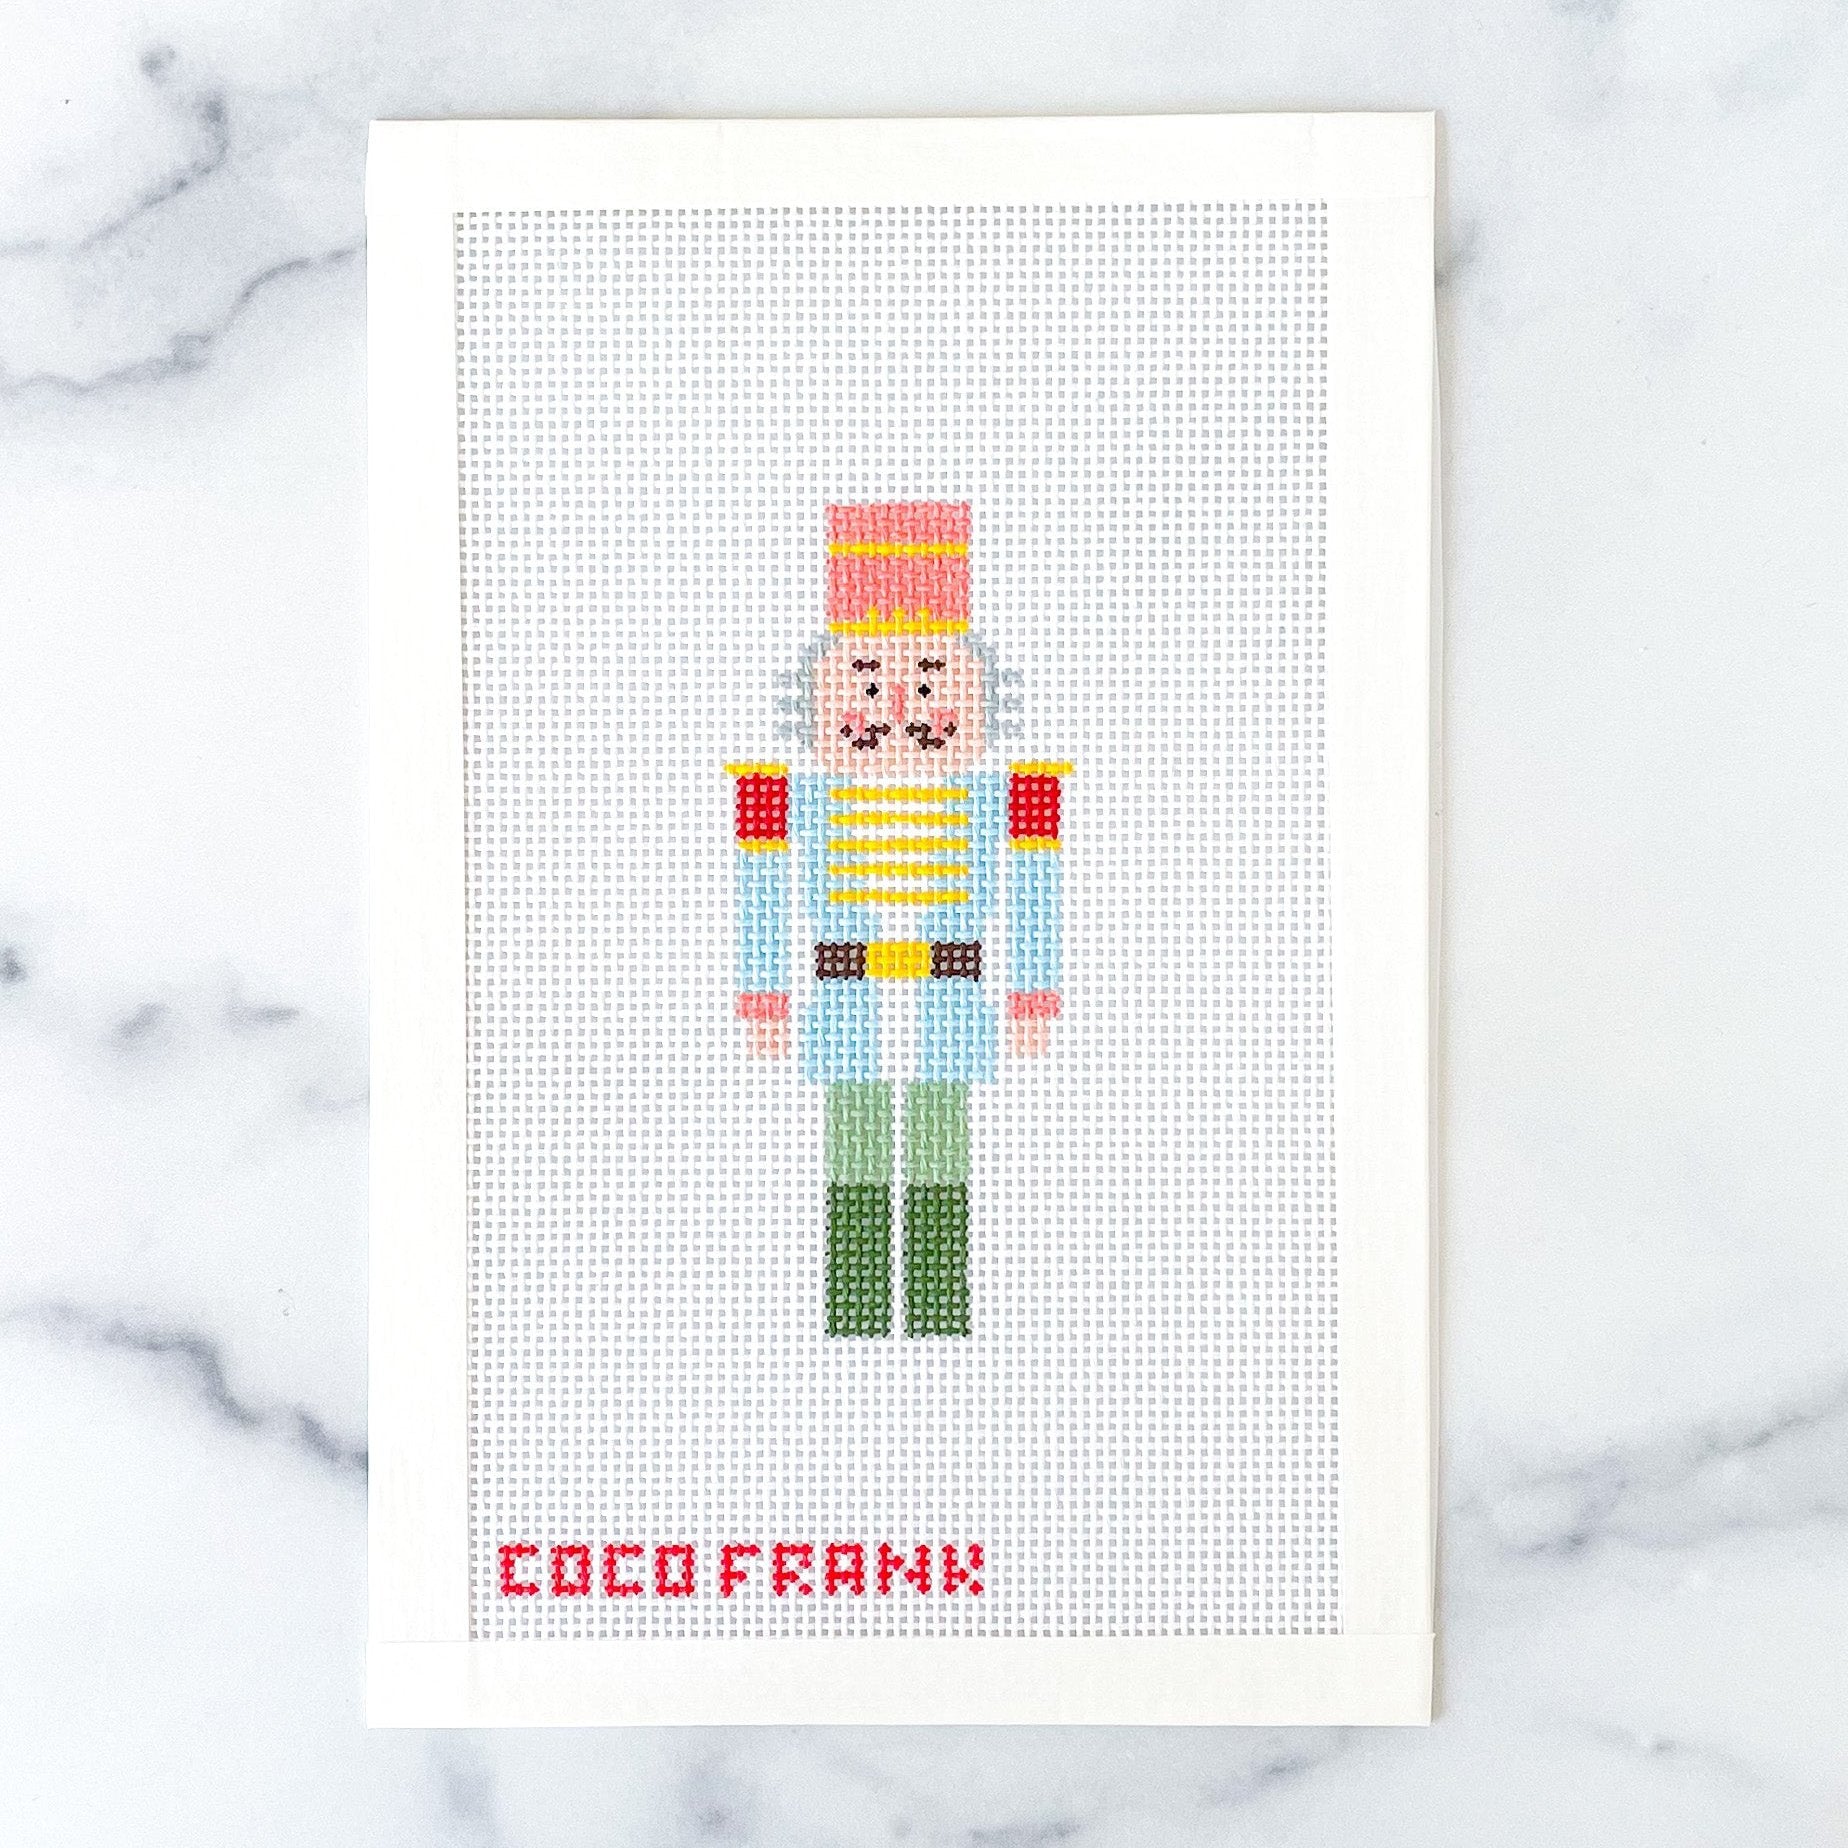
Needlepoint is a type of hand embroidery where thread is stitched through a stiff, open weave canvas. Stitch-painted canvases (like the ones sold in our shop) have been painted so each intersection is meticulously hand-painted (yes, hand-painted!) with a particular color. This makes stitching very similar to "paint by numbers" - all you have to do is stitch over each intersection with the corresponding color thread! The design has been mapped out for you, so you don't have to count out the stitches like you would with cross stitch.
Below, I’ve outlined a few tips for beginning needlepoint:
Picking your first project
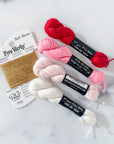
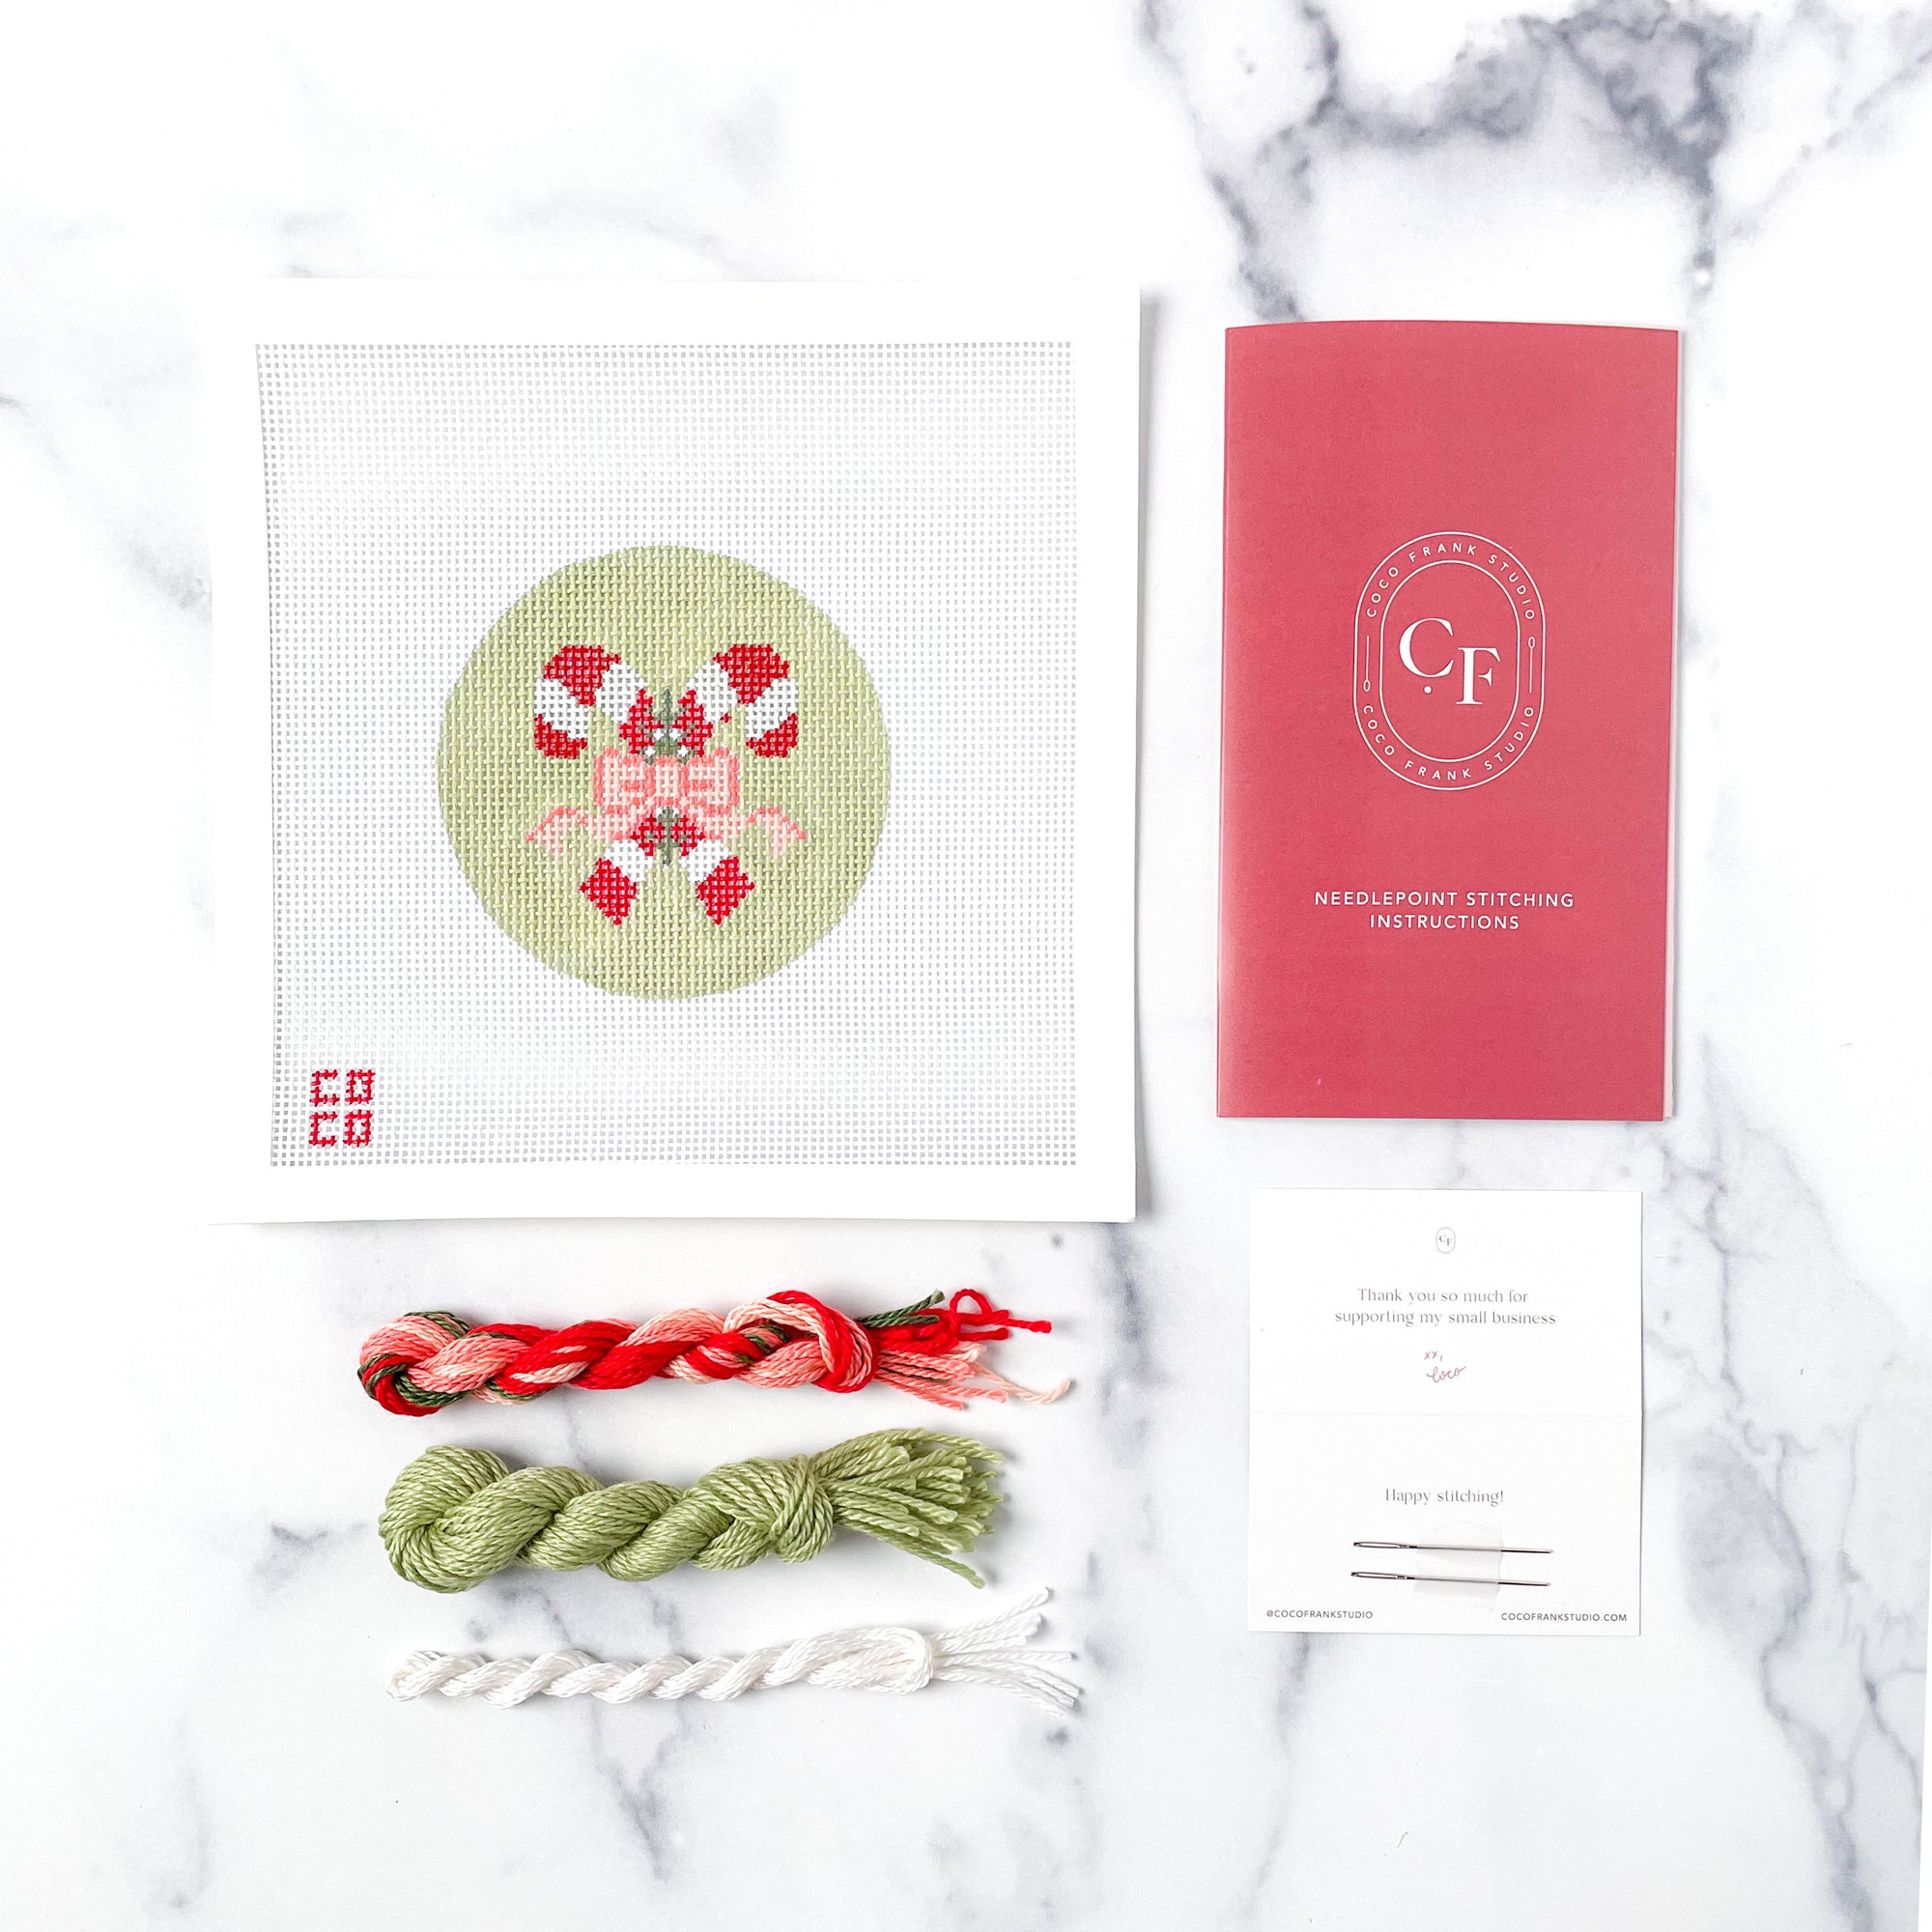
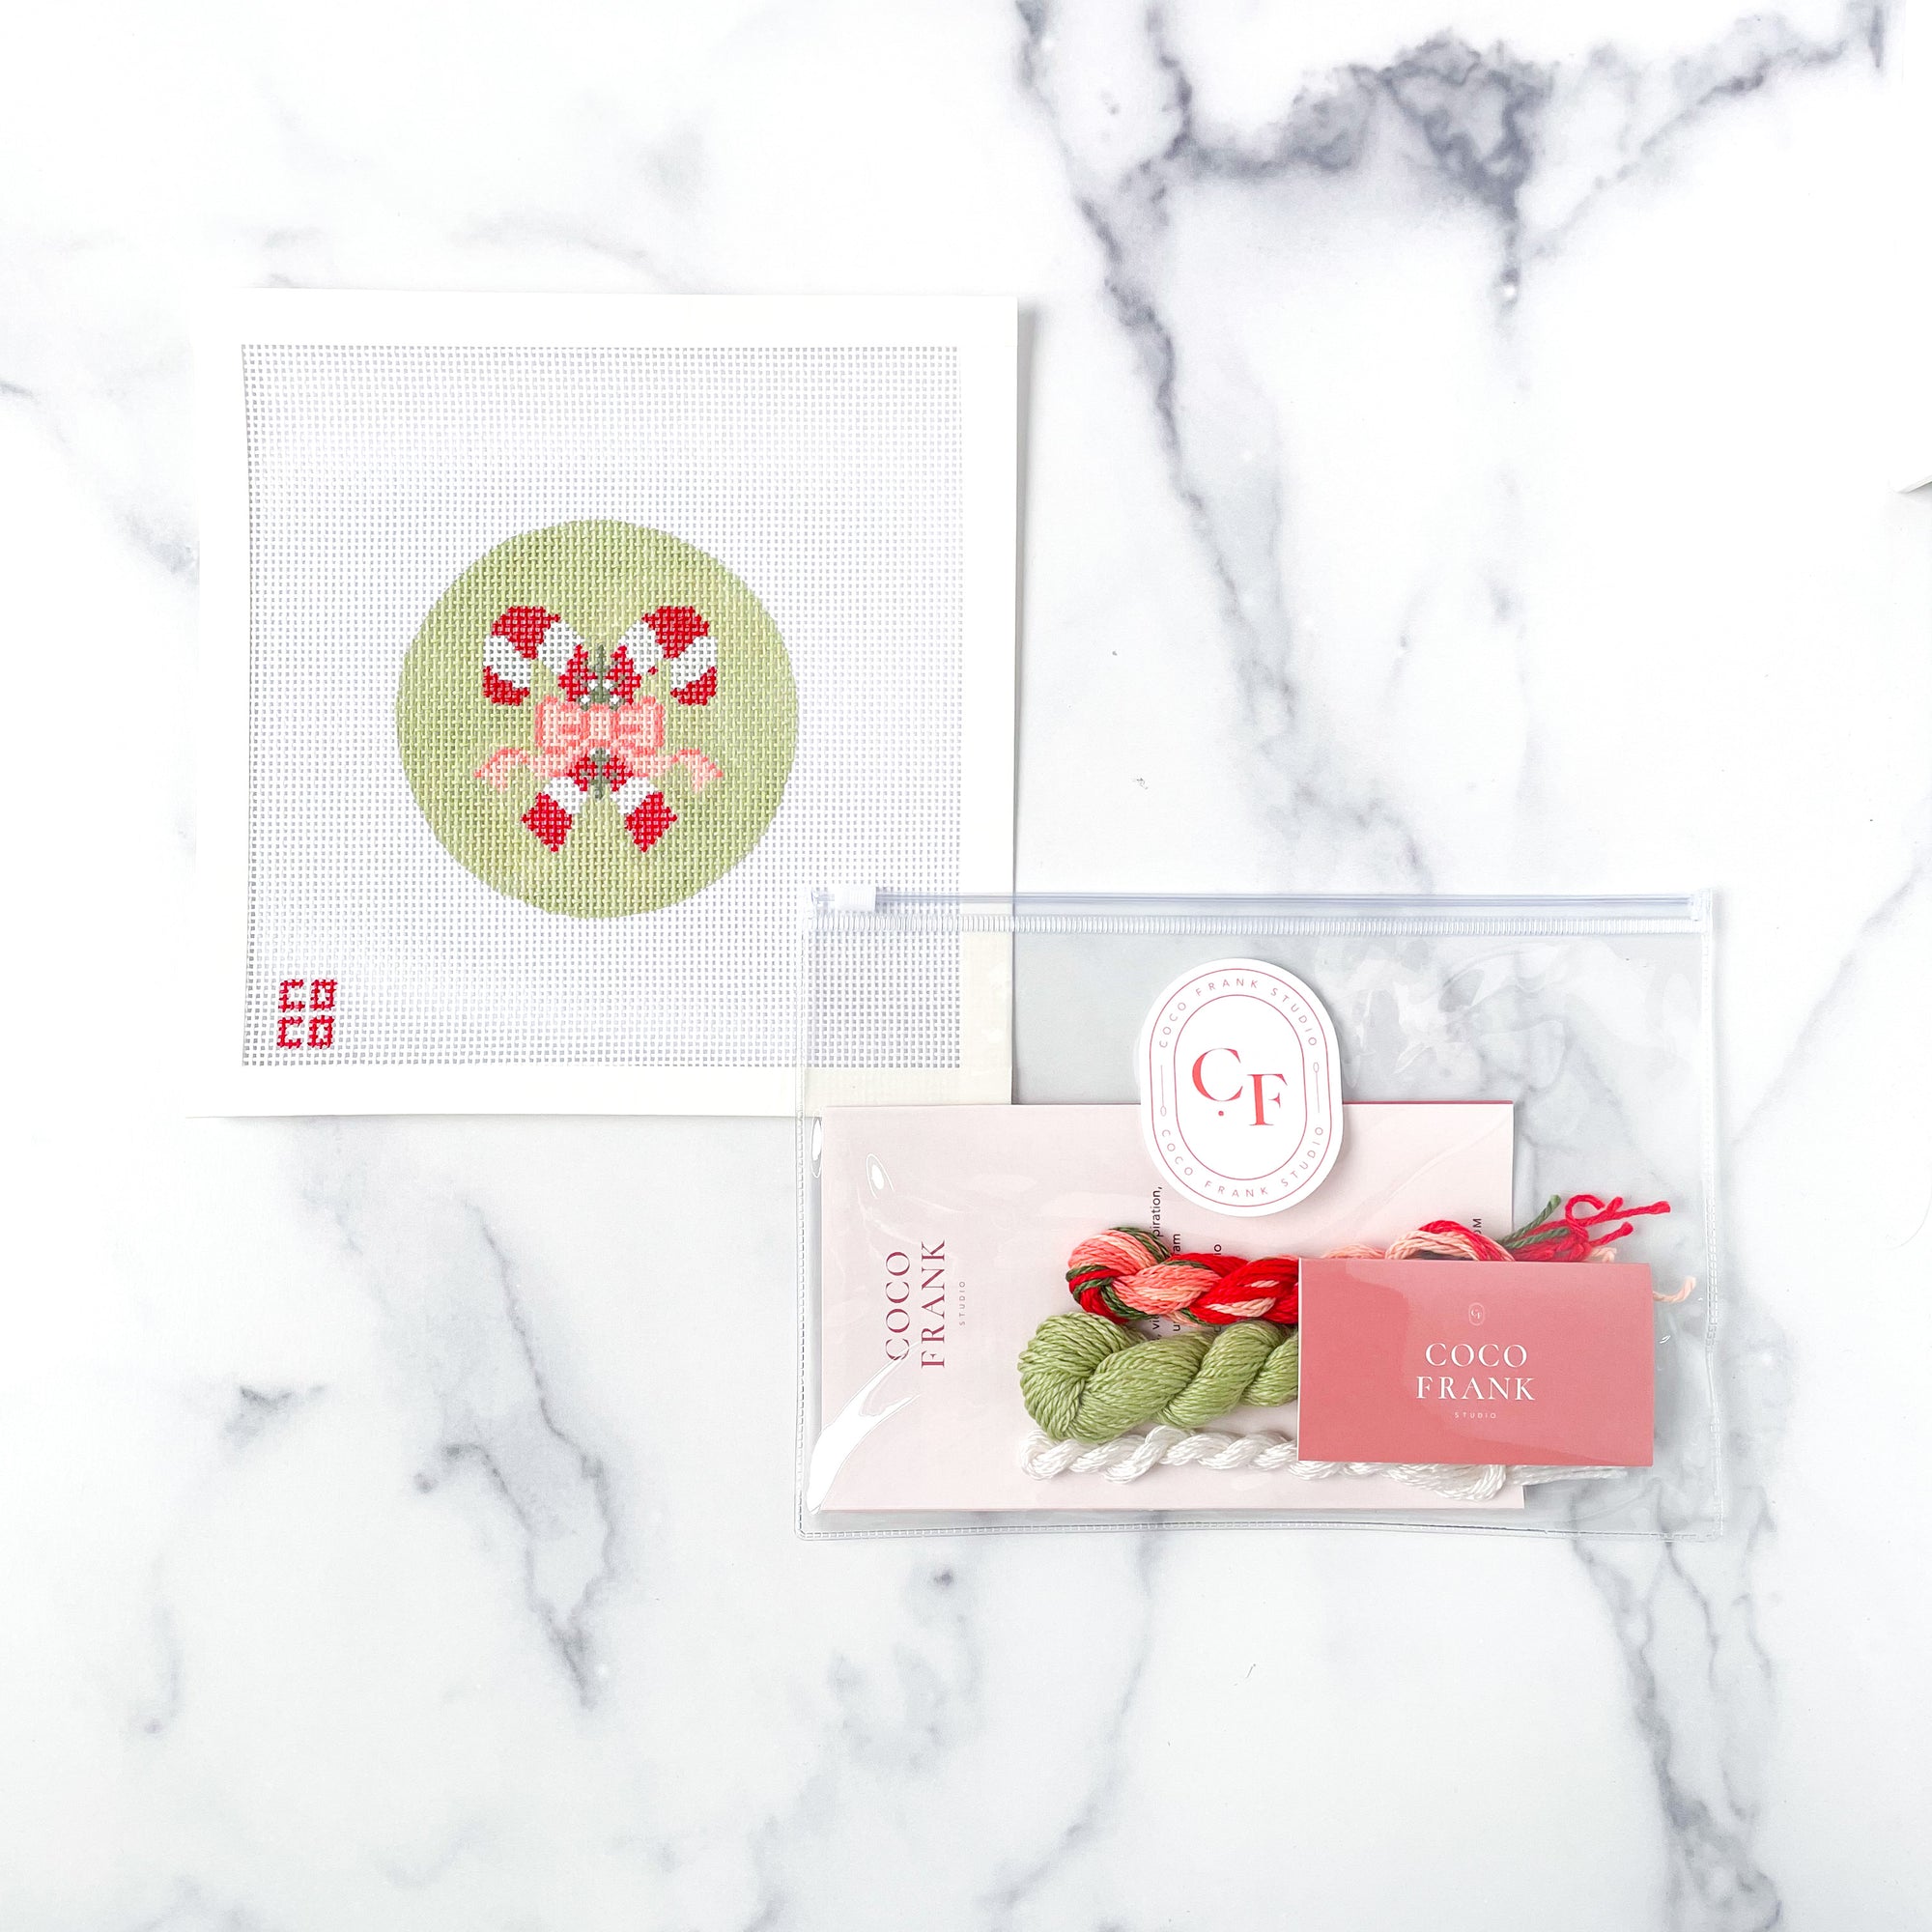
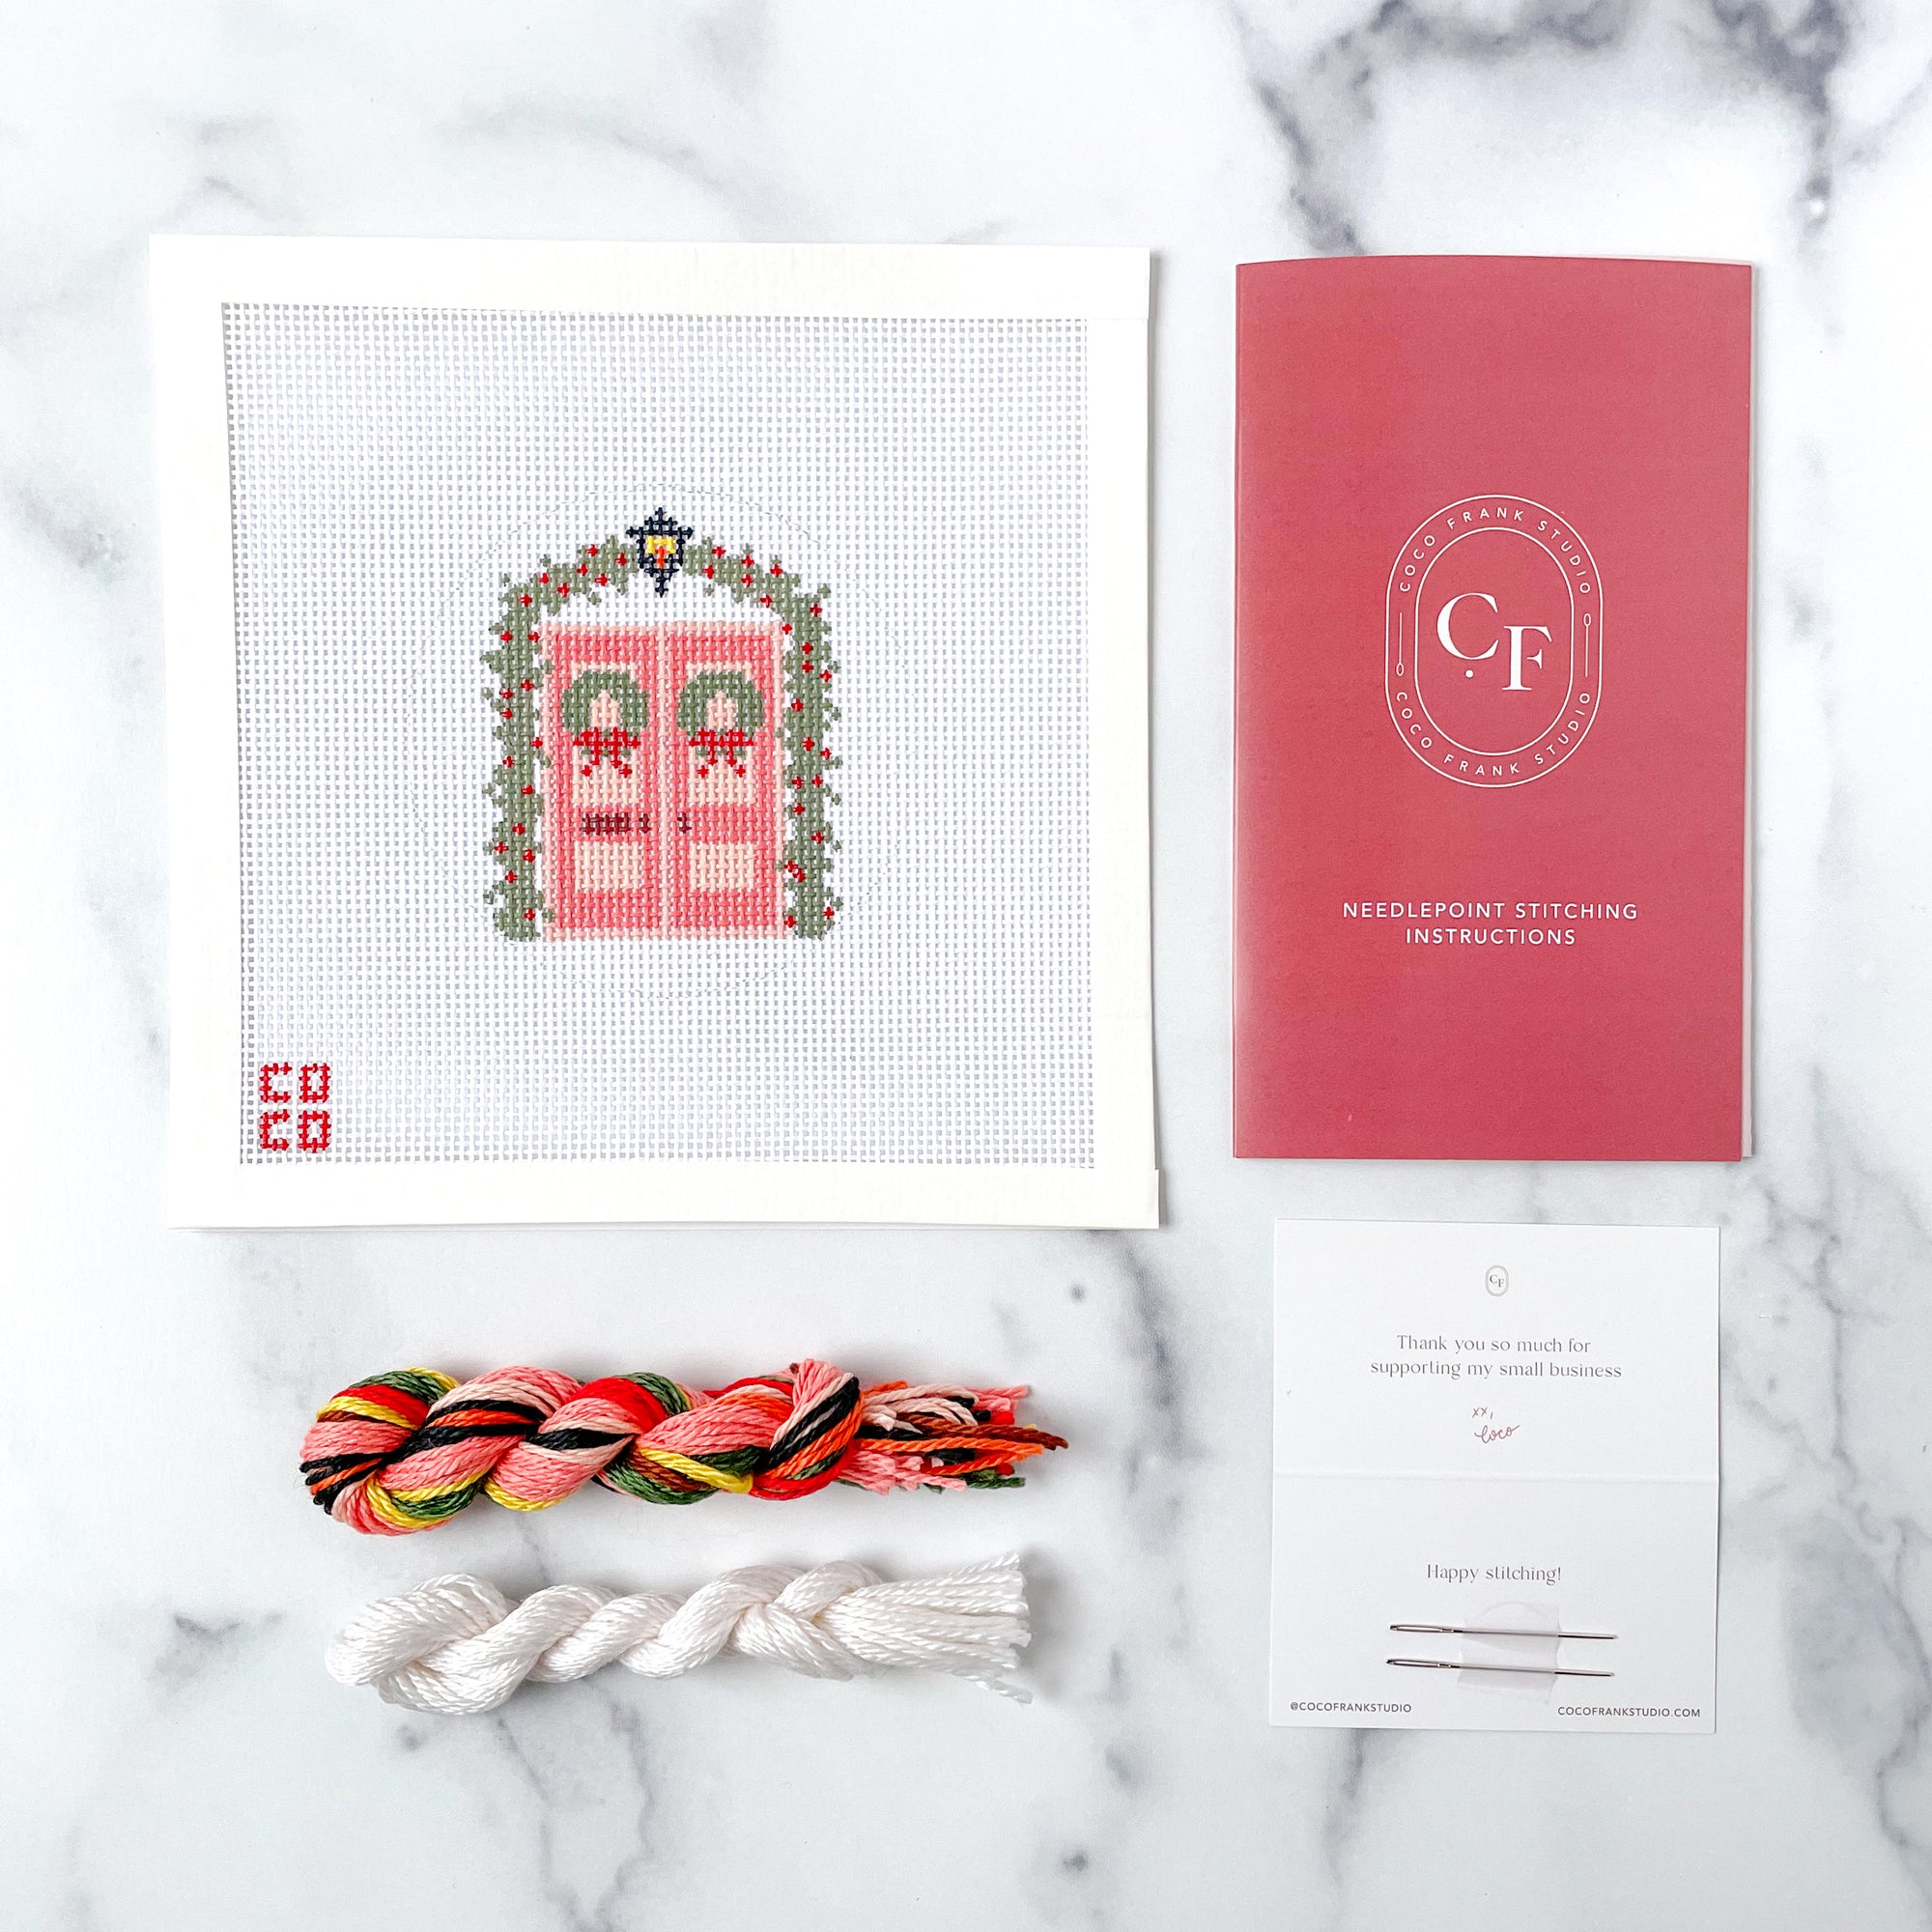
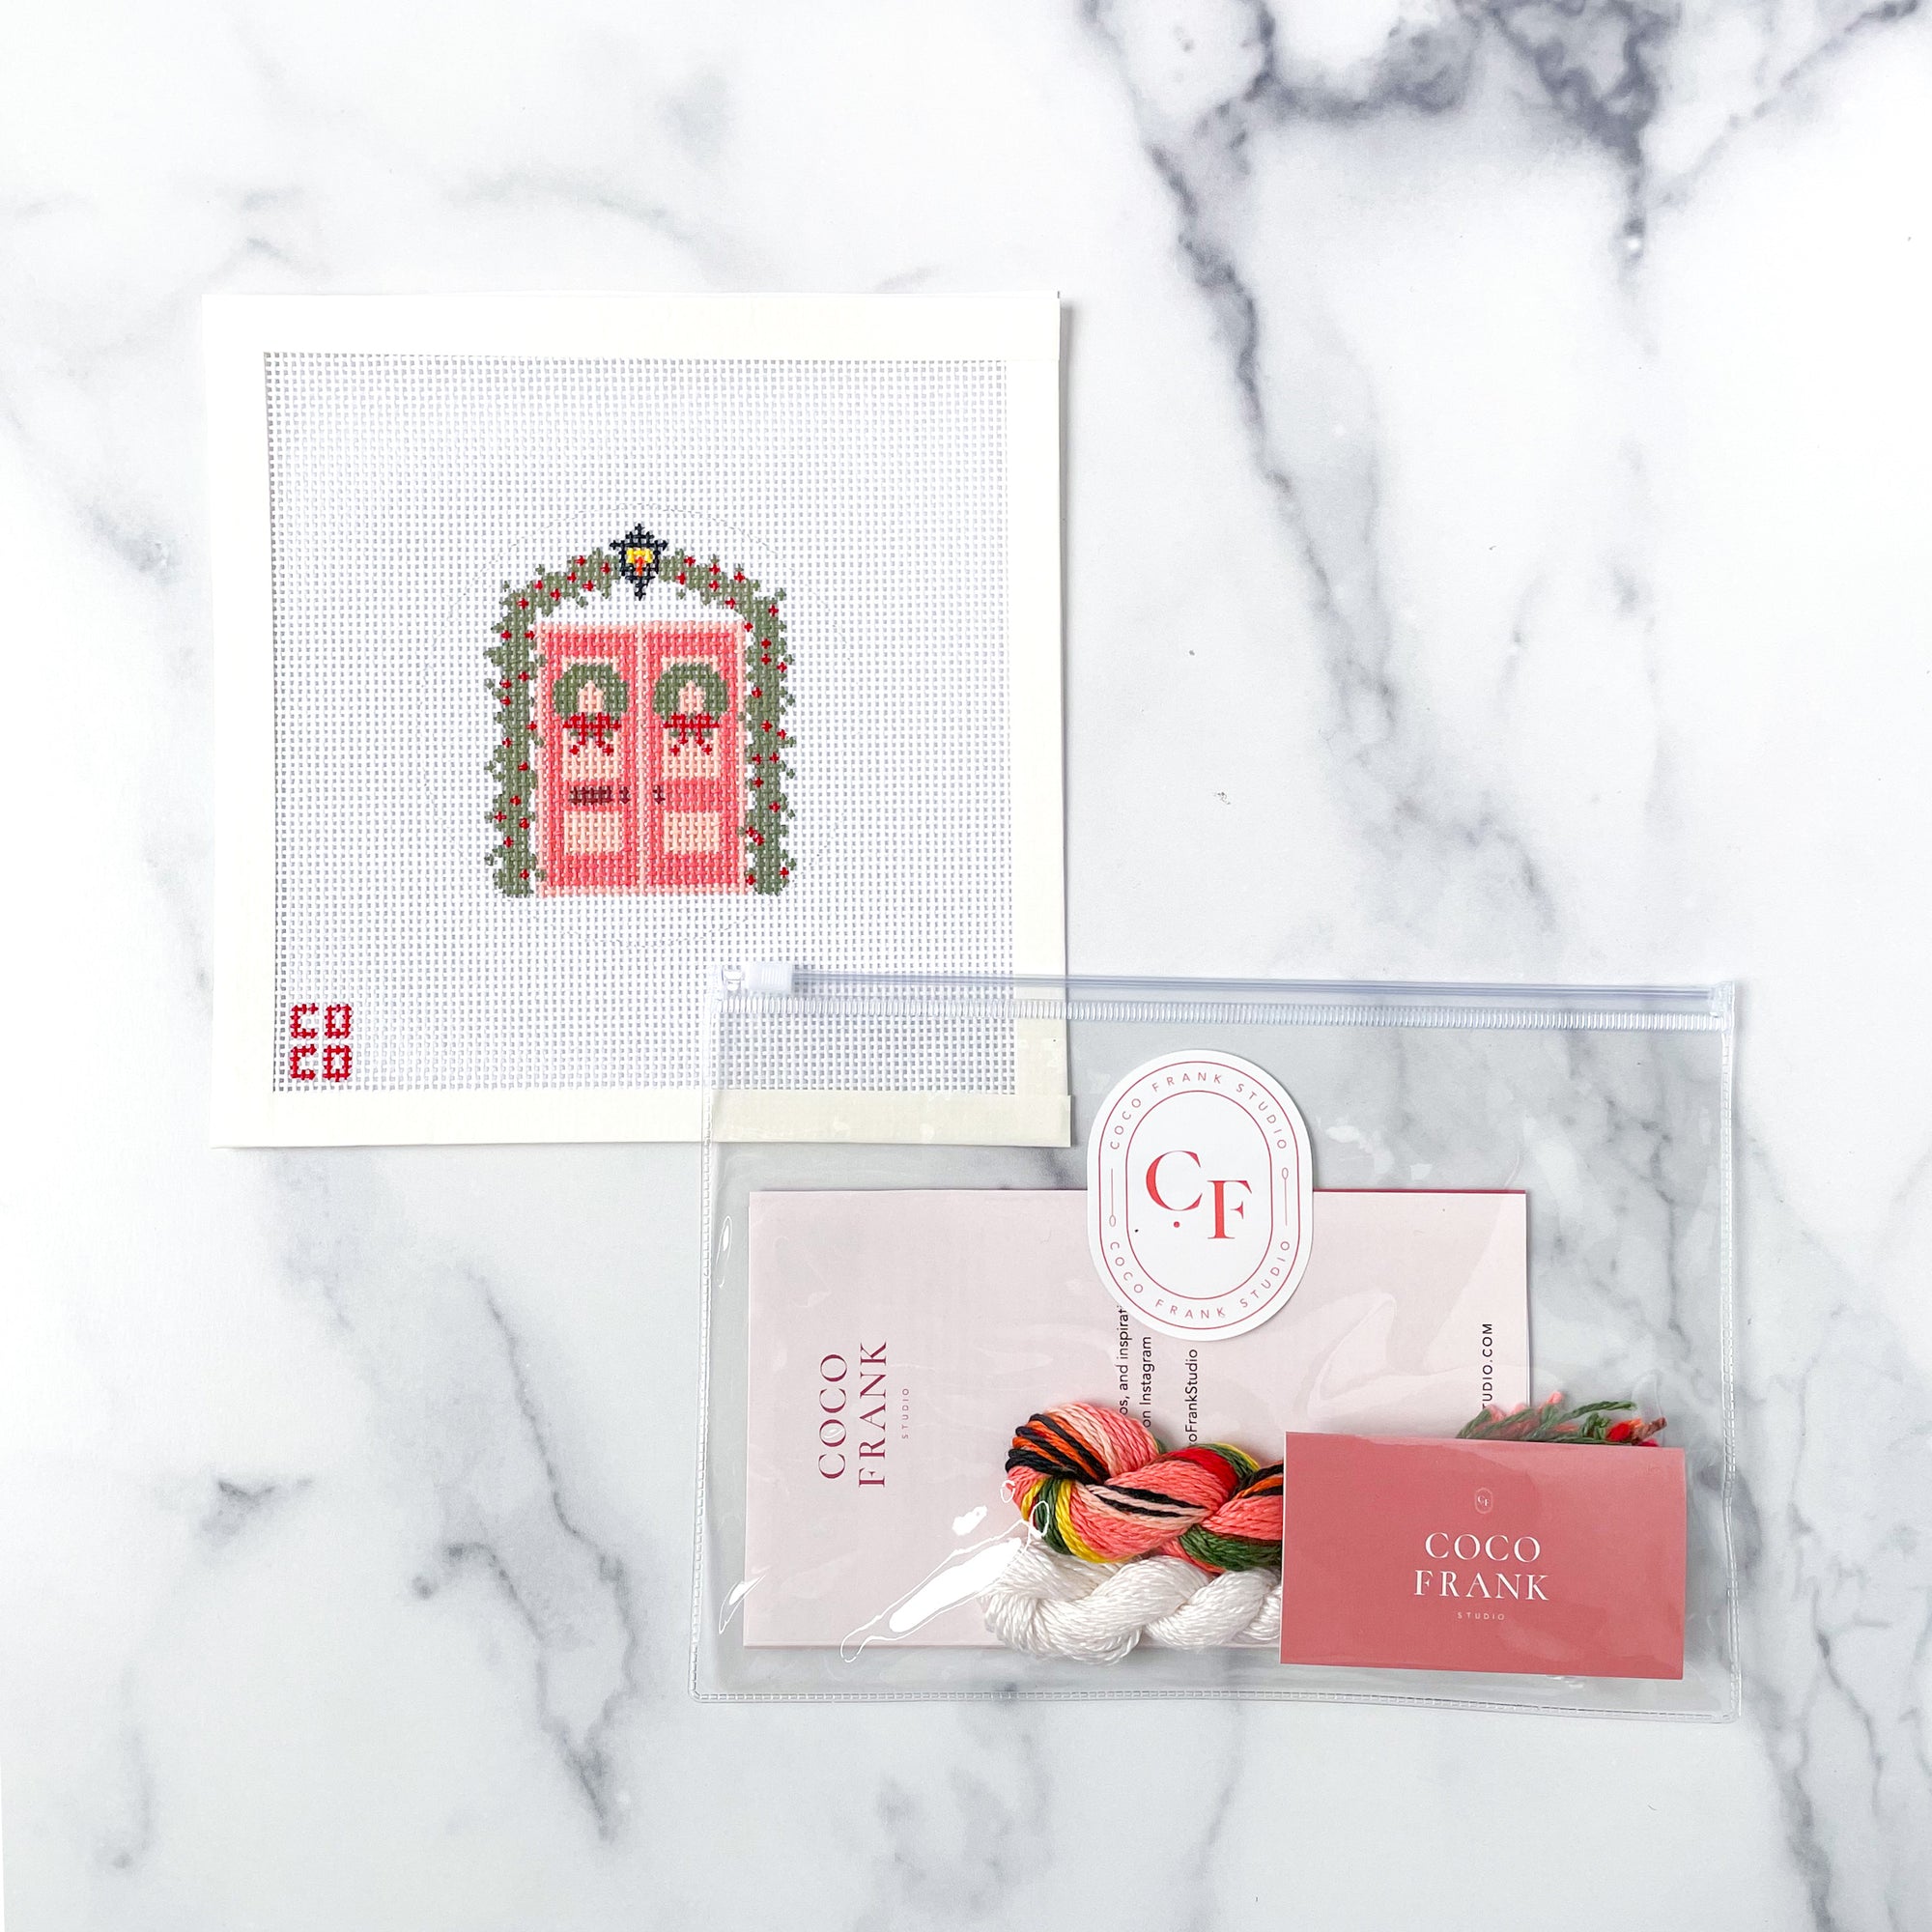
One of the most intimidating parts of needlepoint can be figuring out where to begin. To help make needlepoint as easy and accessible as possible, I encourage beginners to start with beginner-friendly needlepoint kits. These are smaller projects that take all of the guesswork out of gathering the materials you need to get started. Our beginner kits include a canvas, threads curated for your project, a needle, an instruction booklet, and a handy little bag to keep it all in!
If you would rather build your own project, here are some things to keep in mind:
- Mesh size: There are different mesh sizes in needlepoint. Mesh size refers to how many holes per inch exist on the canvas. The two most popular sizes are 13 mesh and 18 mesh. I suggest beginners start with 13 mesh projects, meaning 13 holes to the inch. This is the larger mesh size of the two and I think it’s an easier way to get started!
- Canvas size: I also recommend starting with a project that is smaller in overall size, like an ornament. This way you will get to feel the satisfaction of finishing a project sooner and be motivated to keep stitching. I also love how portable smaller projects are, you can bring them to waiting rooms, carpool lines, or basically anywhere you might have a little downtime.
- Number of colors: Another tip I give new stitchers is to pick a canvas with fewer colors. This way you’re not having to buy a lot of thread right off the bat and it makes practicing the mechanics of stitching a little bit easier since you won’t have to start and stop more often to change colors.
Ultimately, the most important piece of advice for picking out a project is to pick something you love! Just because a project doesn’t check all of the boxes above doesn’t mean it won’t be perfect for YOU. You know yourself, your motivation level, and your skills. If you pick a project you like, you are more inclined to stitch on it.
Tools
The following are the only necessary tools for needlepoint - there are plenty of other tools you can add to your repertoire as you gain experience stitching and figure out what you need to improve!
- A canvas that you love!
- Needles: You will want to get tapestry needles that work best with the mesh size of your canvas. I prefer to use size 20 on 13 mesh and size 22 on 18 mesh.
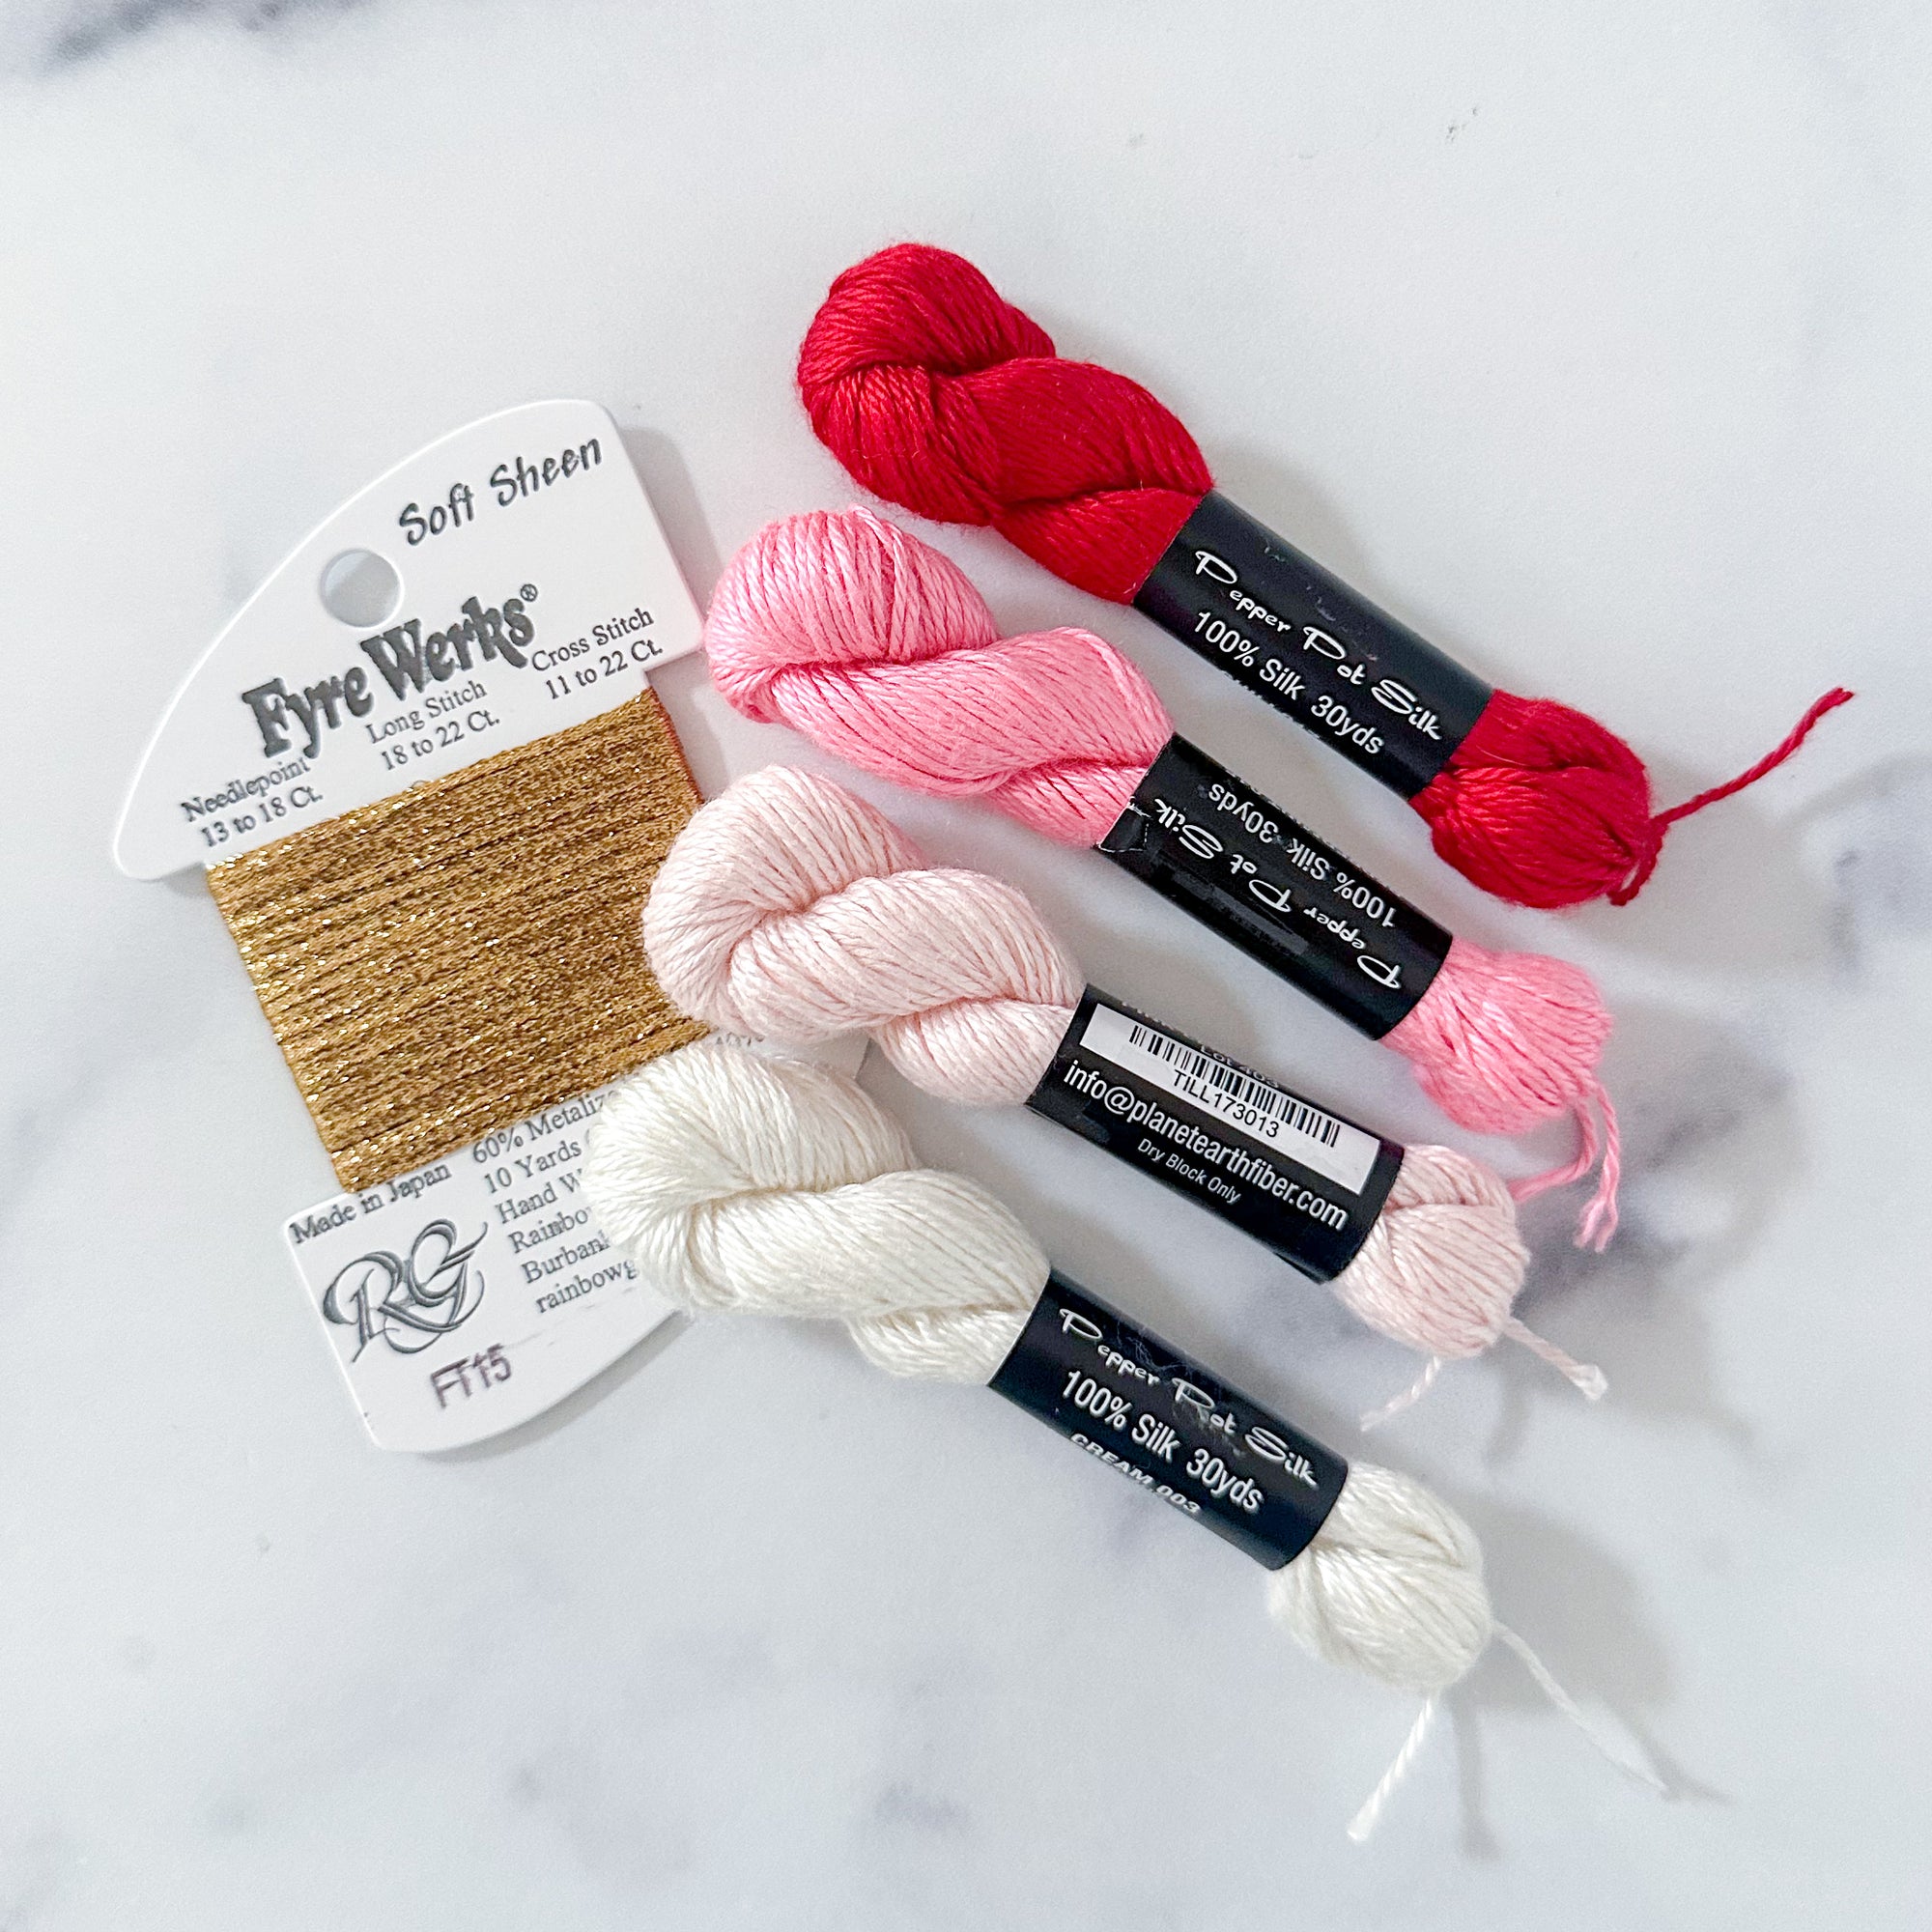
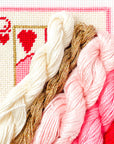
- Thread: Because threads can vary in thickness, you will also want to make sure you purchase thread (aka “fiber”) that works well with the mesh size of your canvas. There are many fun fibers that you can mix and match for your project. If I had to choose one type of fiber for each mesh size, I would say Silk & Ivory for 13 mesh and Pepper Pot Silk for 18 mesh, but it’s a tough choice! I love going to needlepoint shops and getting lost in all of the beautiful colors, textures and shine to choose from. I wrote more about my favorite fibers in this blog post.
- Sharp scissors: You will want sharp embroidery scissors so the end of your fiber doesn’t fray, which would make it hard to thread your needle.
Stitching your canvas
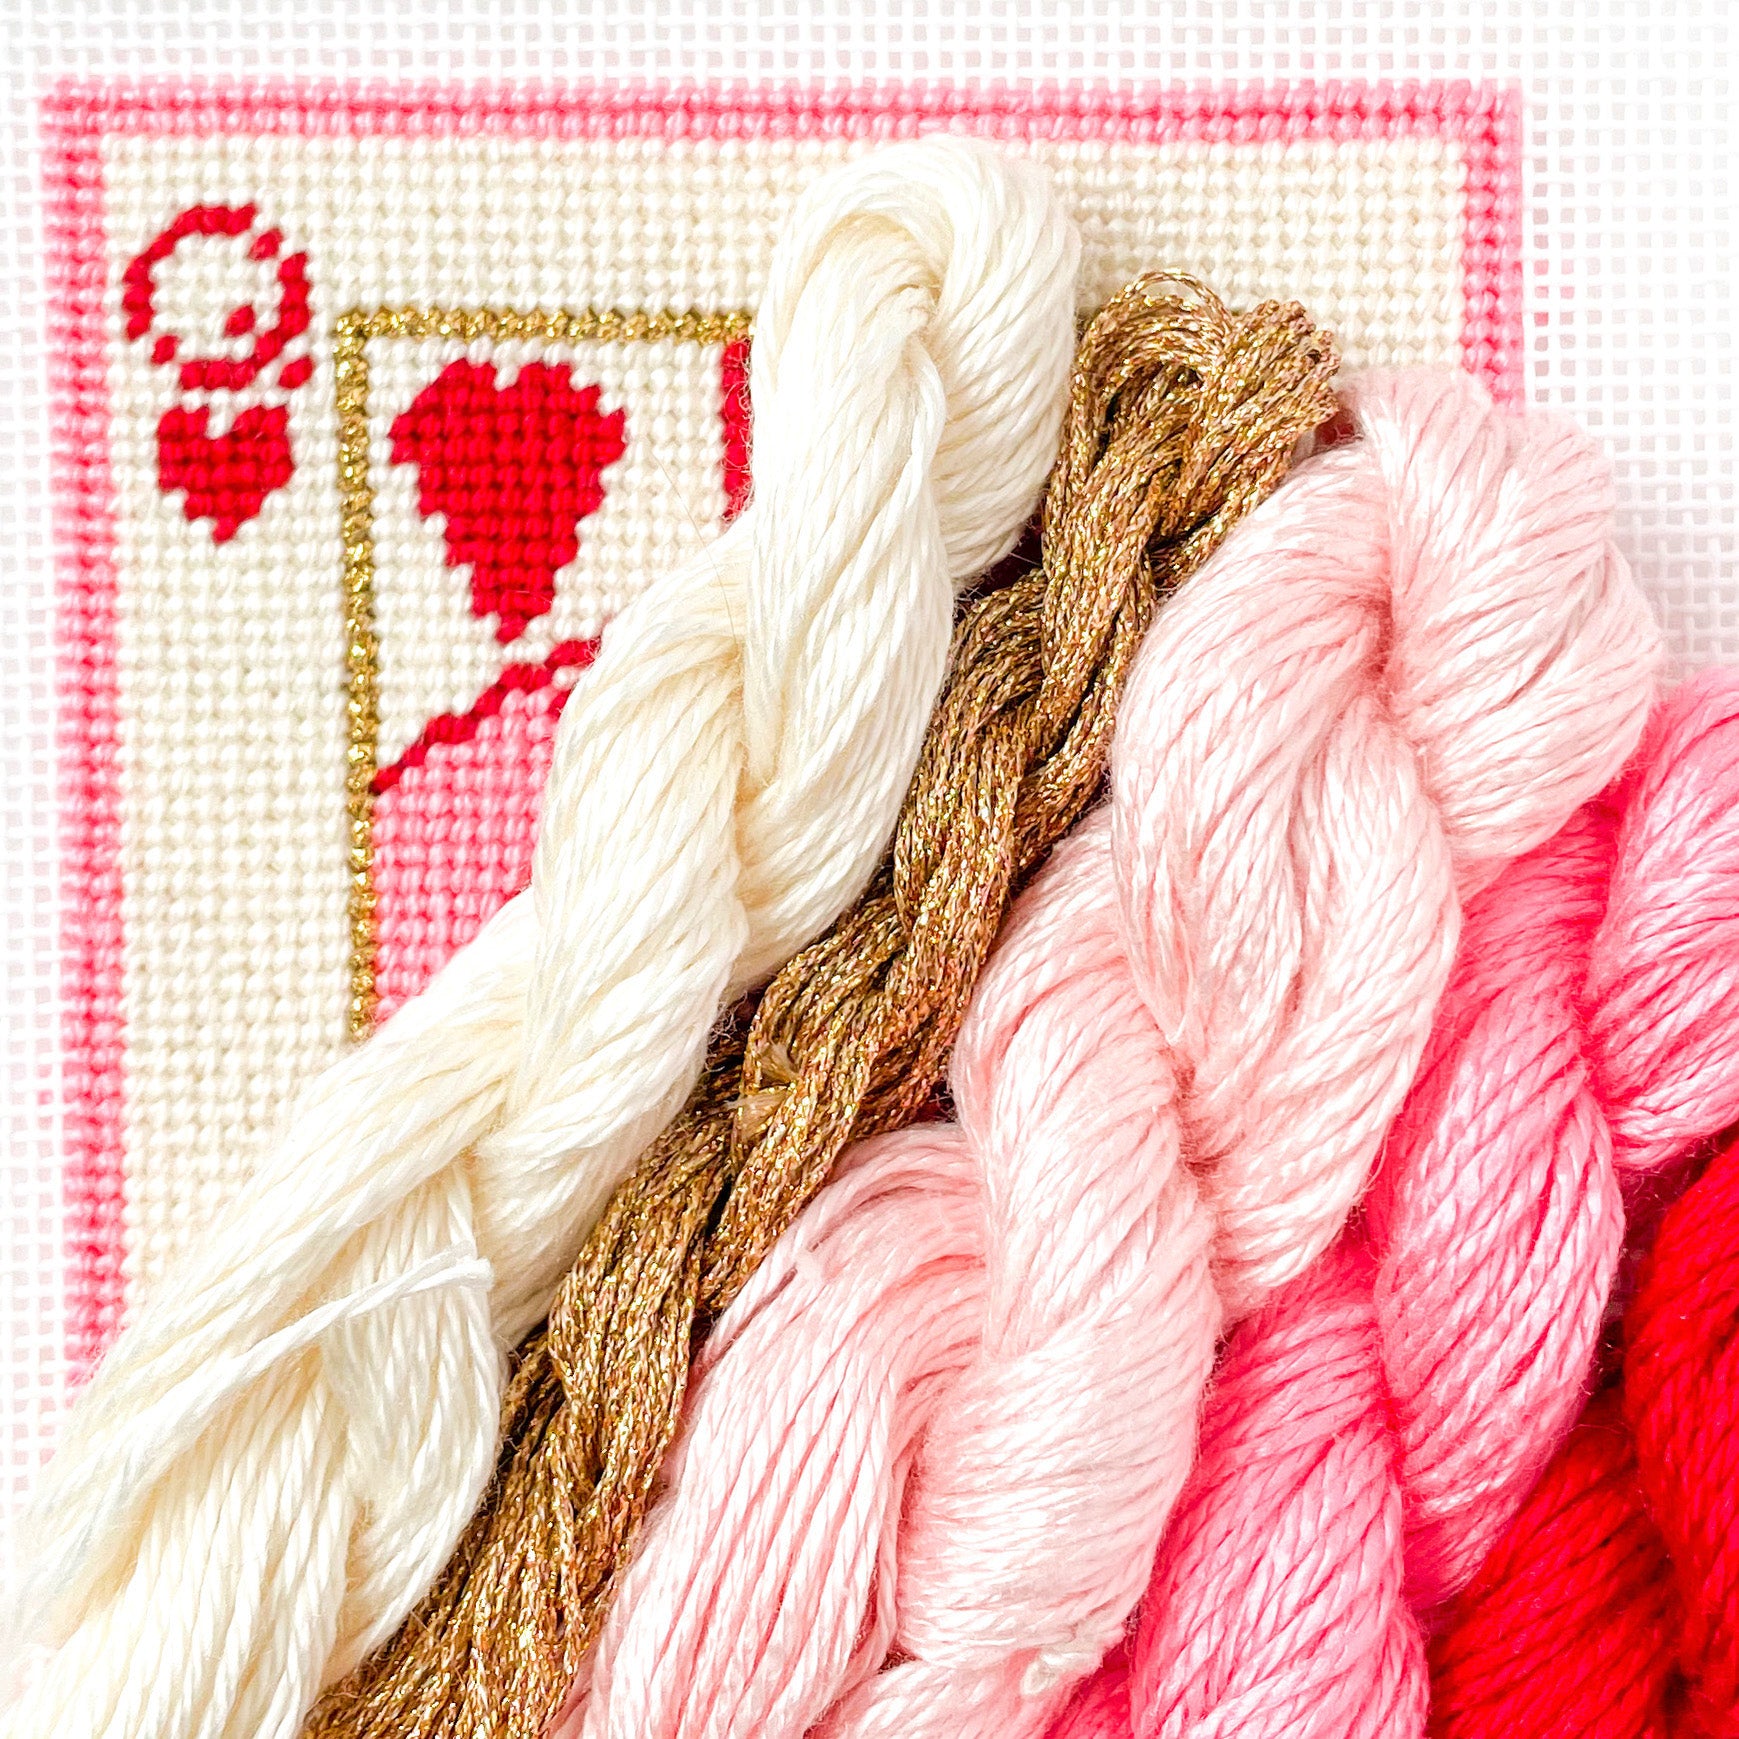
The most basic needlepoint stitch (the “tent stitch”) is simply one diagonal stitch covering one intersection of your canvas. That’s it! It is the only stitch you need to complete any needlepoint project.
Learn the basic needlepoint stitch
Like many hobbies, needlepoint can be as simple or complicated as you want it to be - there are plenty of decorative stitches and fancy techniques you can leverage as you get more comfortable. If you are feeling adventurous, I offer free mini stitch guides for a lot of my canvases to serve as inspiration for trying new stitches and fibers.
Finishing
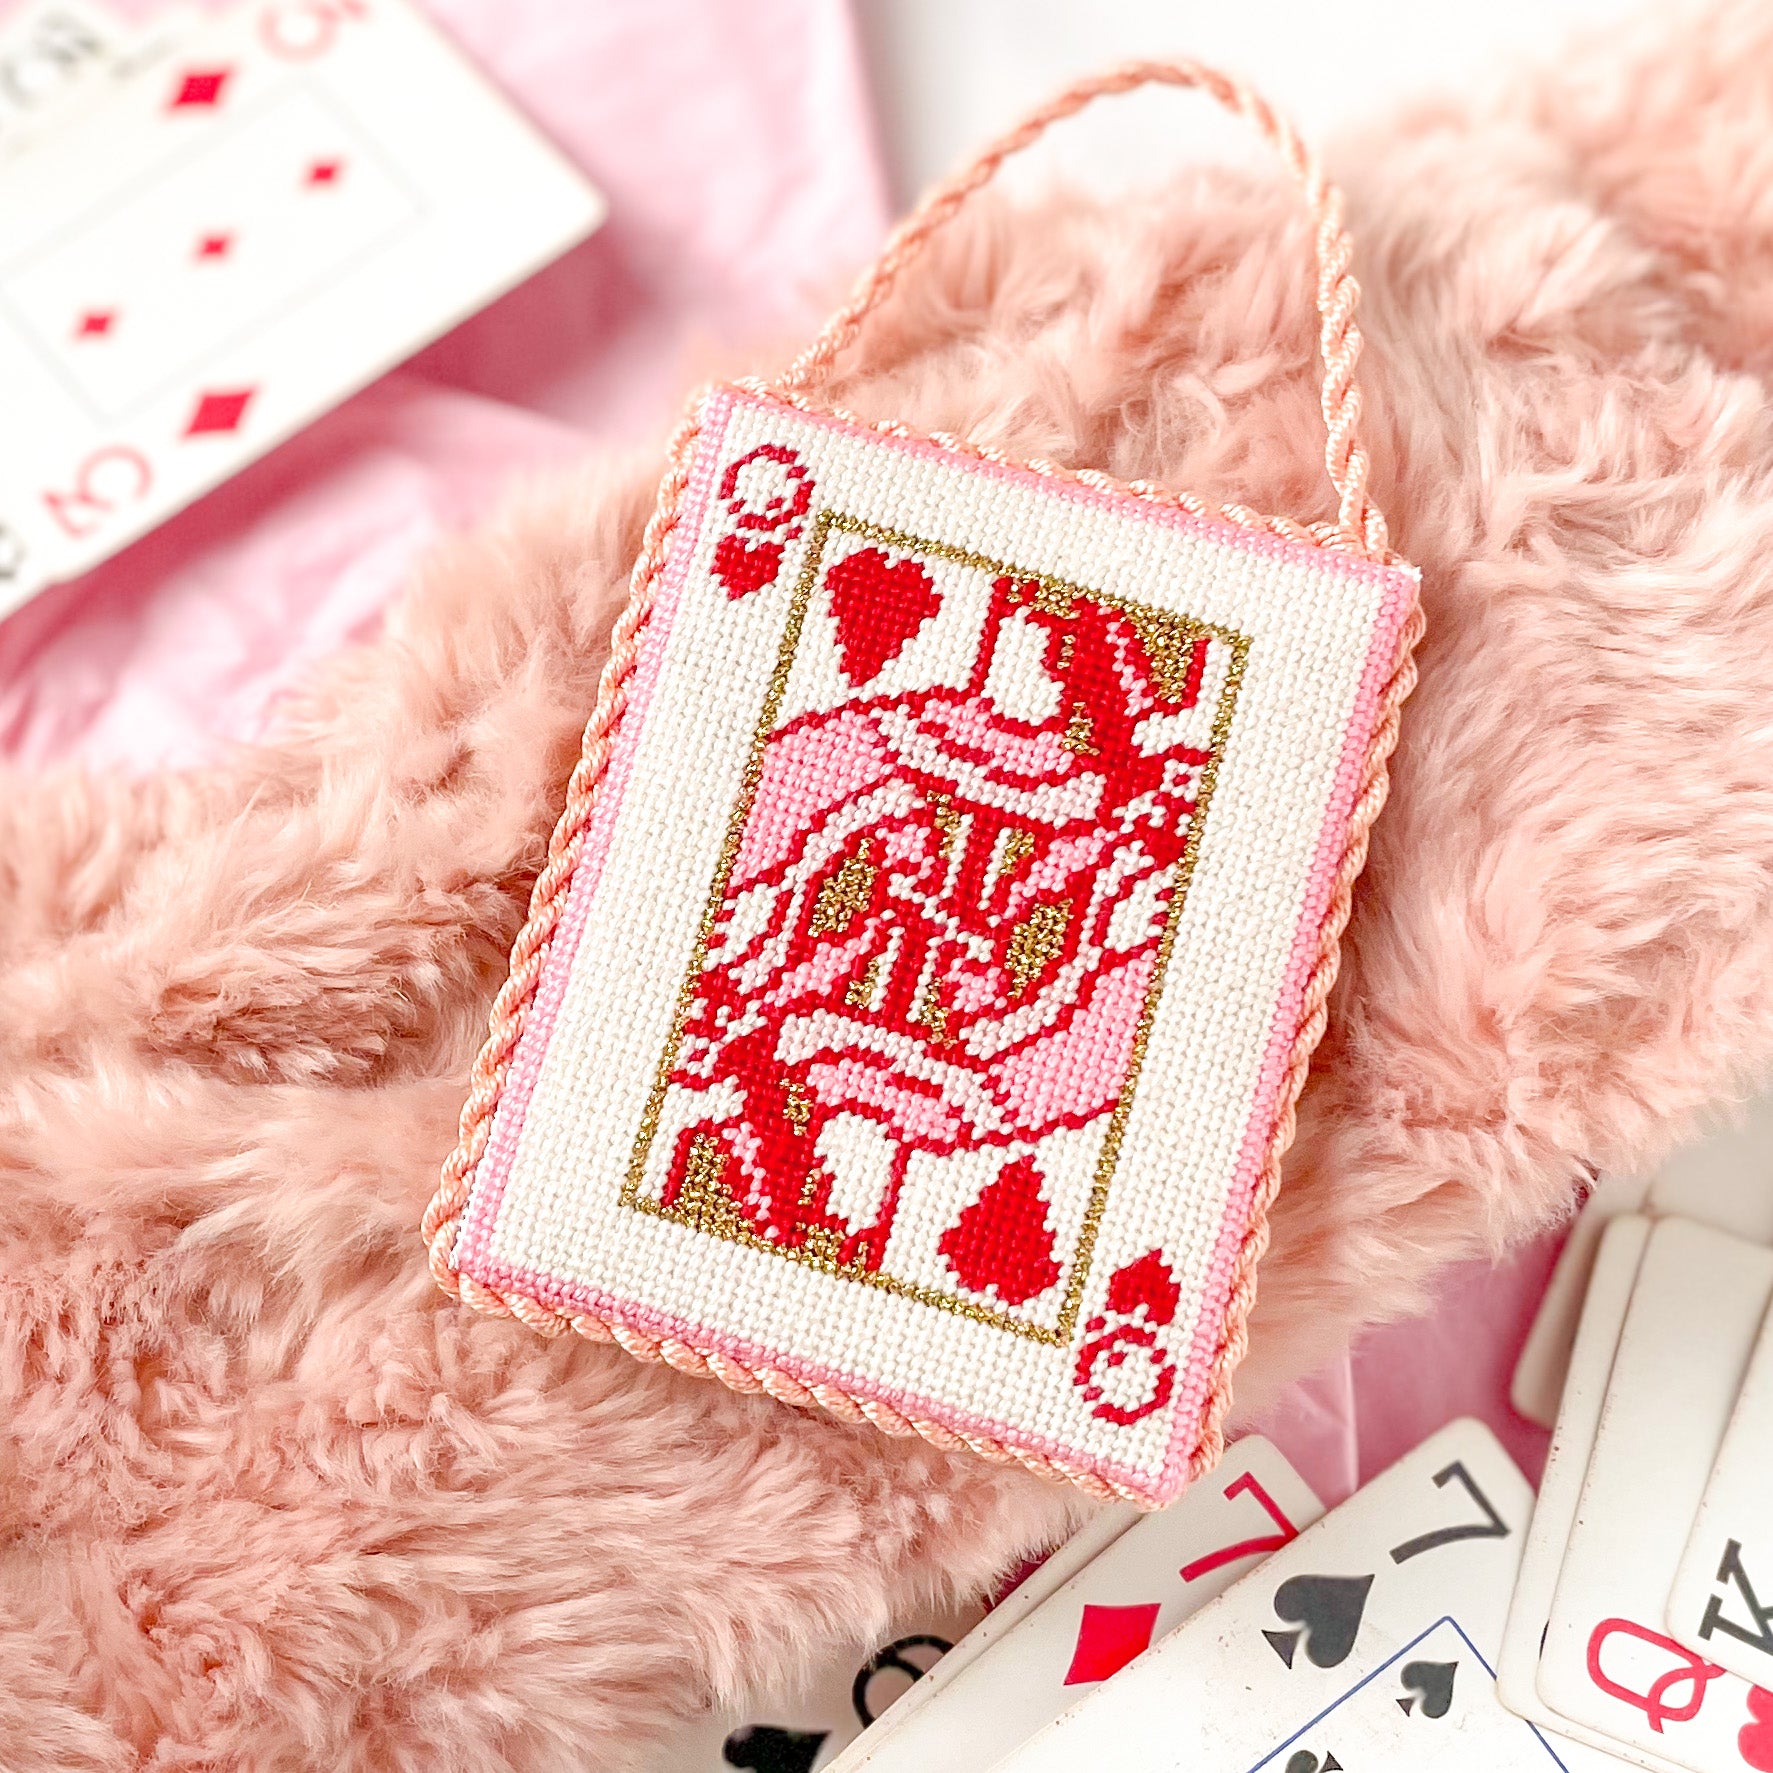
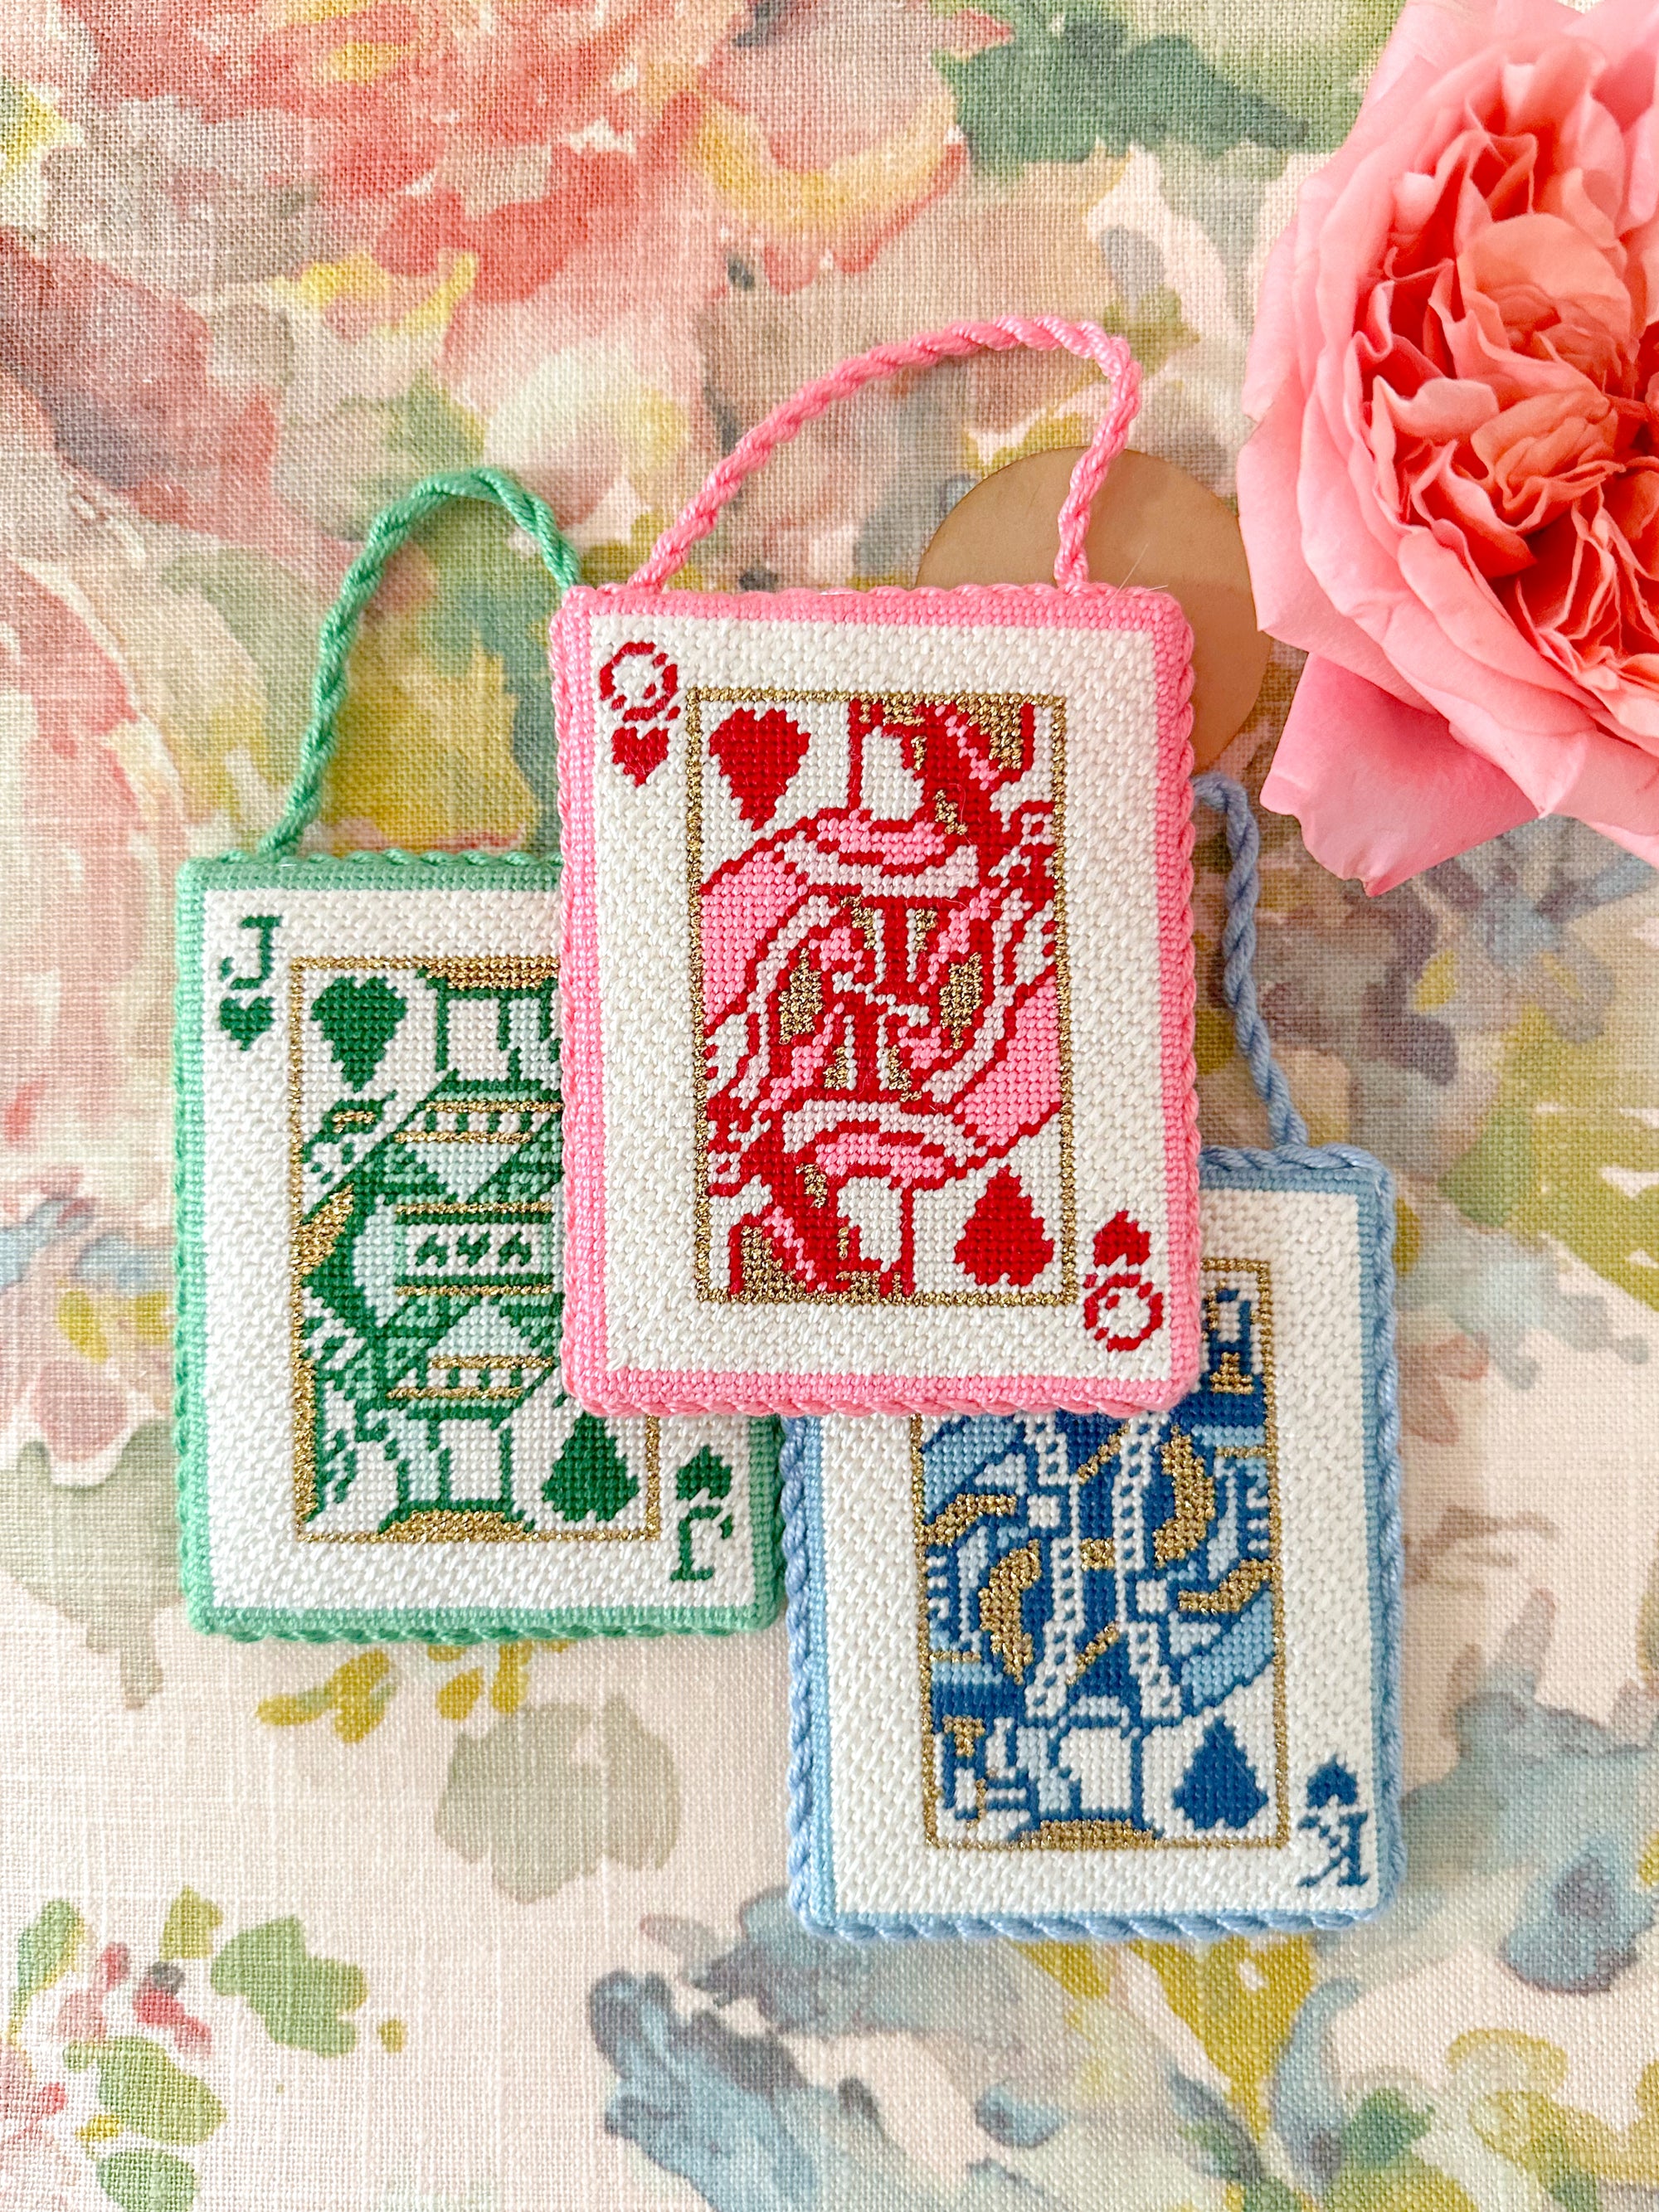
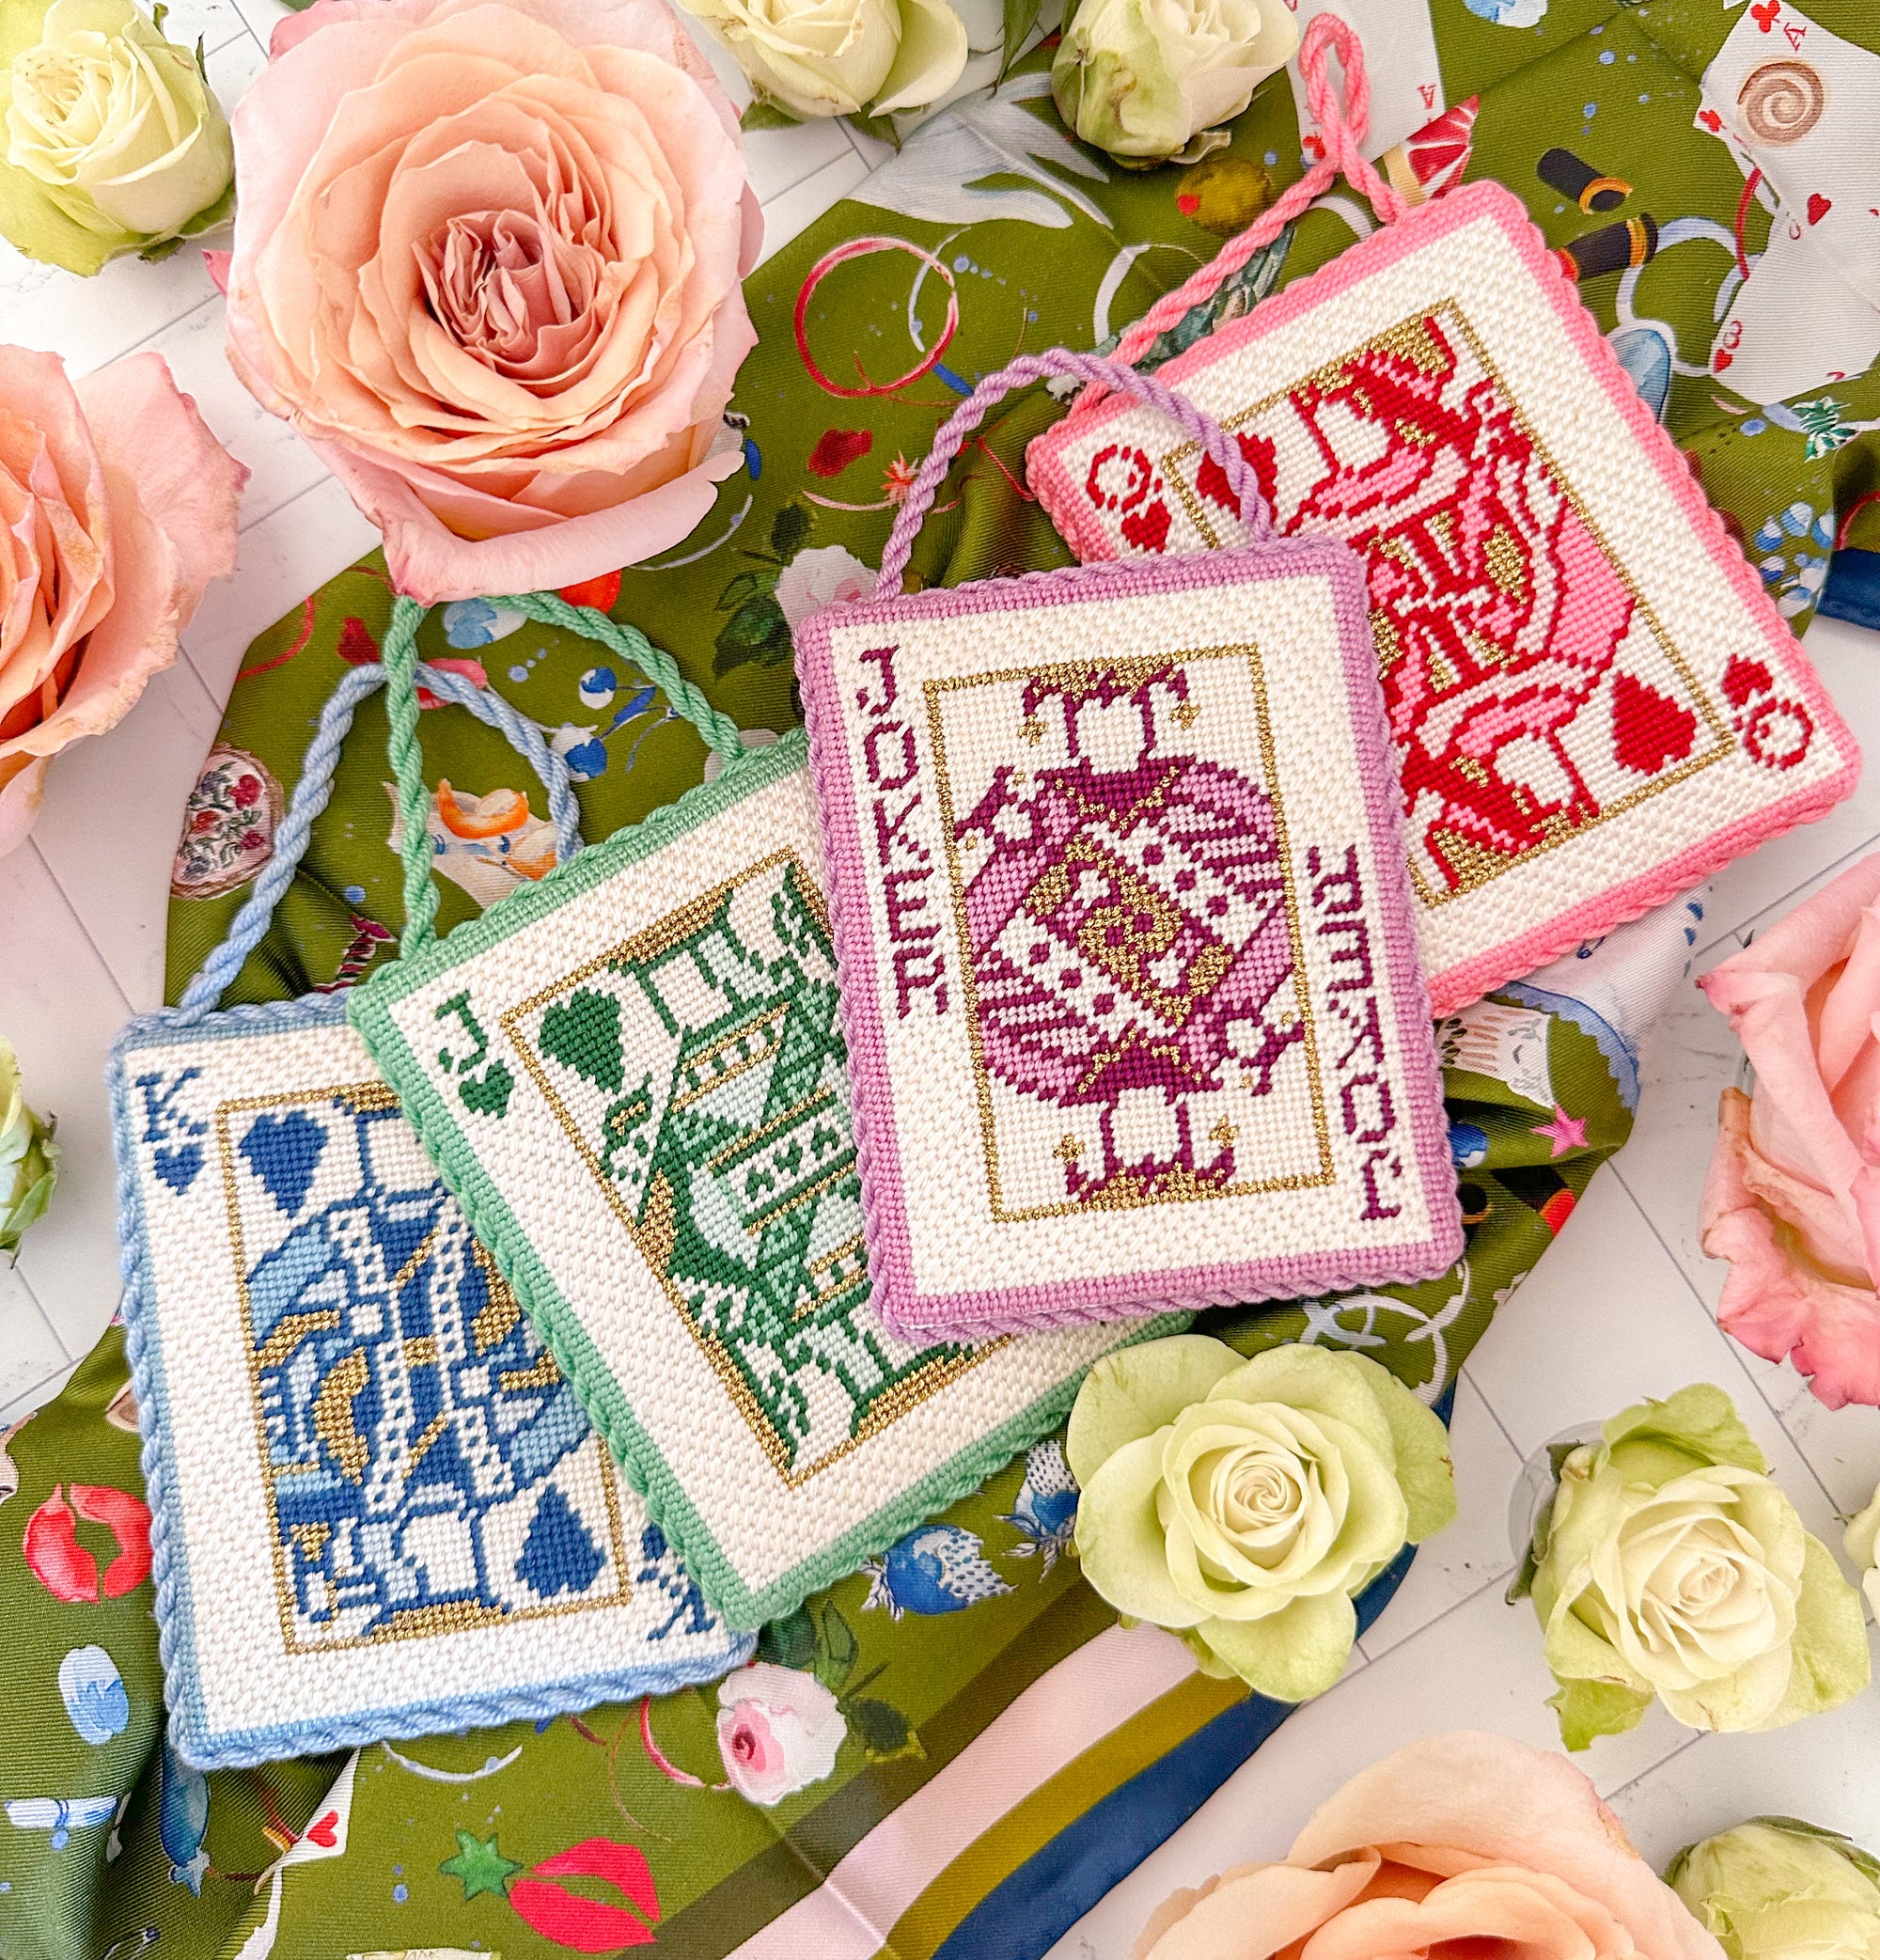
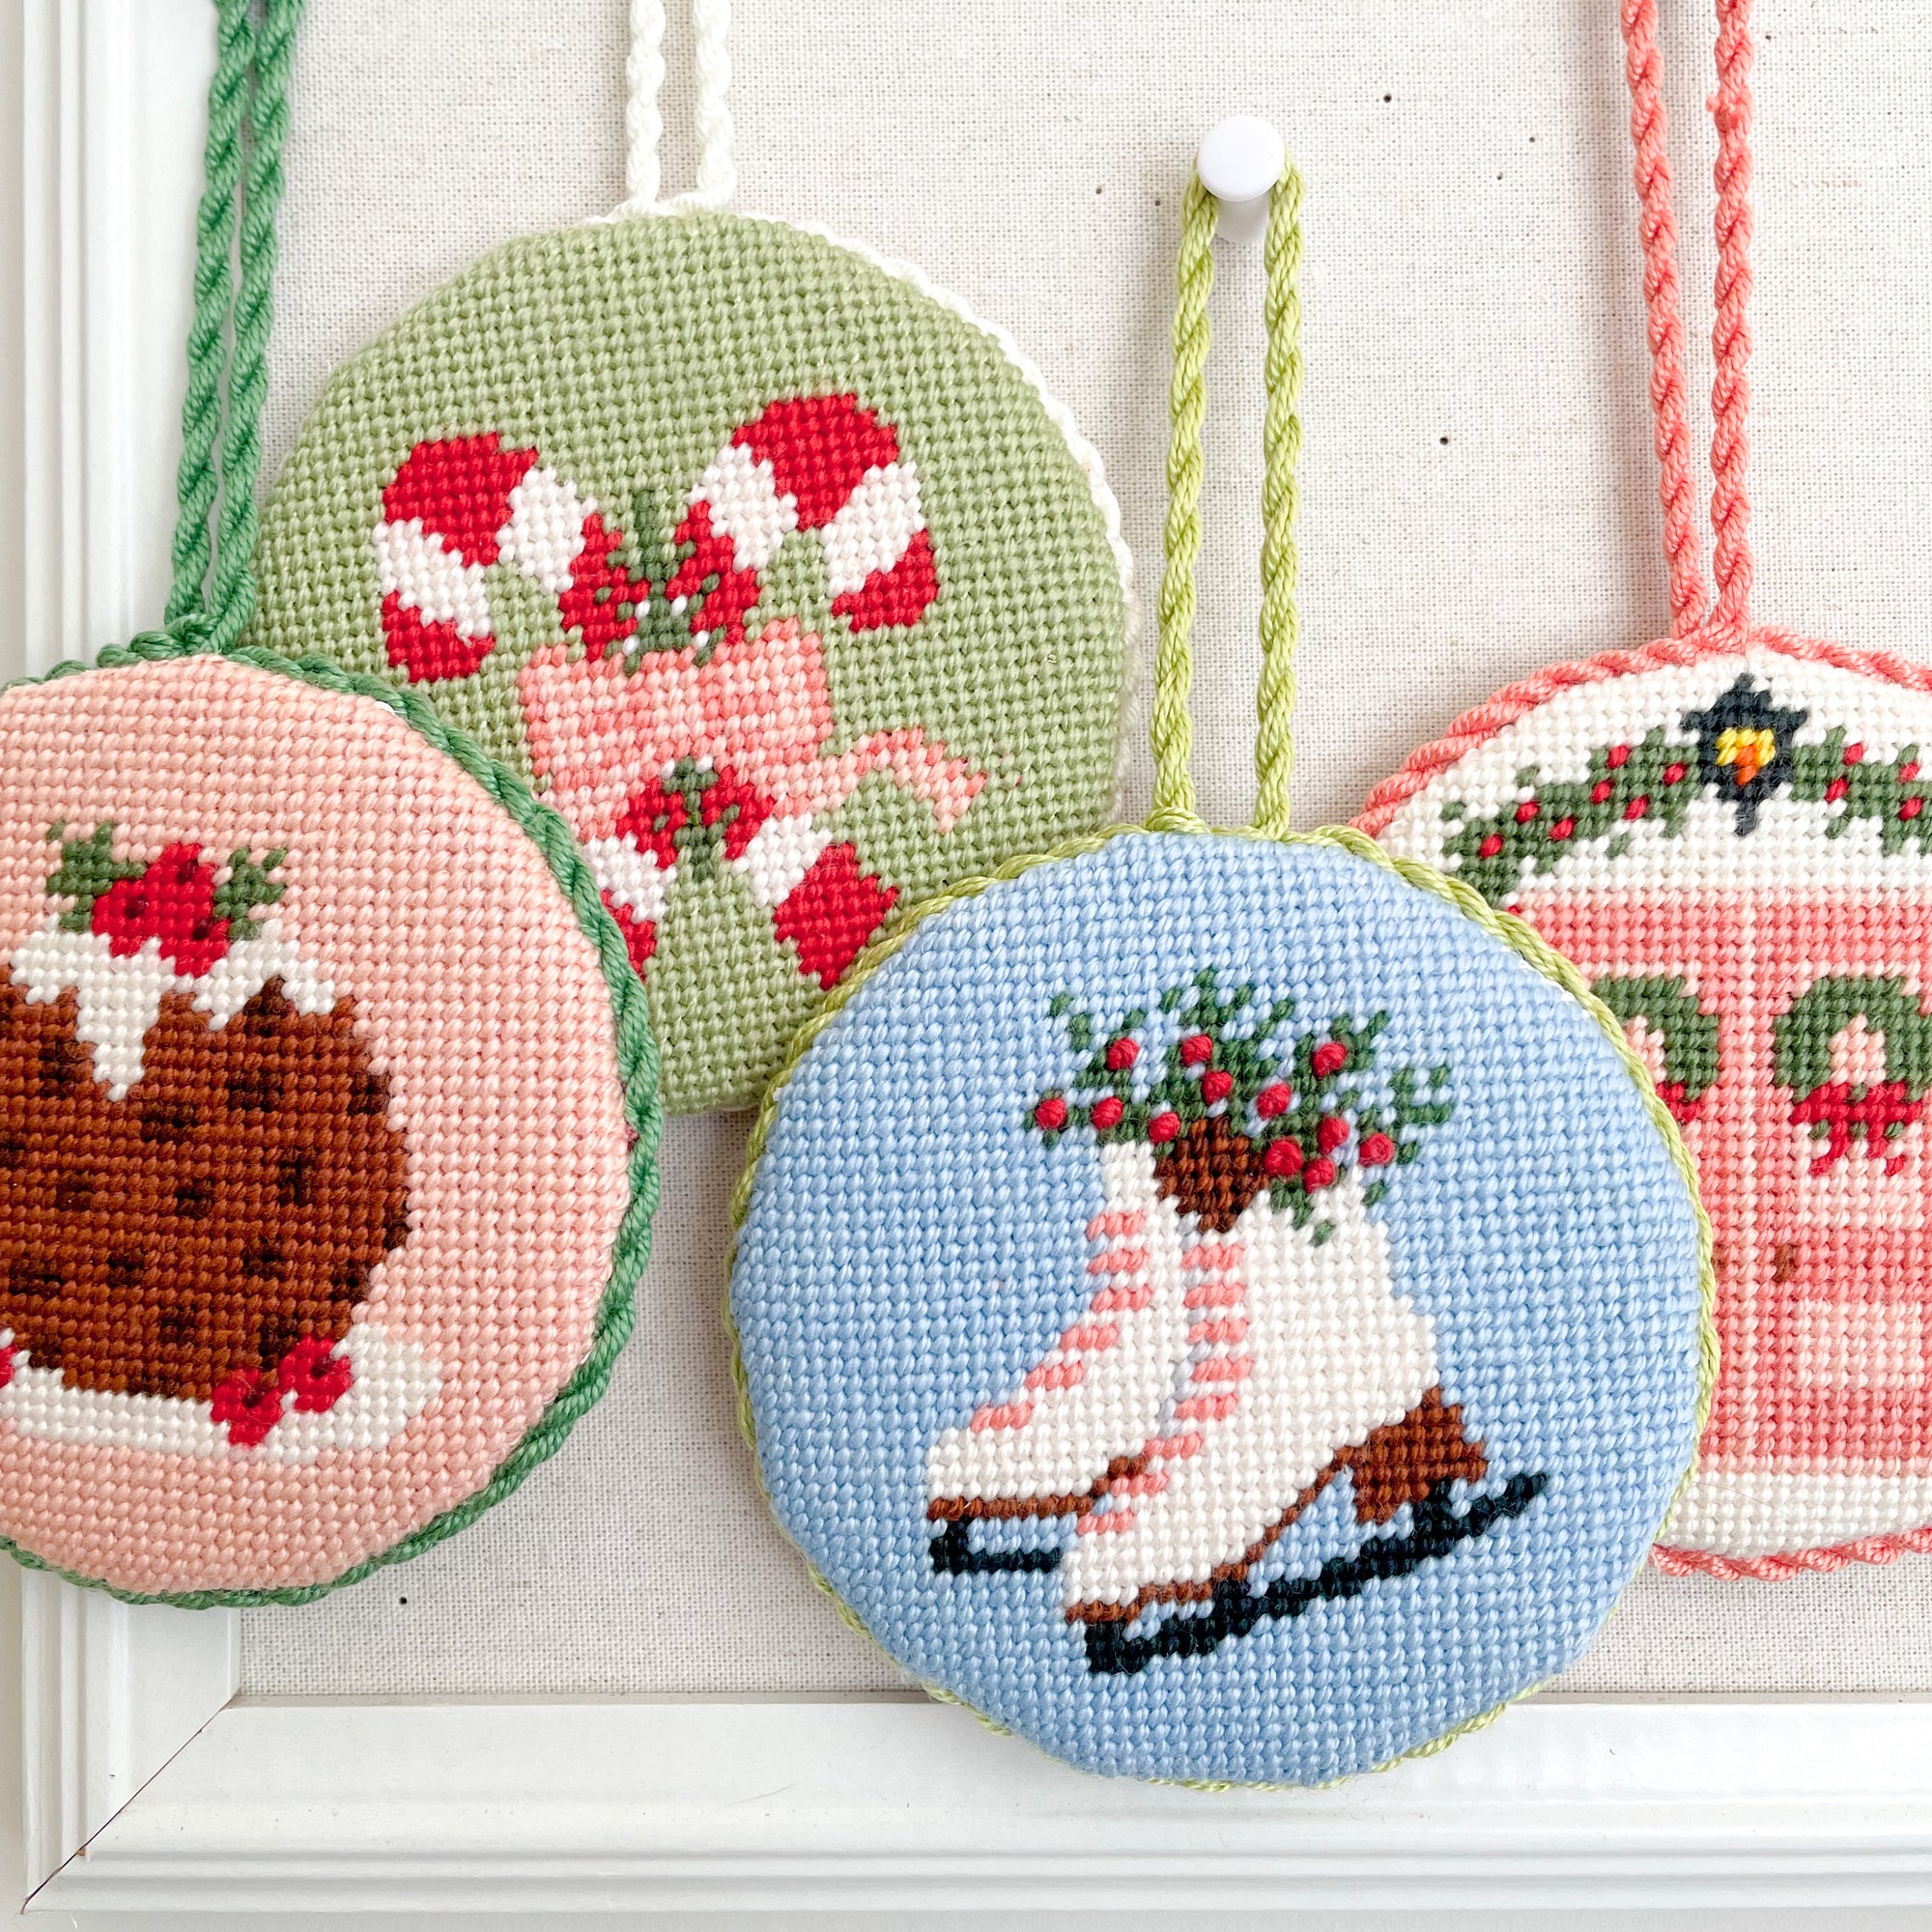
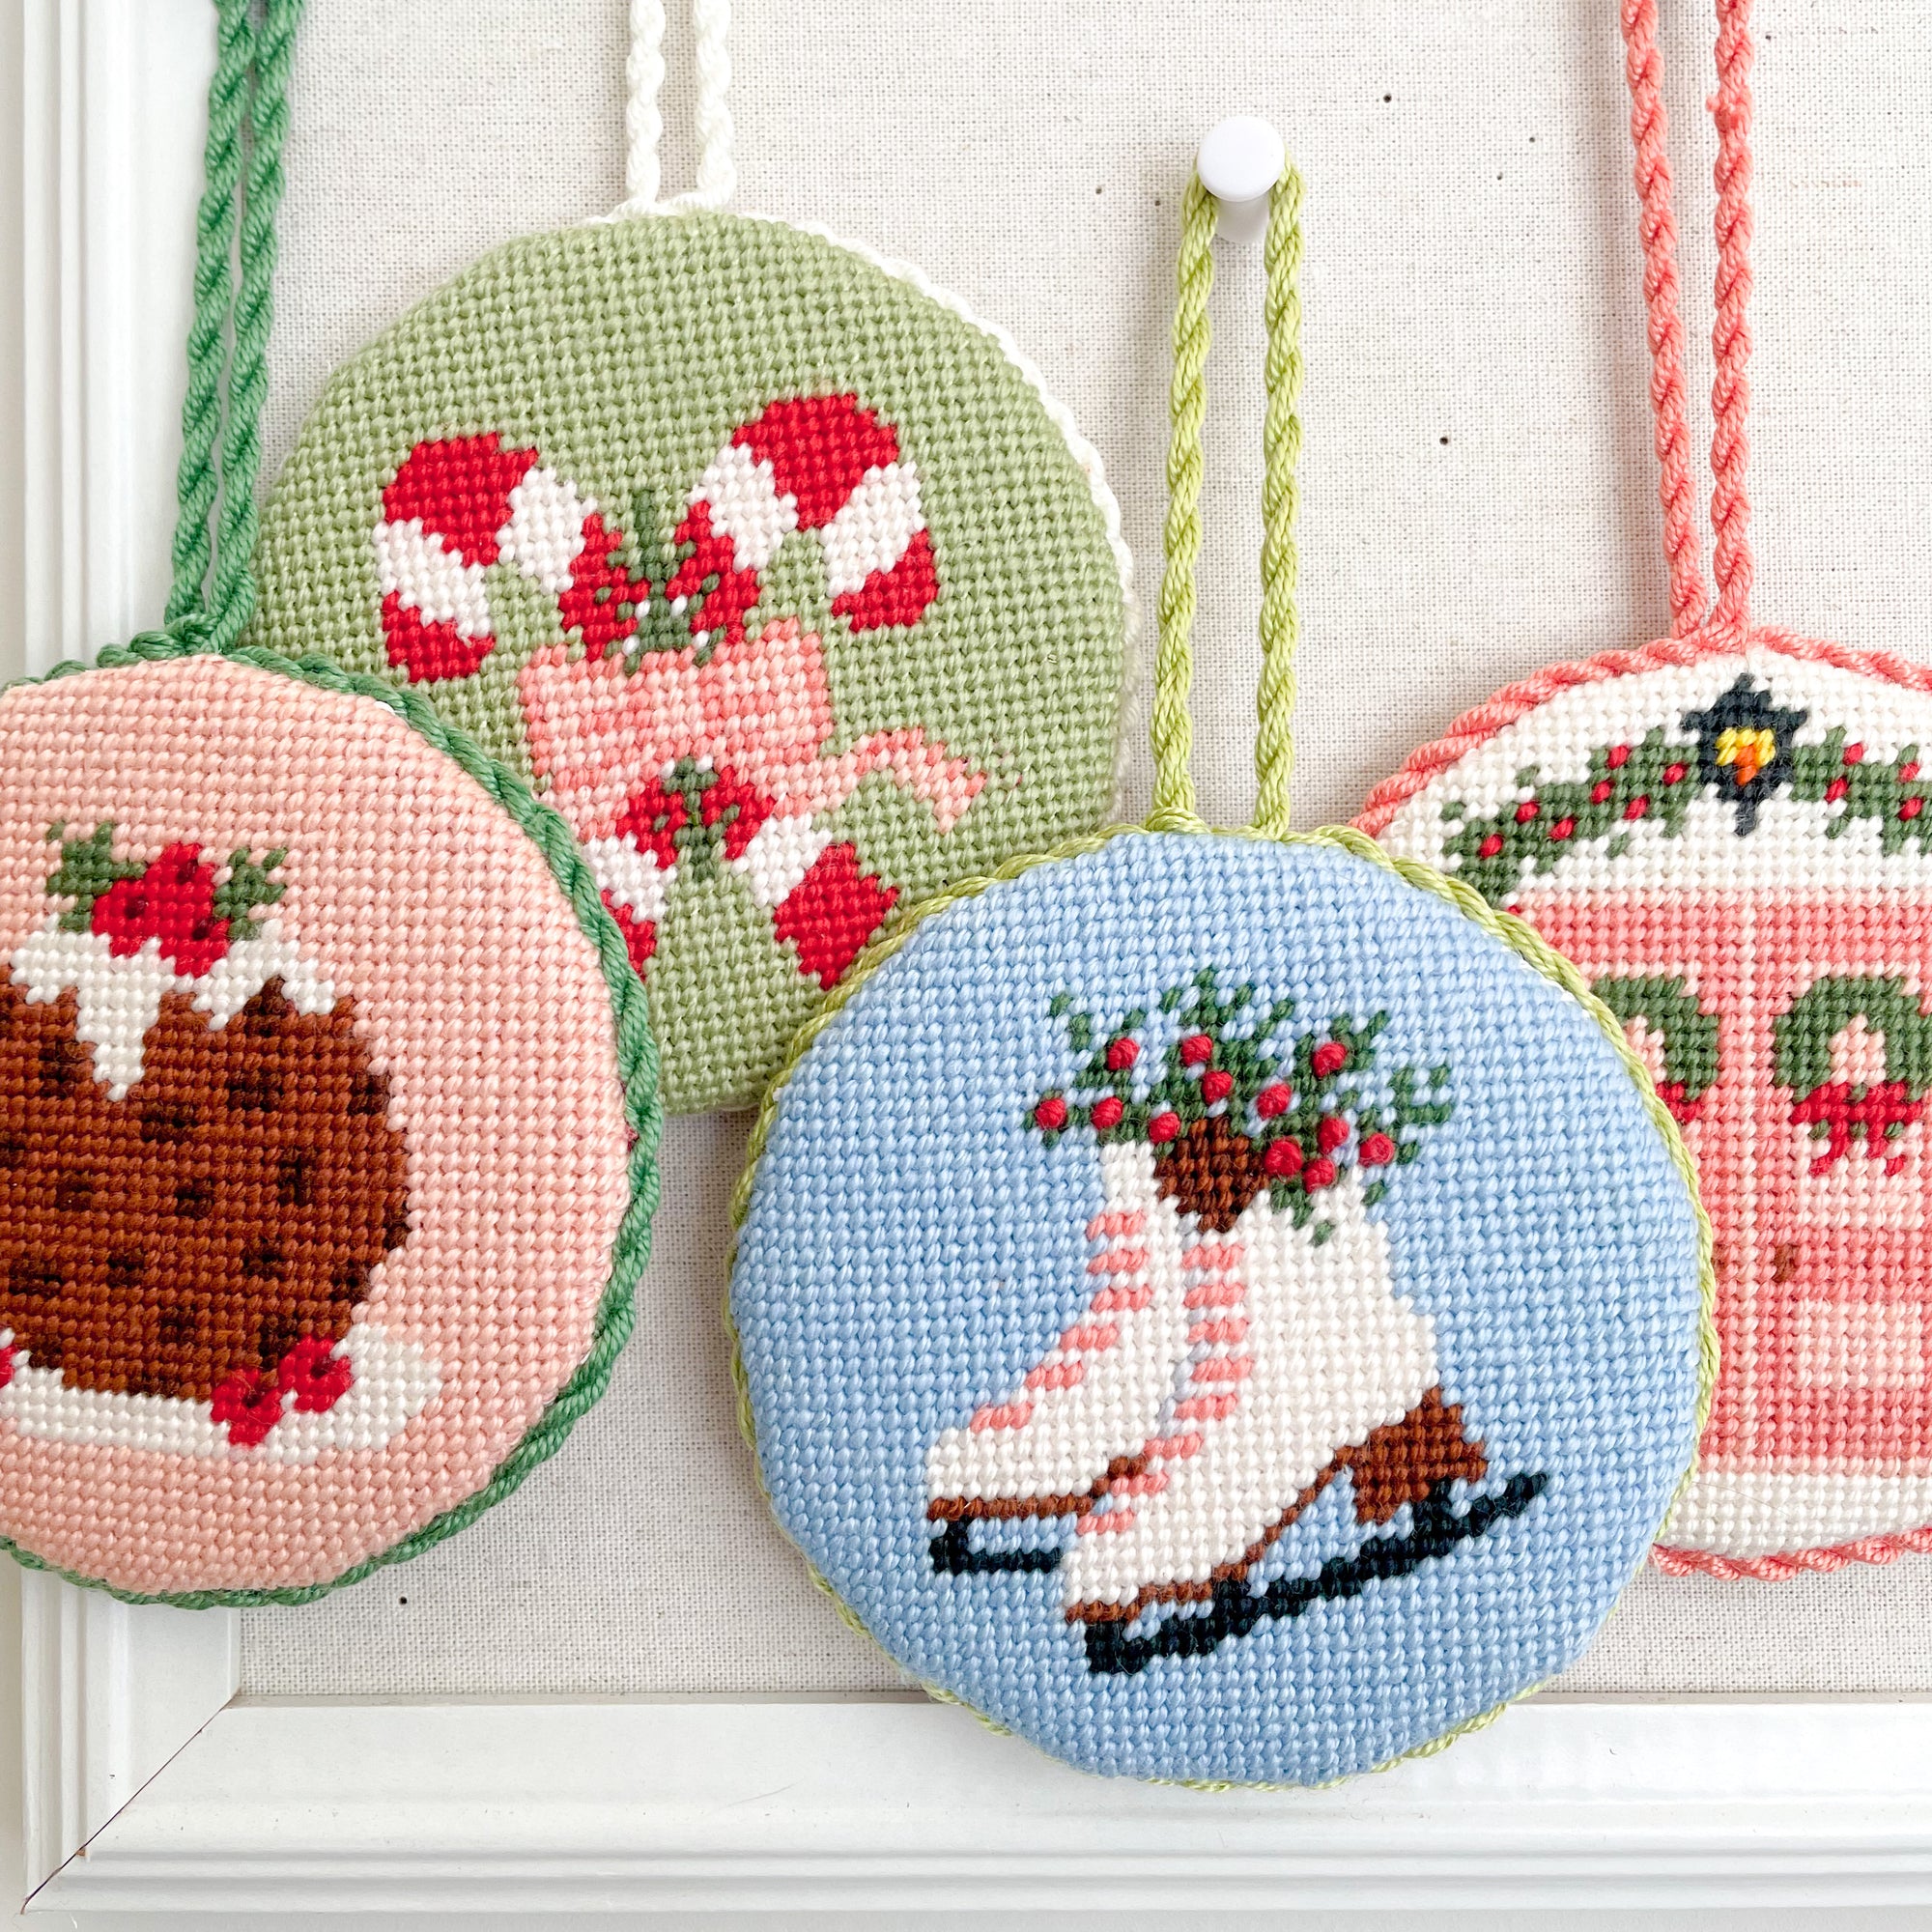
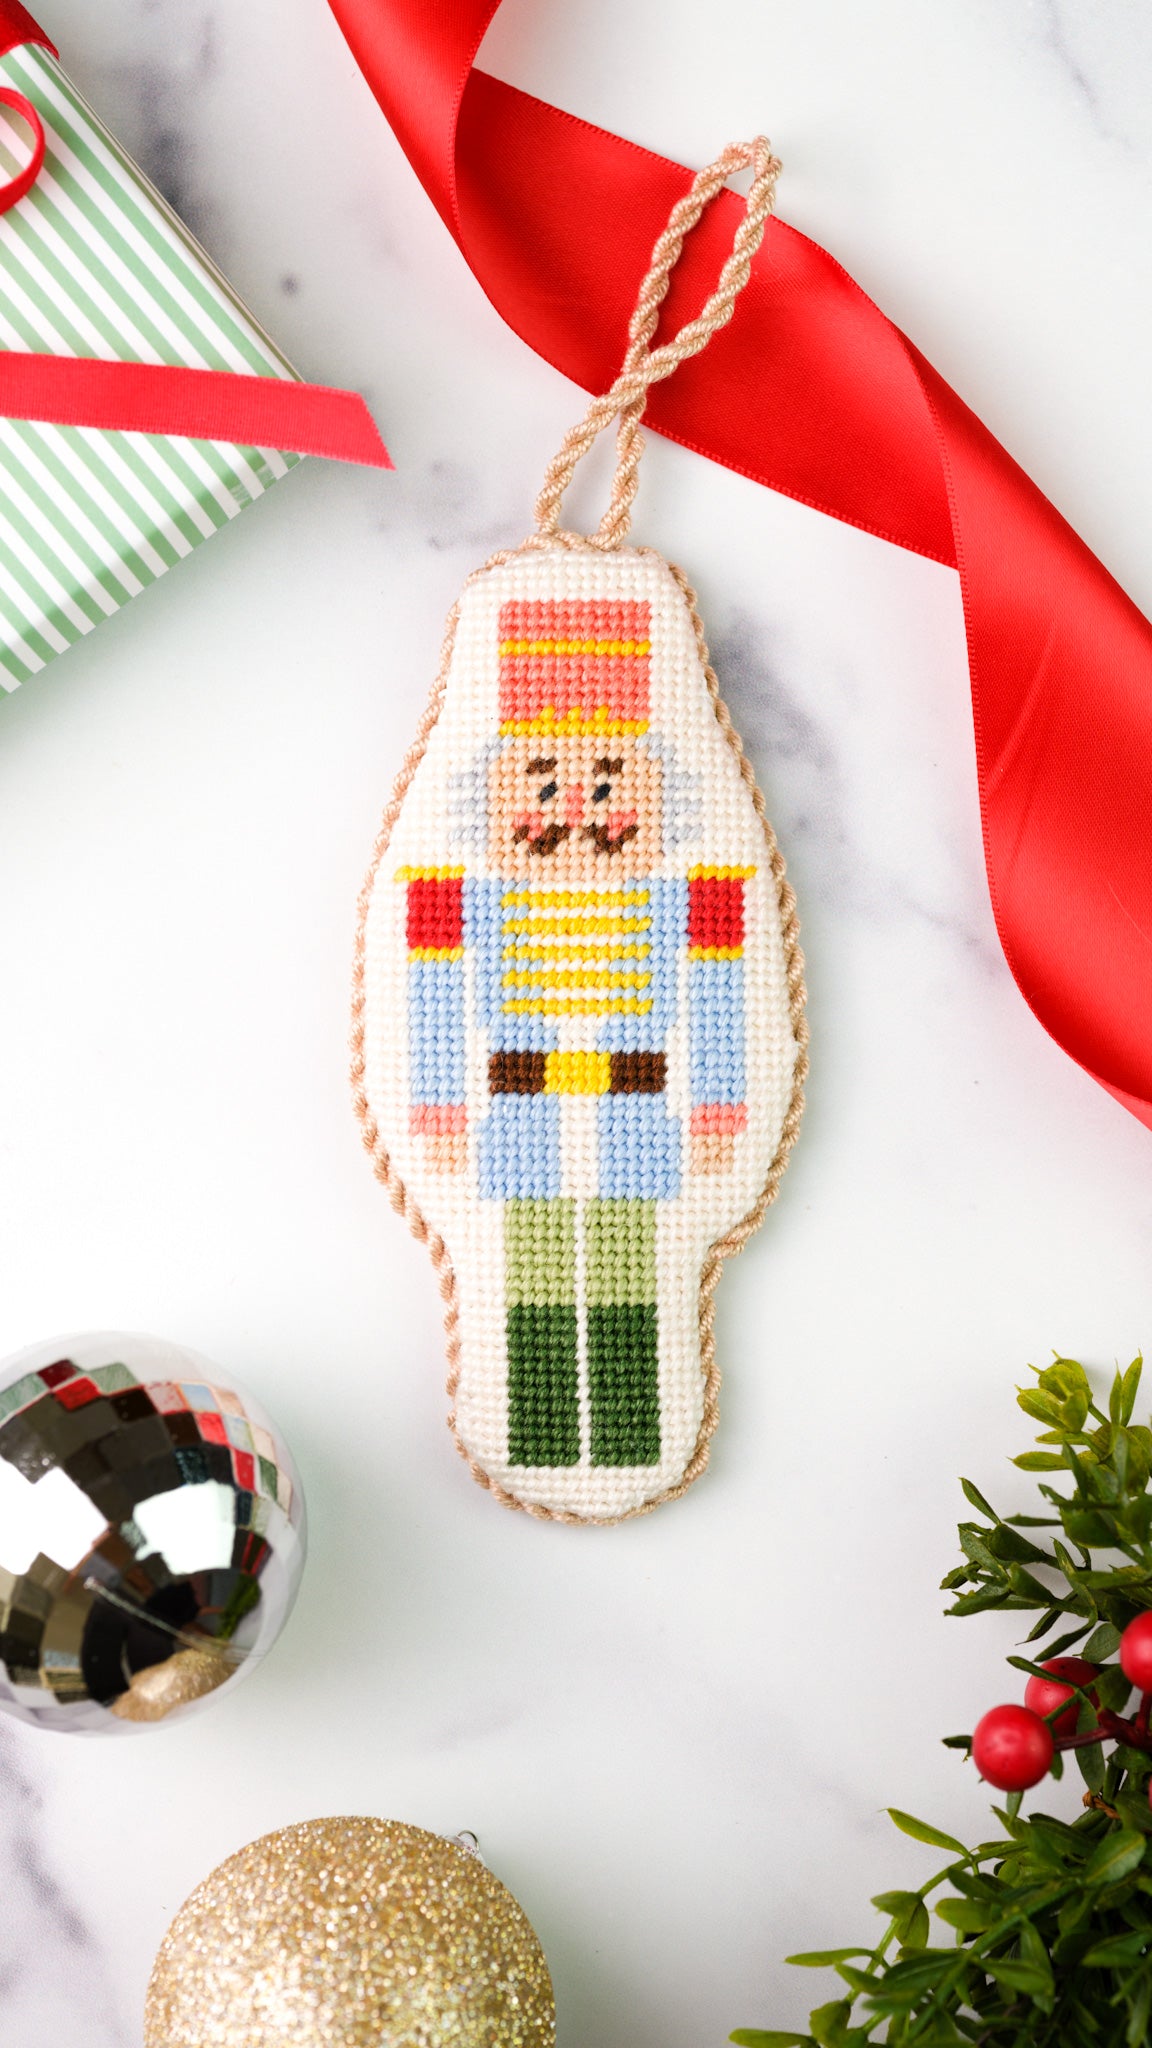
Once you finish stitching your first project, the next exciting part begins: making your canvas into an heirloom piece to enjoy for years to come! You can either finish your piece yourself following my tutorial here, or take it to a local needlepoint store or finisher to have them put the finishing touches on your project. Some popular finishes are ornaments, pillows, trays, door hangs, coasters, bag decals, framed pieces, stockings, scissors cases, and much more! I have more detailed blog posts coming on this soon!
Learn the lingo
Like any hobby, there are certainly words and abbreviations you’ll commonly find. Here are a few:
- NDLPT→ shorthand for needlepoint
- LNS→ Local Needlepoint Store
- WIP→ Work In Progress, a canvas you have started but haven’t yet finished stitching
- Stash→ your personal collection of canvases. Some people only purchase and stitch one canvas at a time, while other will buy multiple canvases at once and start stitching them when the mood strikes! Because needlepoint canvases are hand-painted, they can take a long time to produce. Many people like to buy a canvas they love when it is available so they do not have to wait months for it to restock.
- Skein→ a length of thread collected in a loose ring. This is typically how you will purchase thread from a shop or online retailer. *Of note, different vendors have different amounts of thread included on a skein. I find most, not all, tend to be around 30 yards.
I hope this gives you the confidence to jump right in and try out needlepoint for yourself! If you have any questions, please feel free to reach out!


