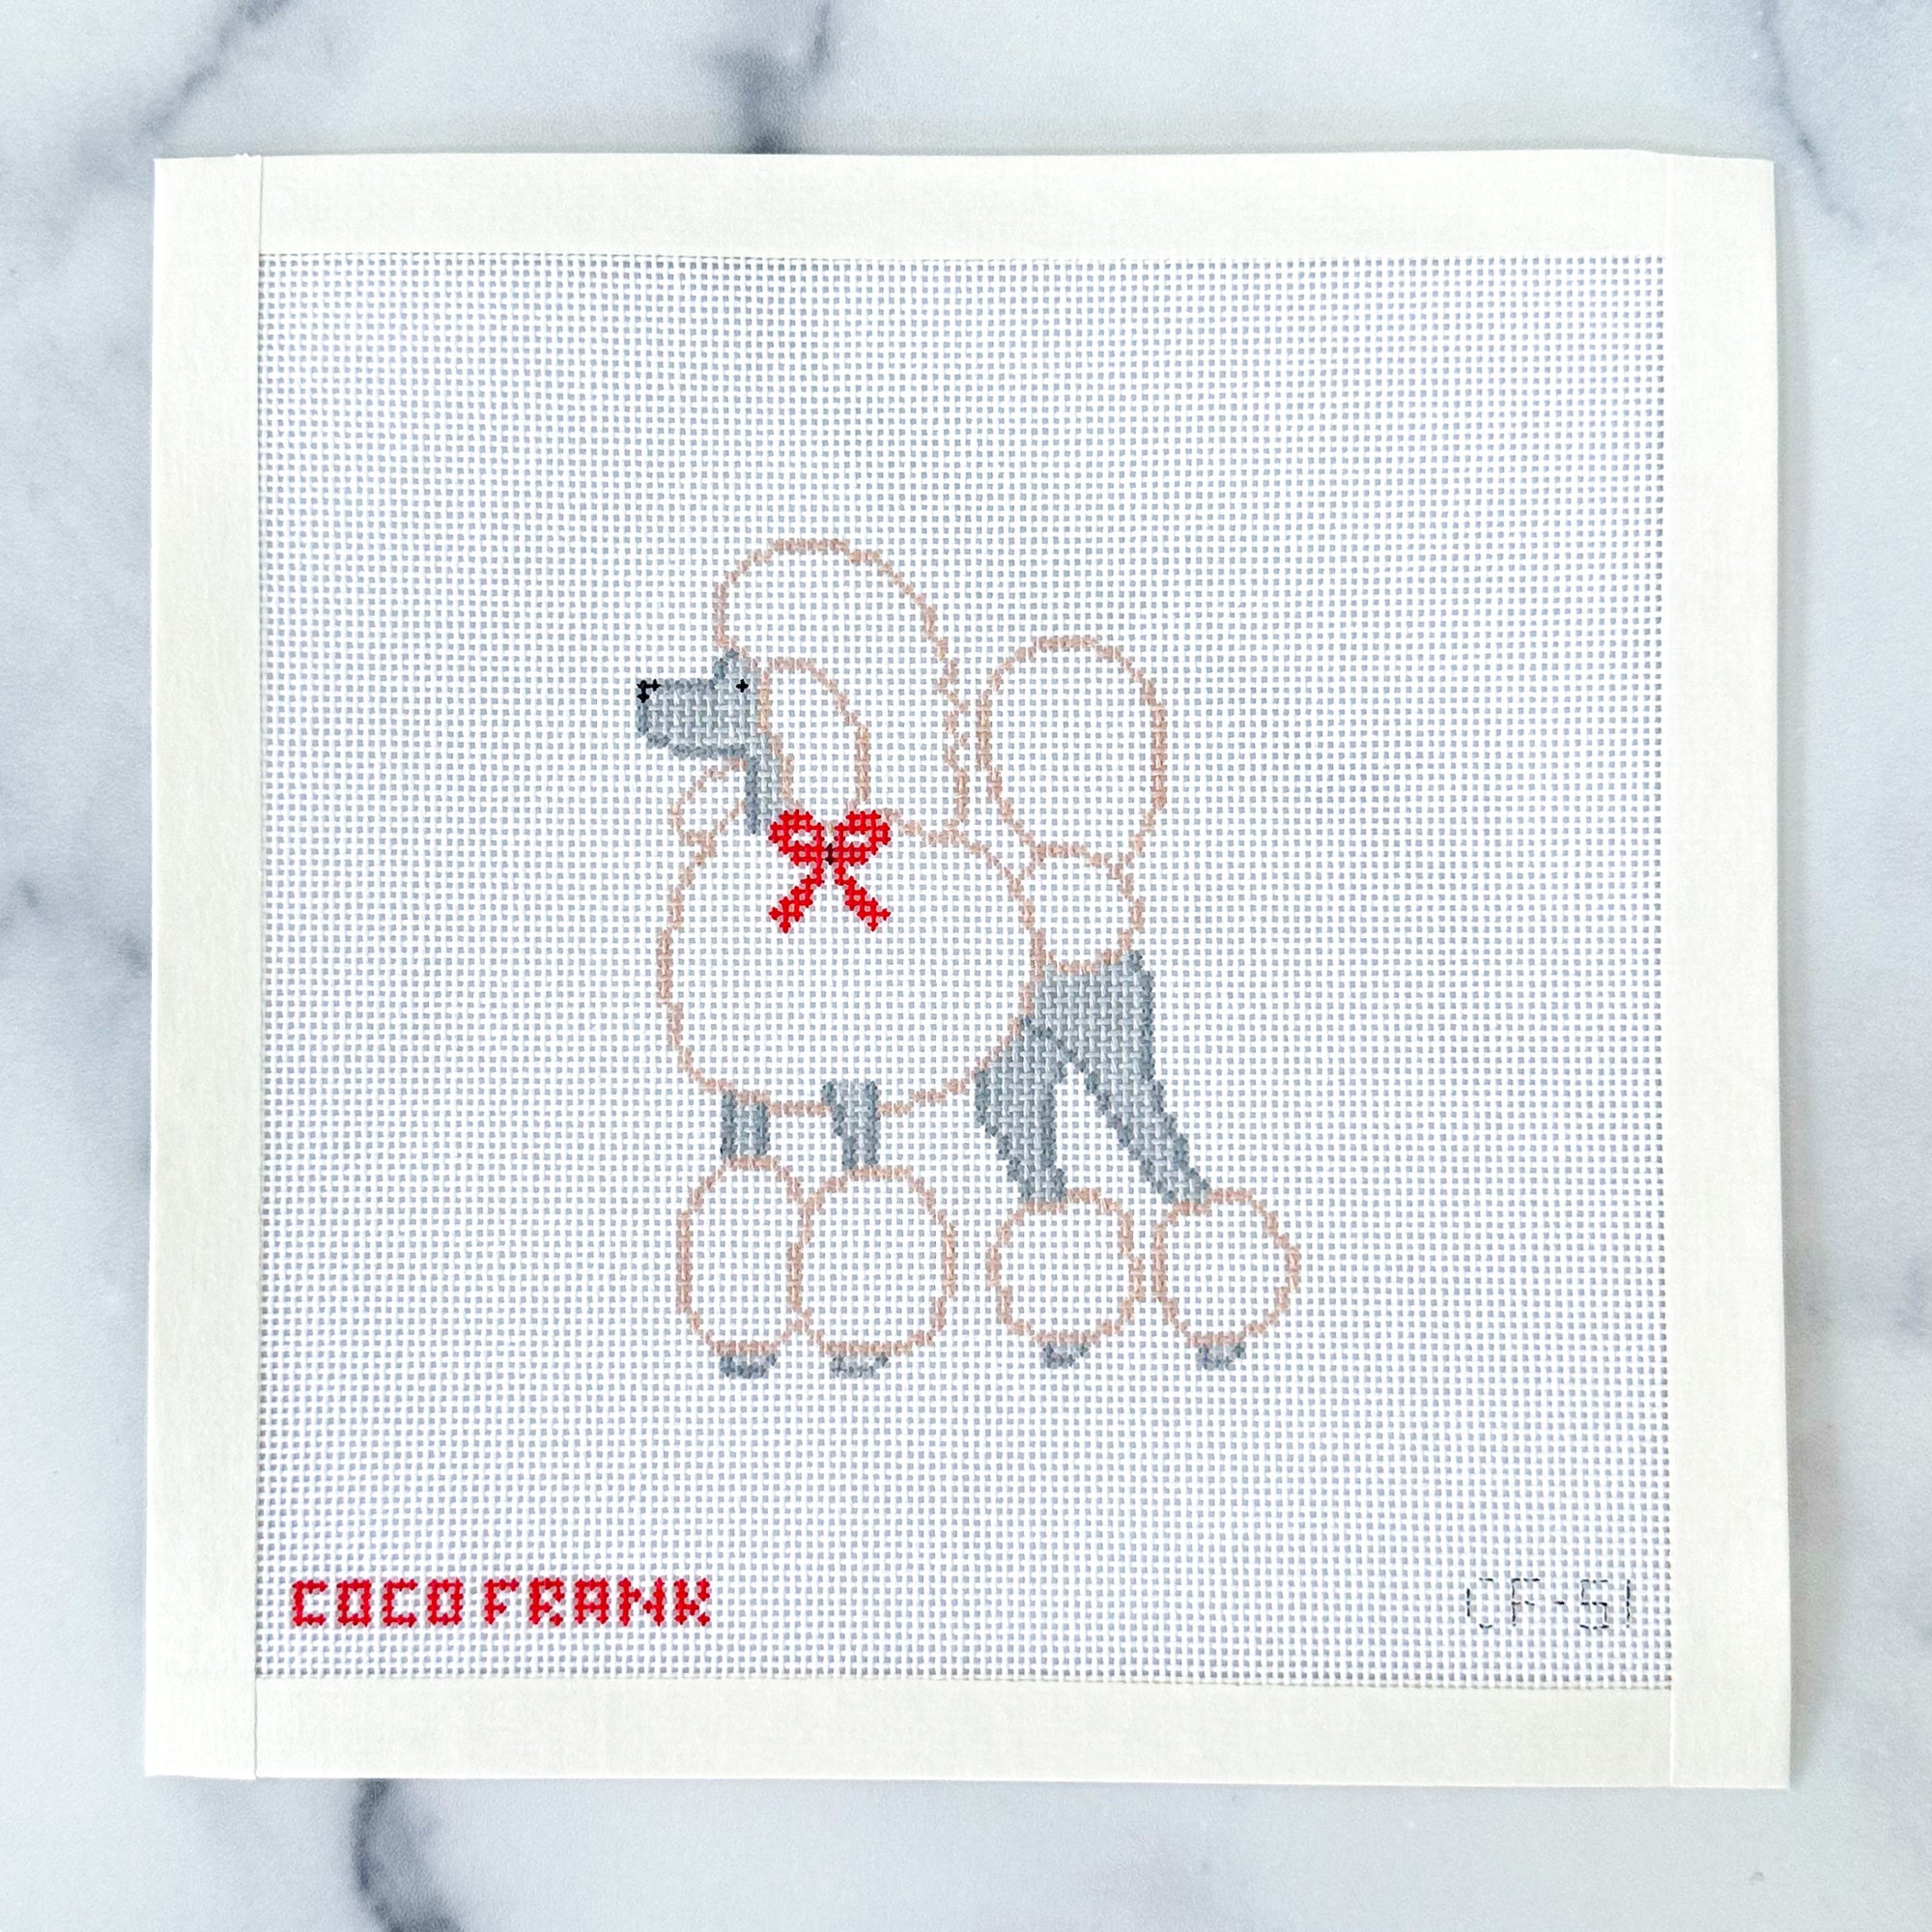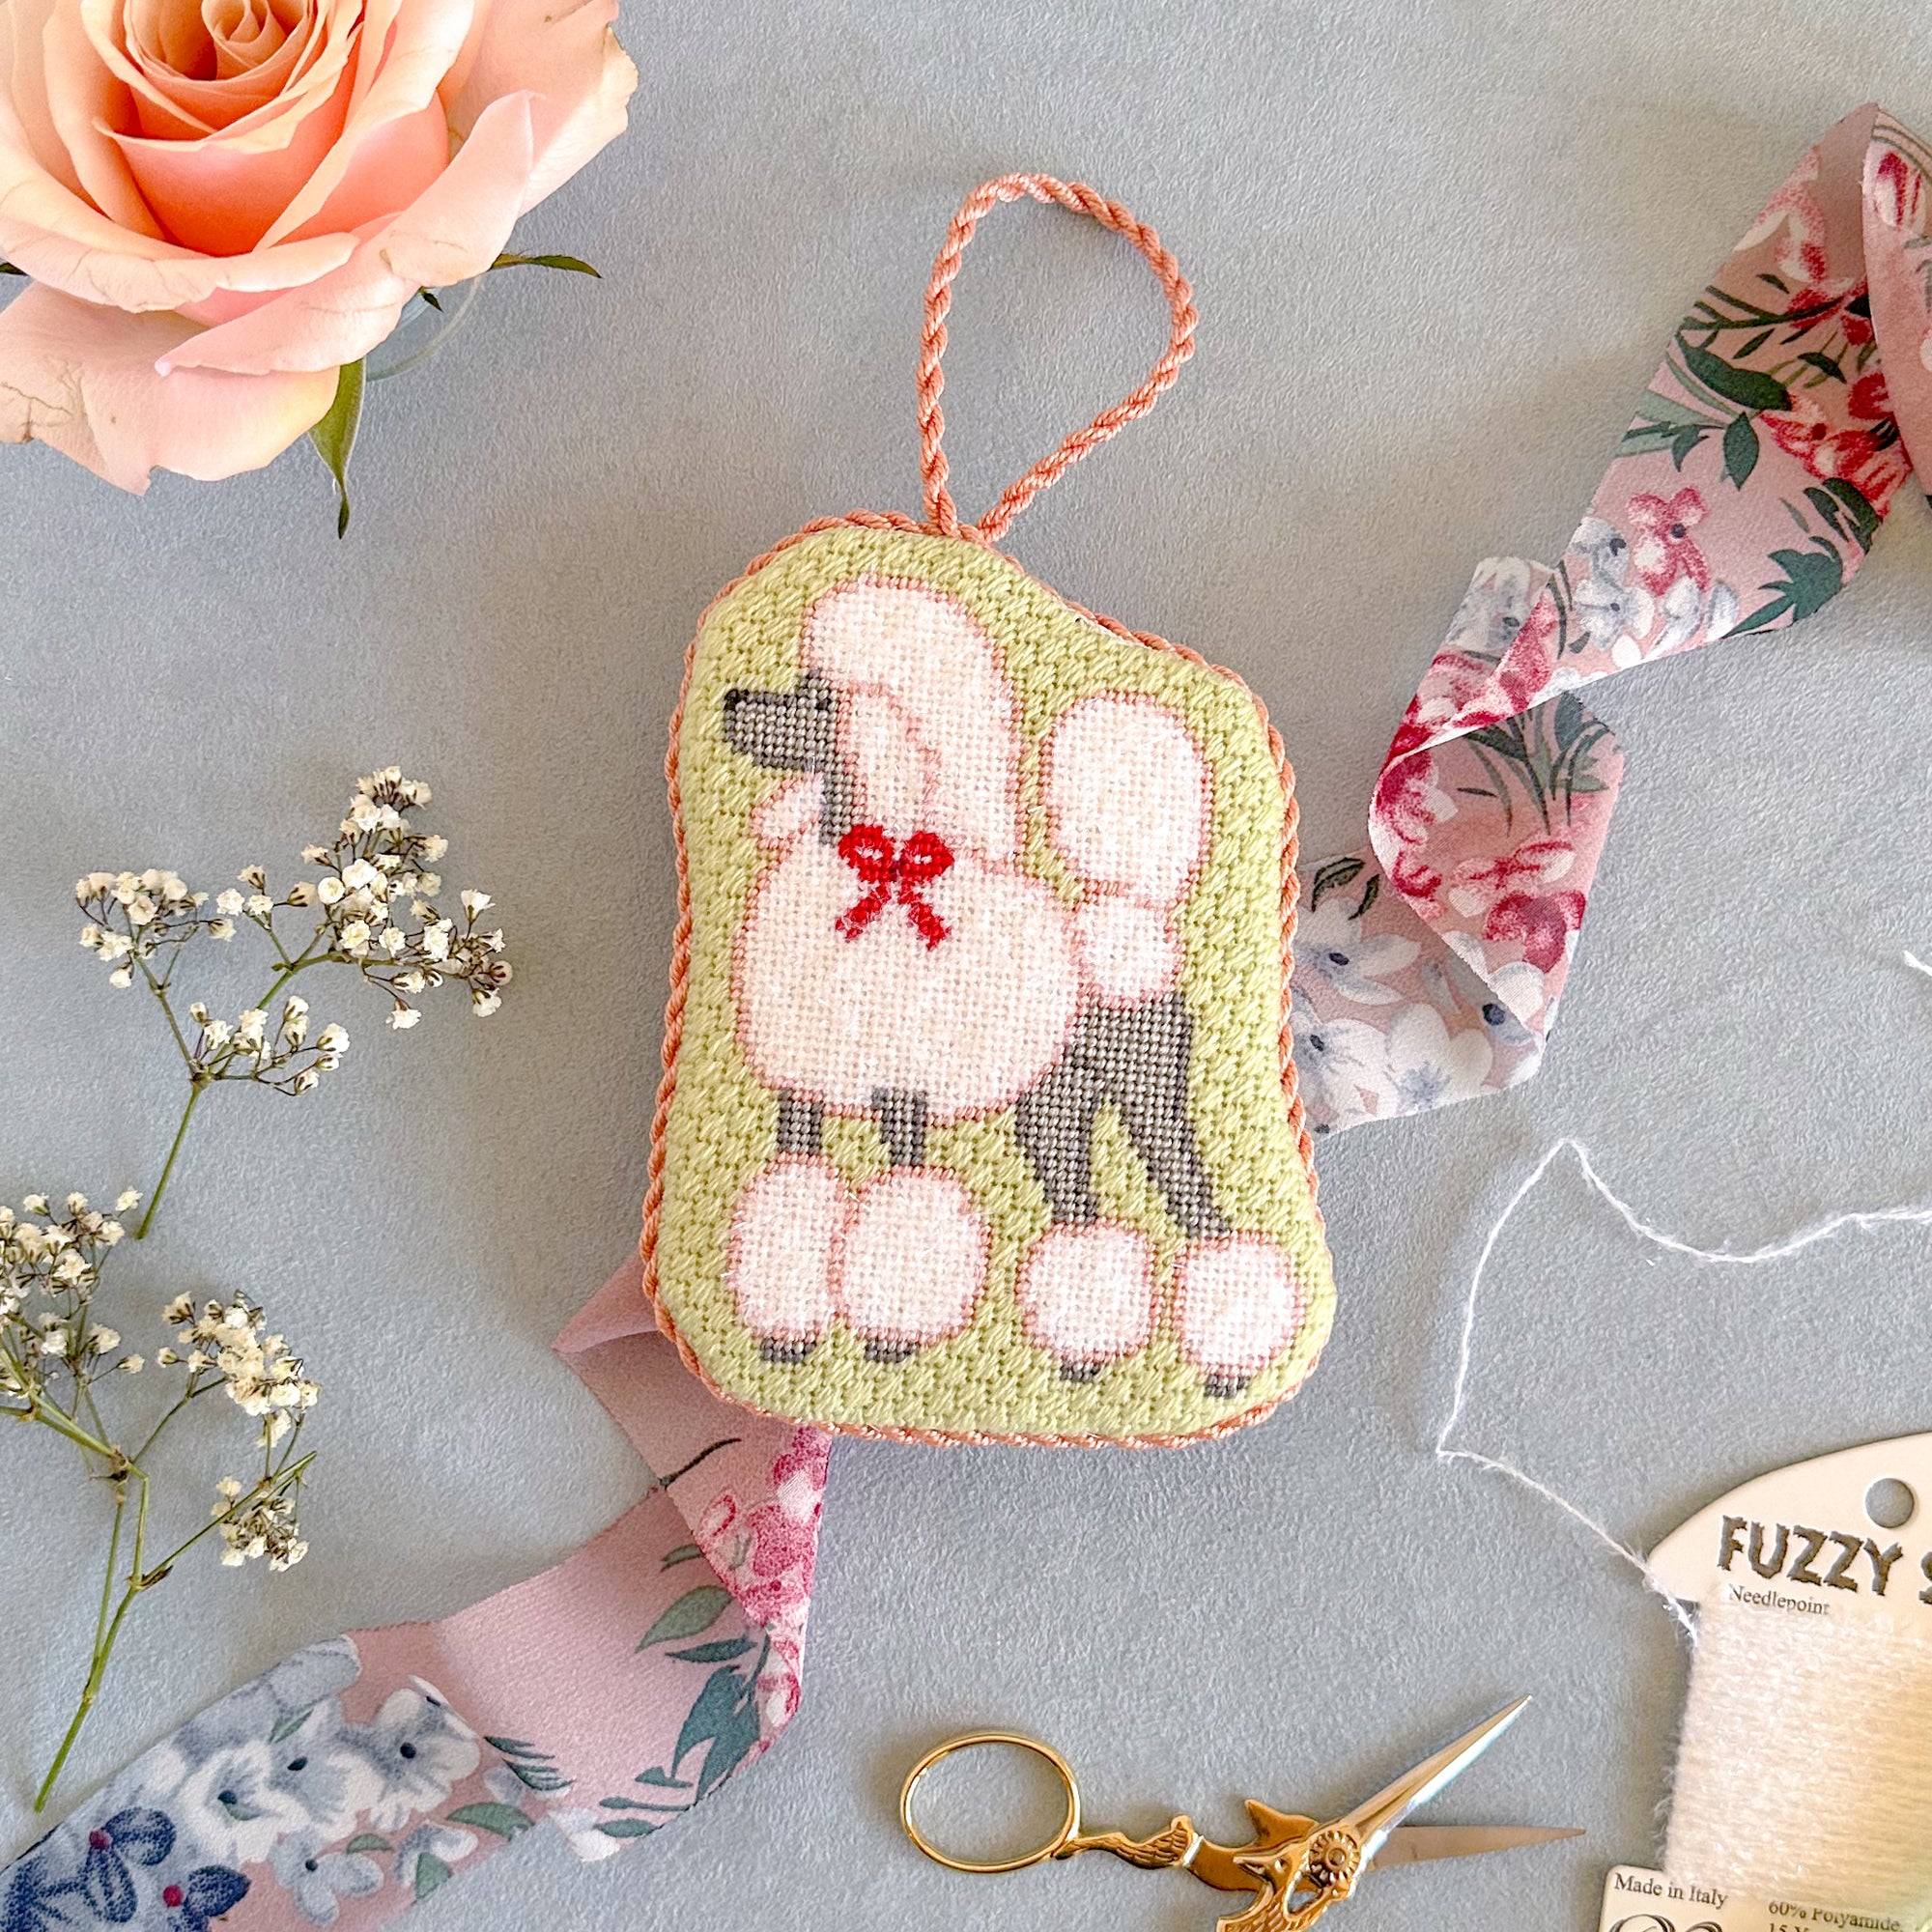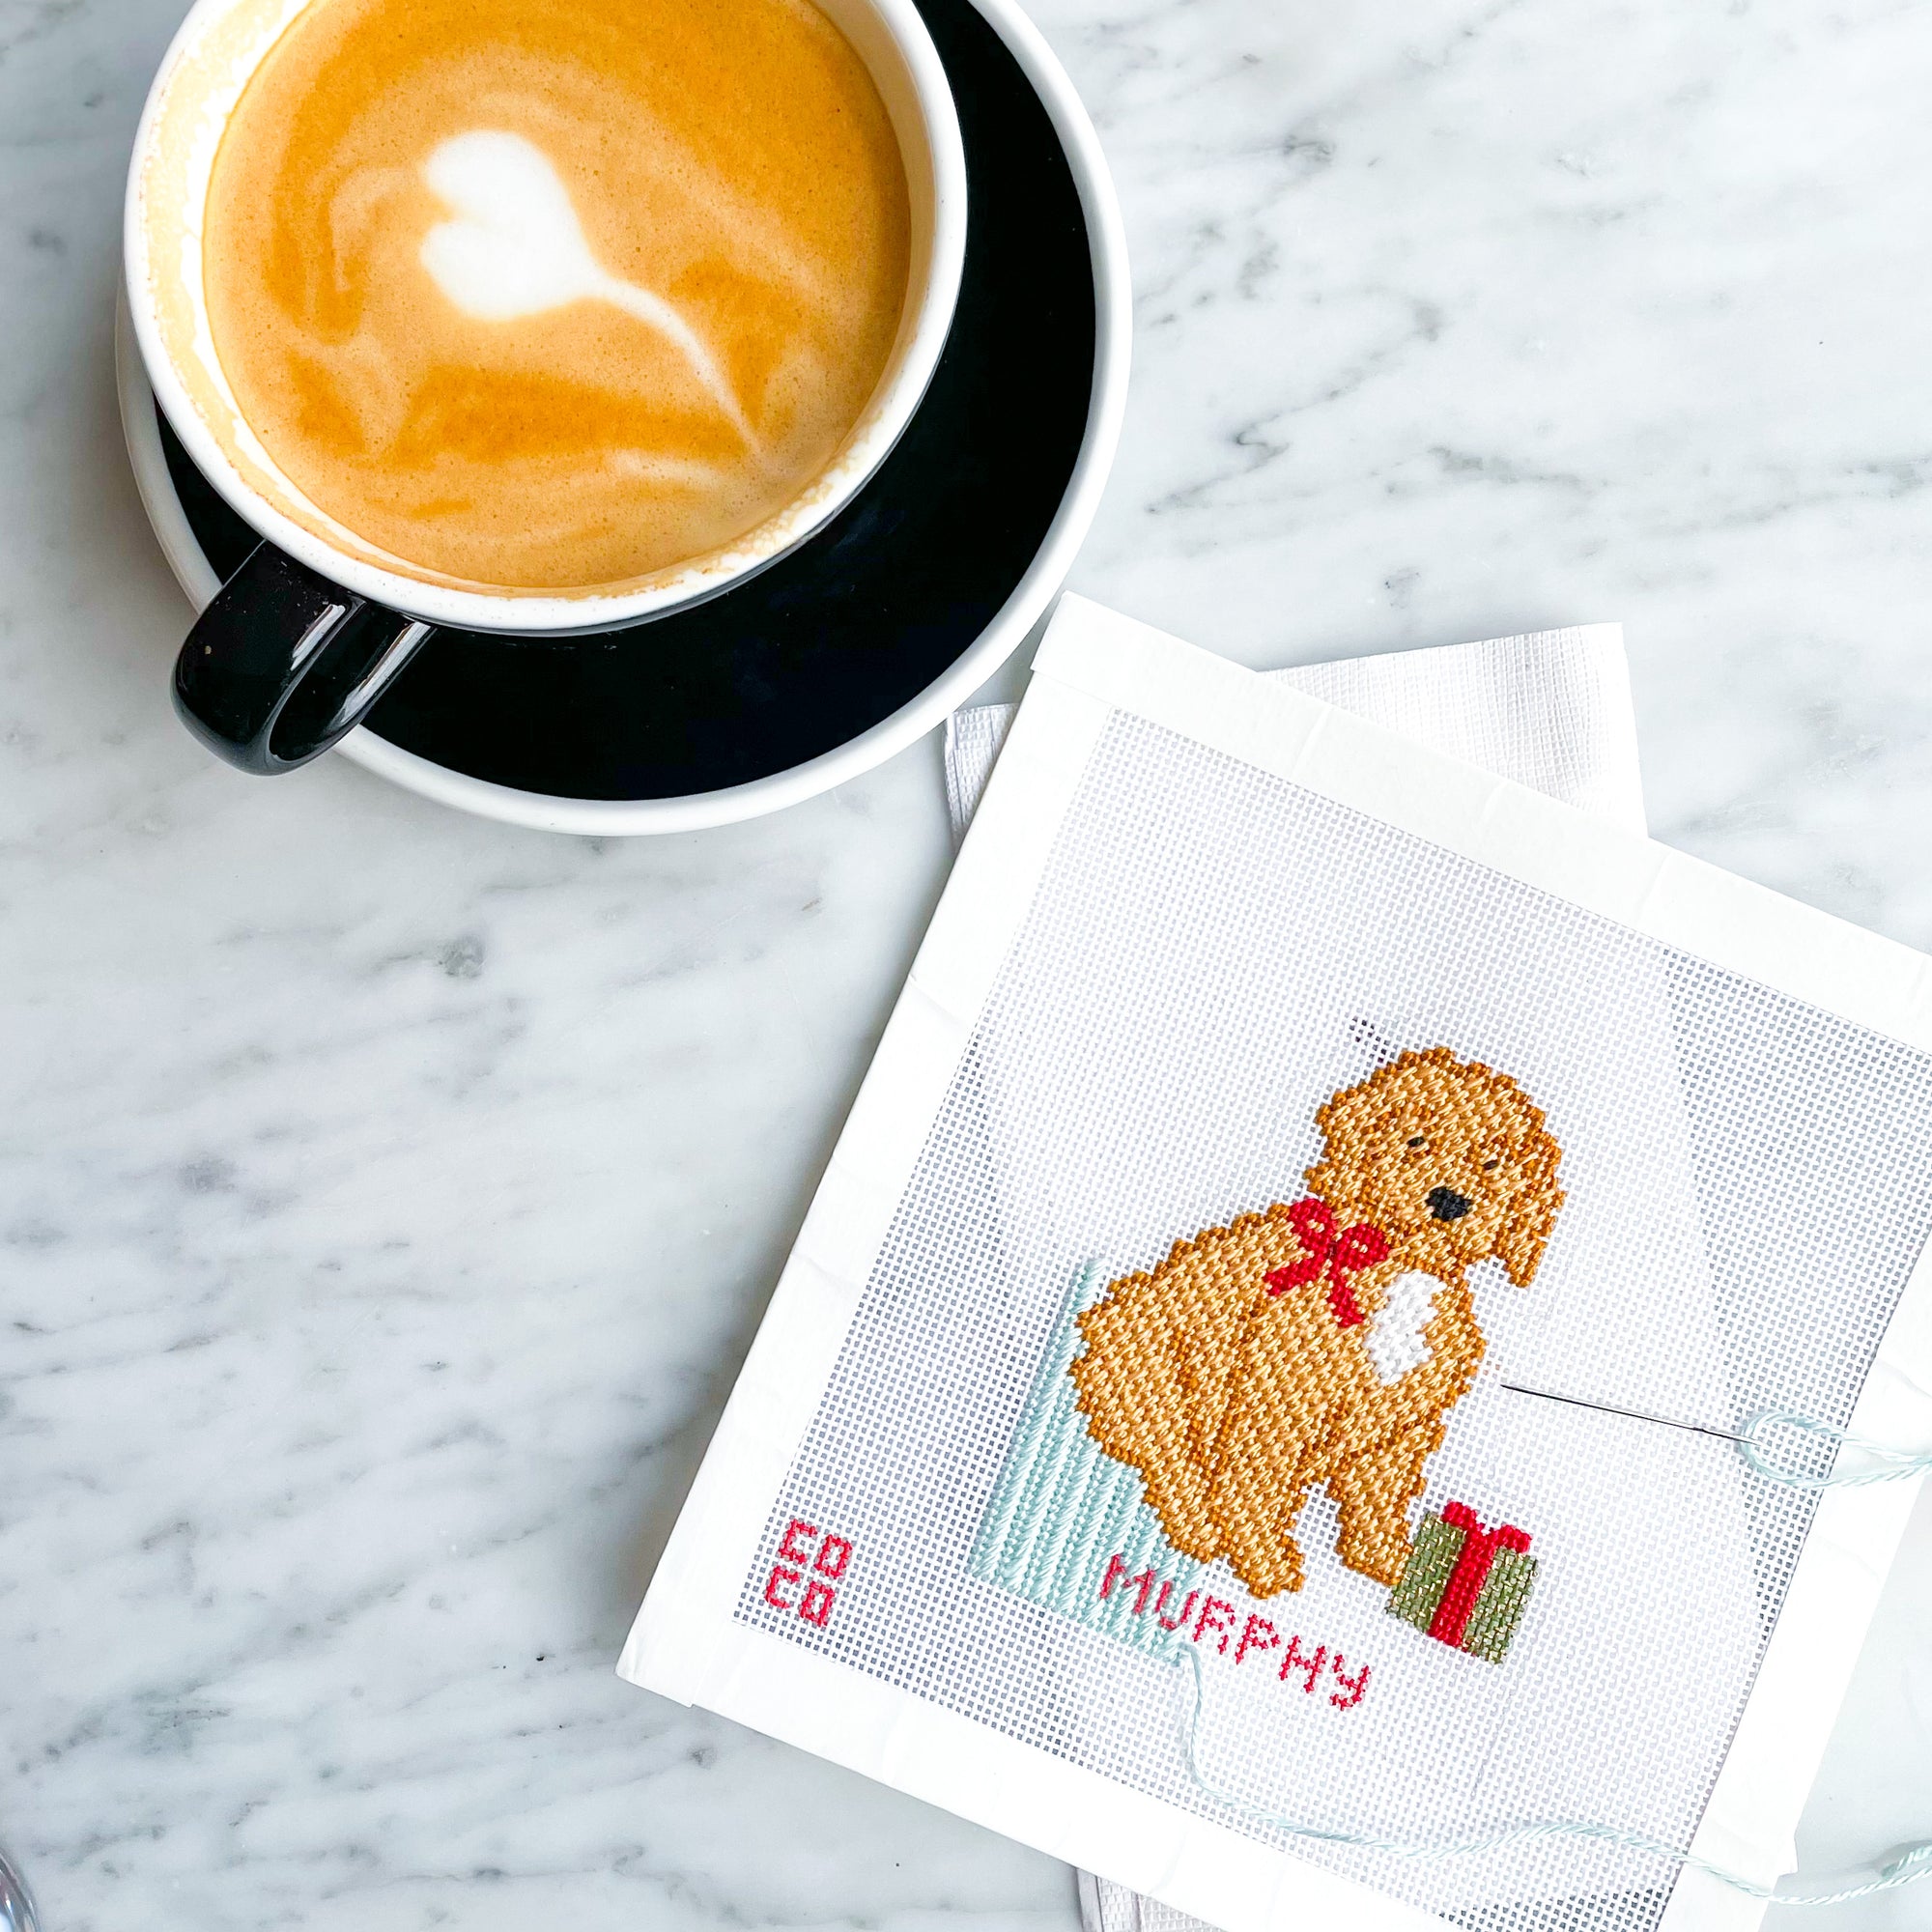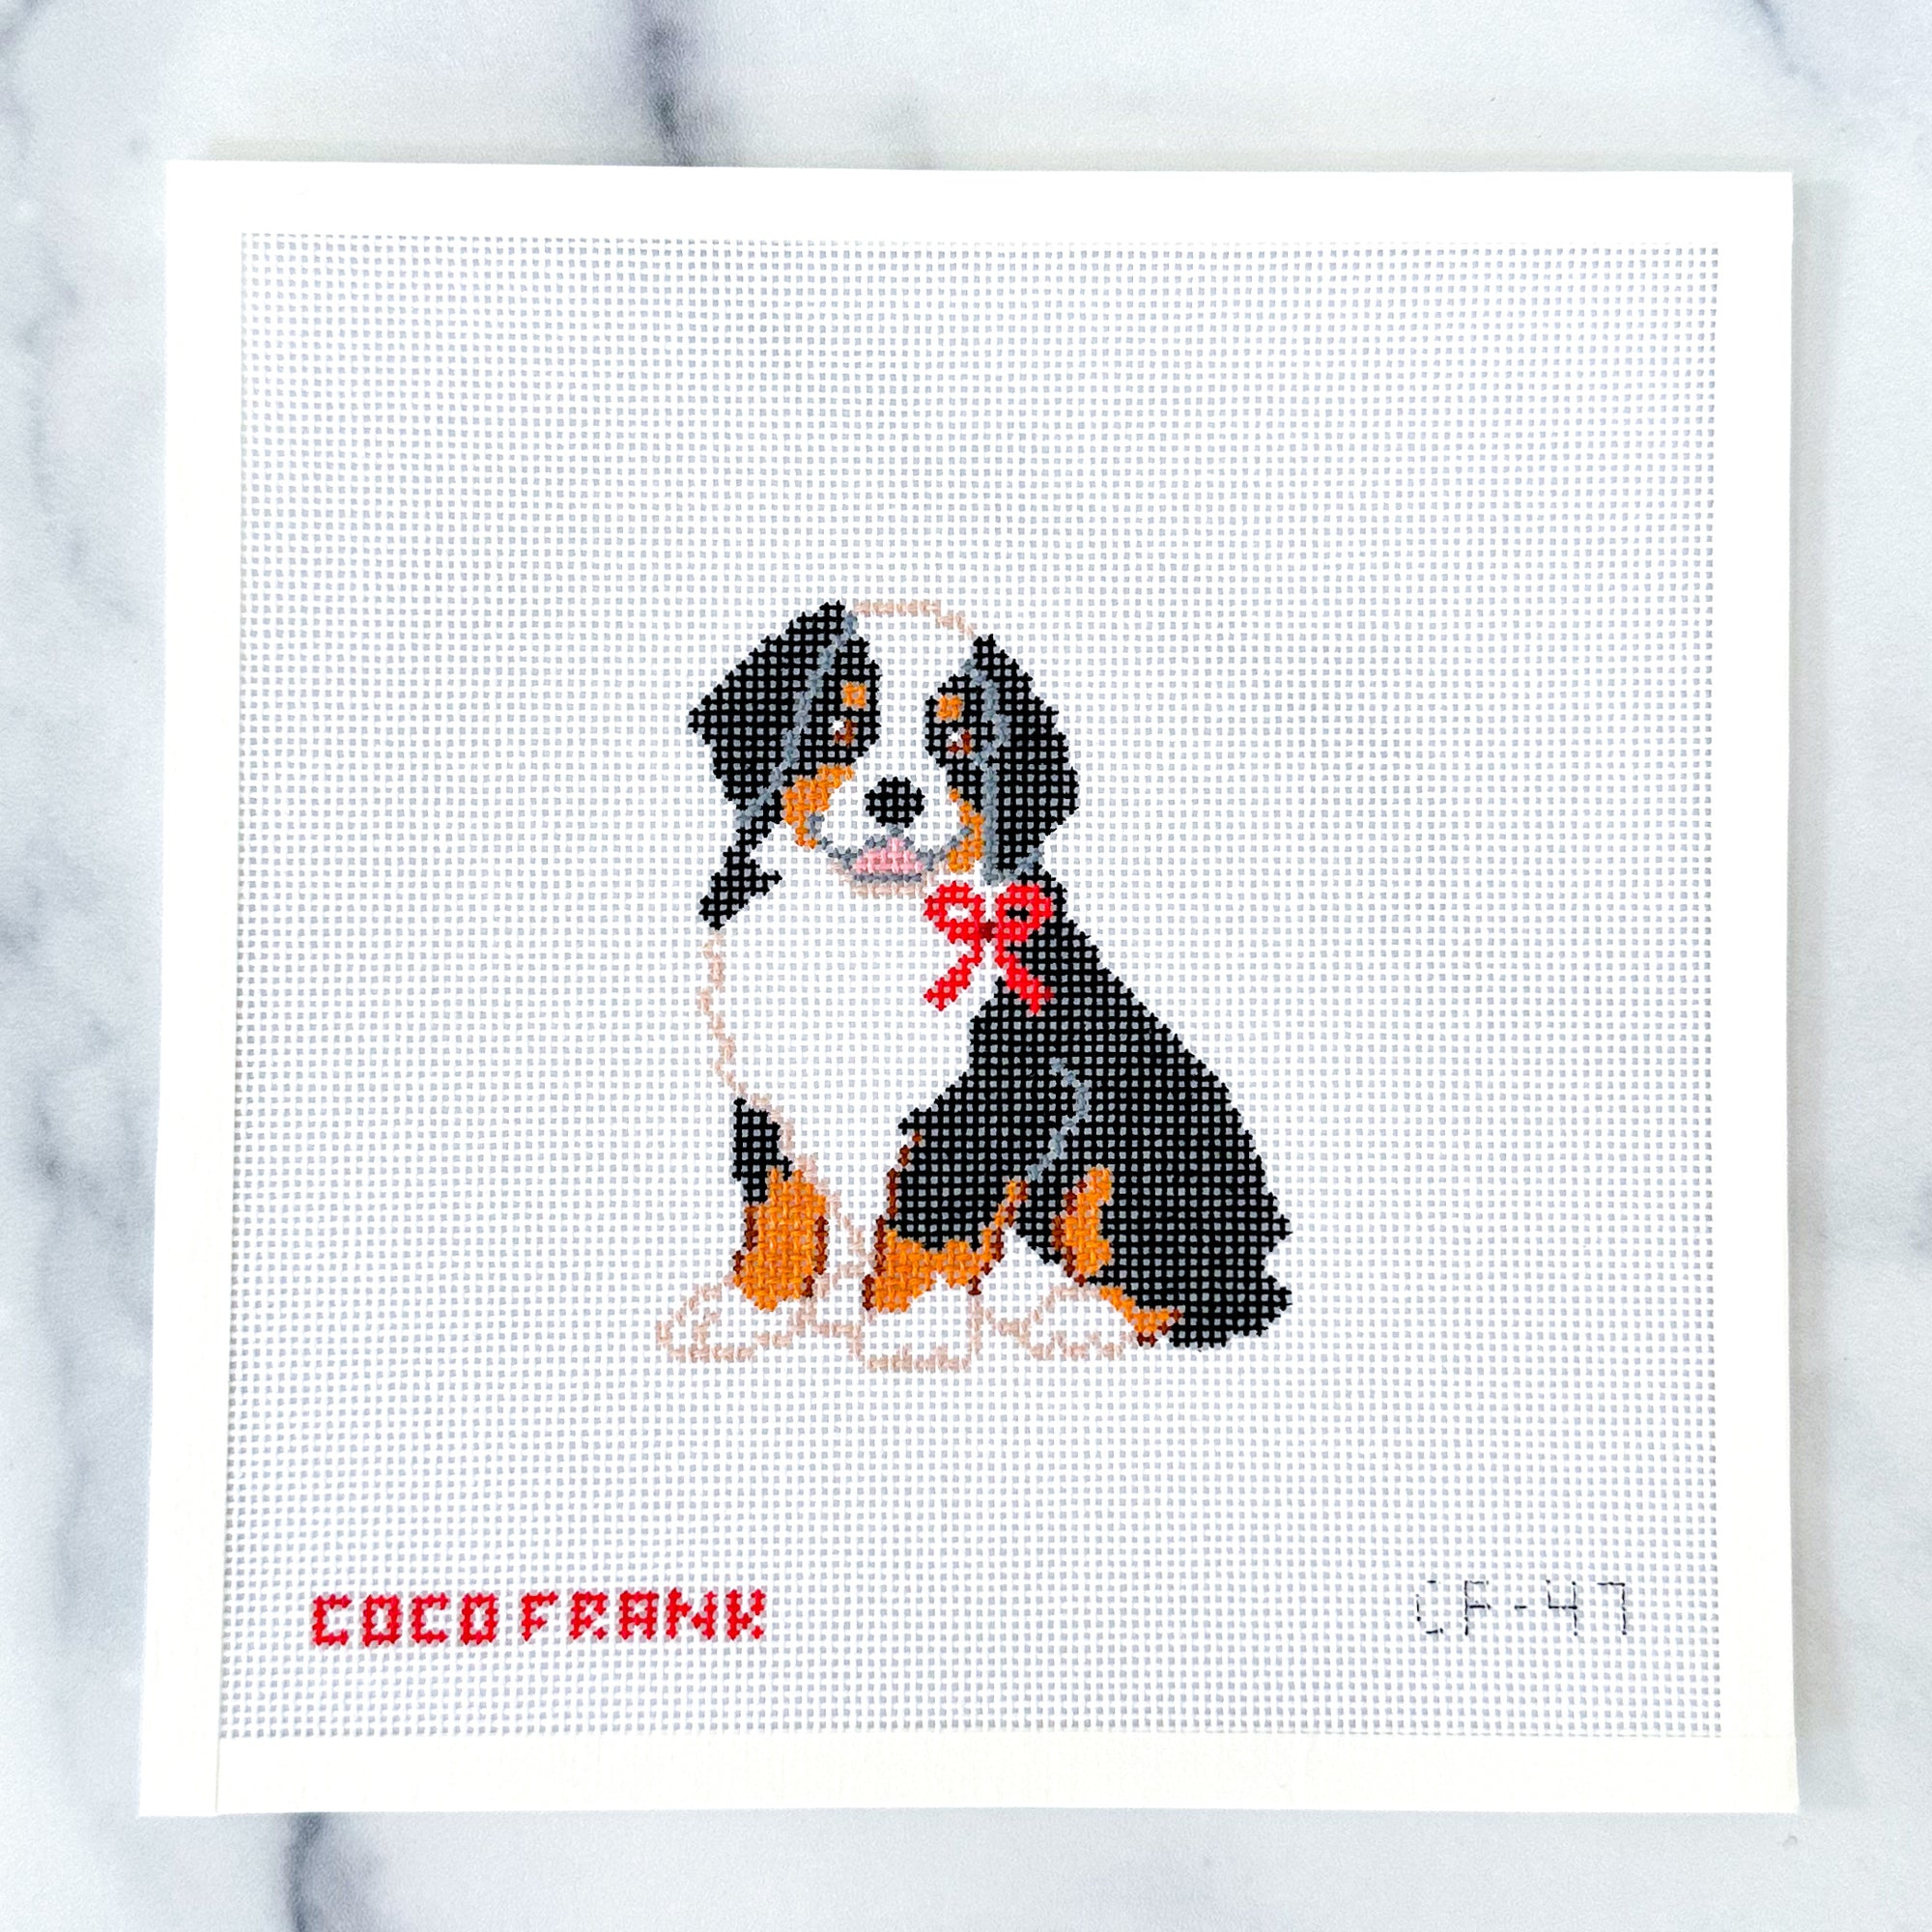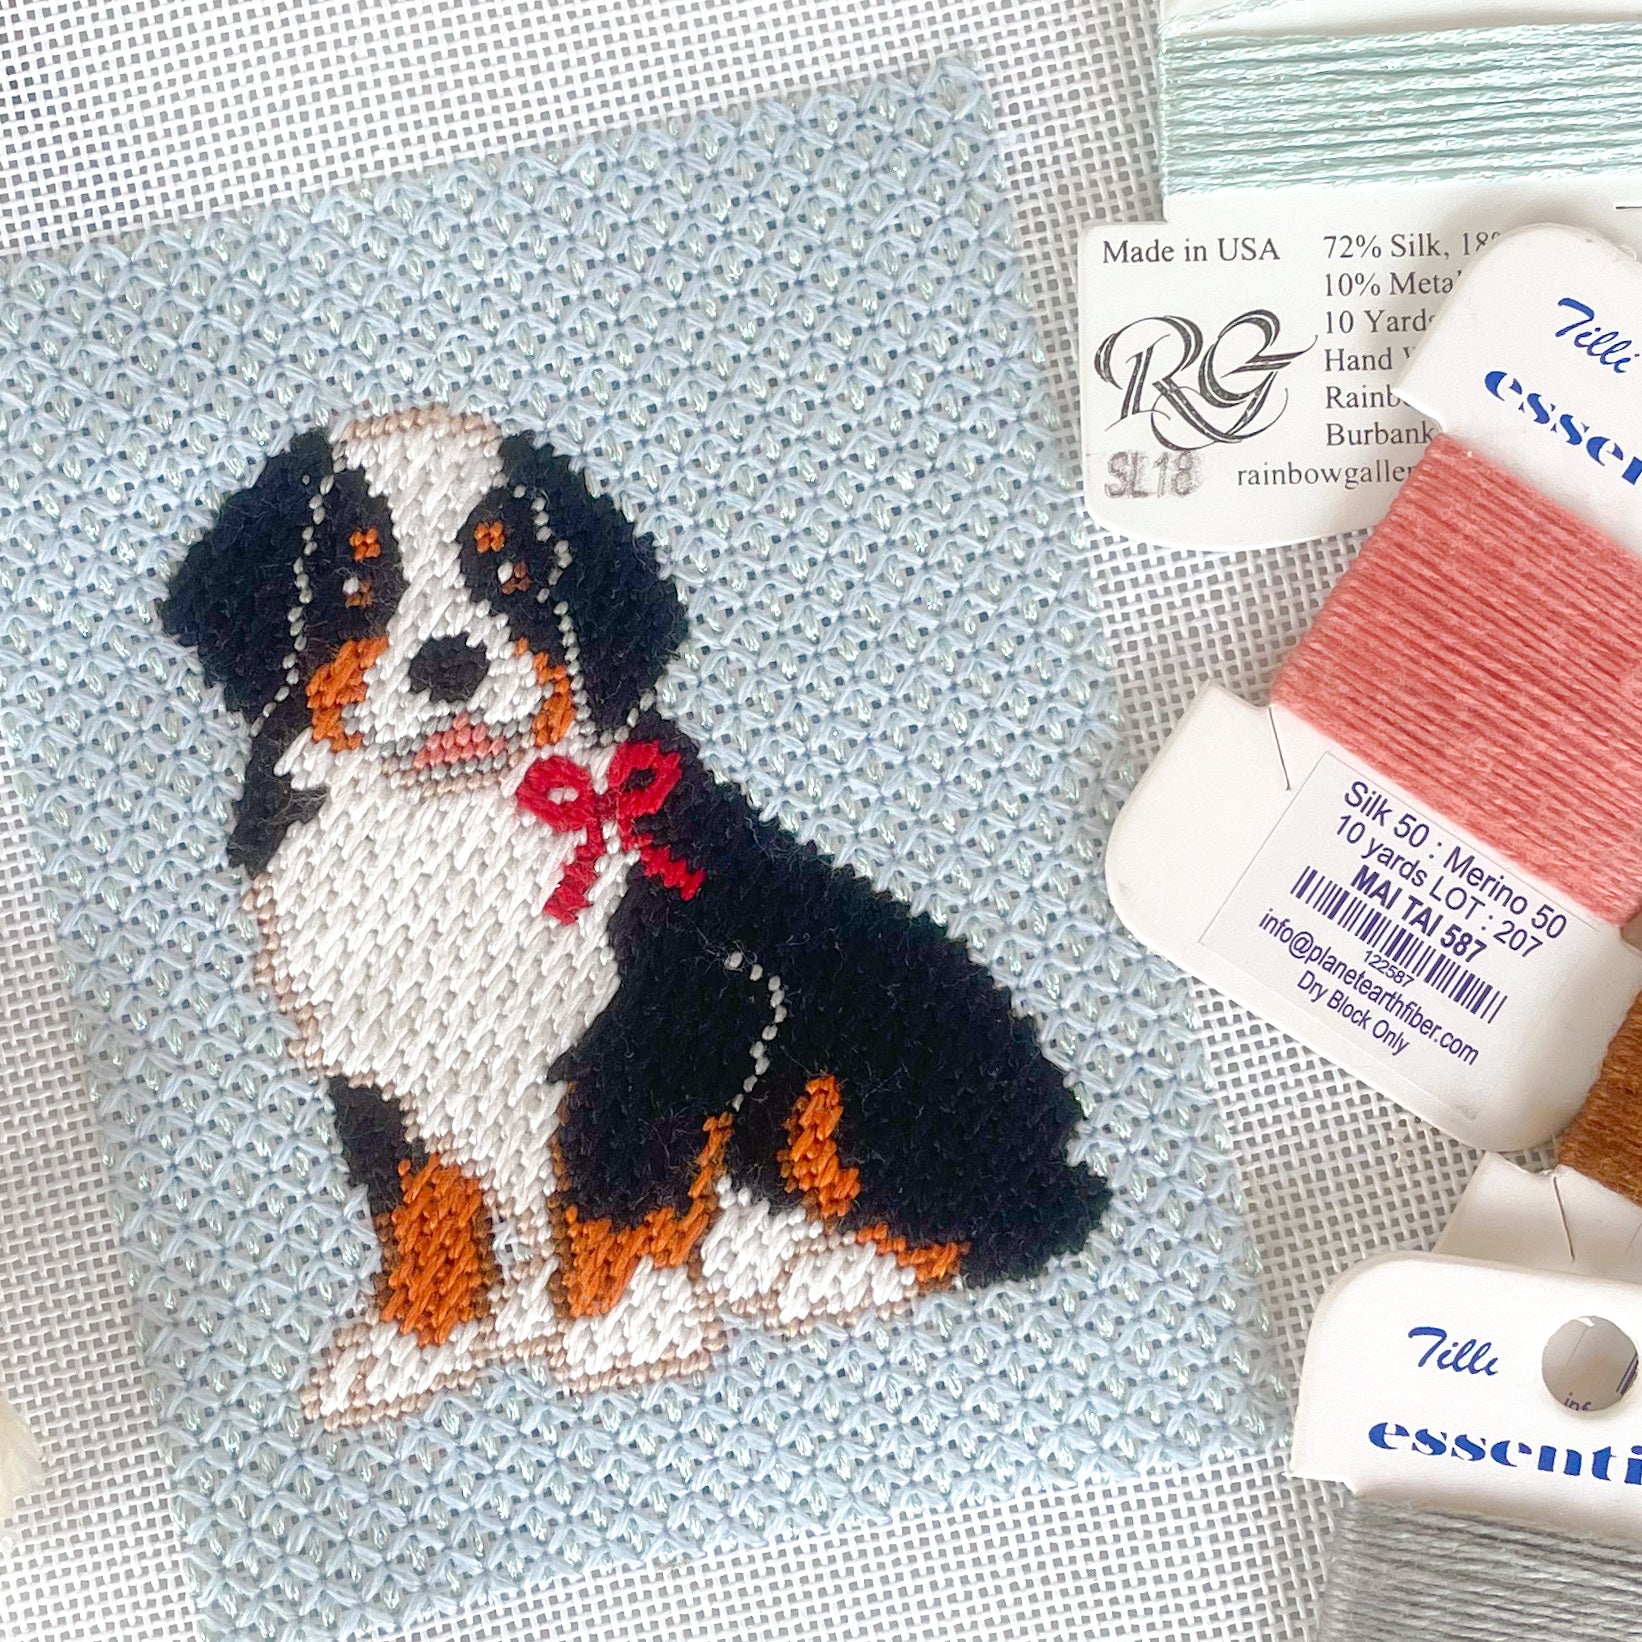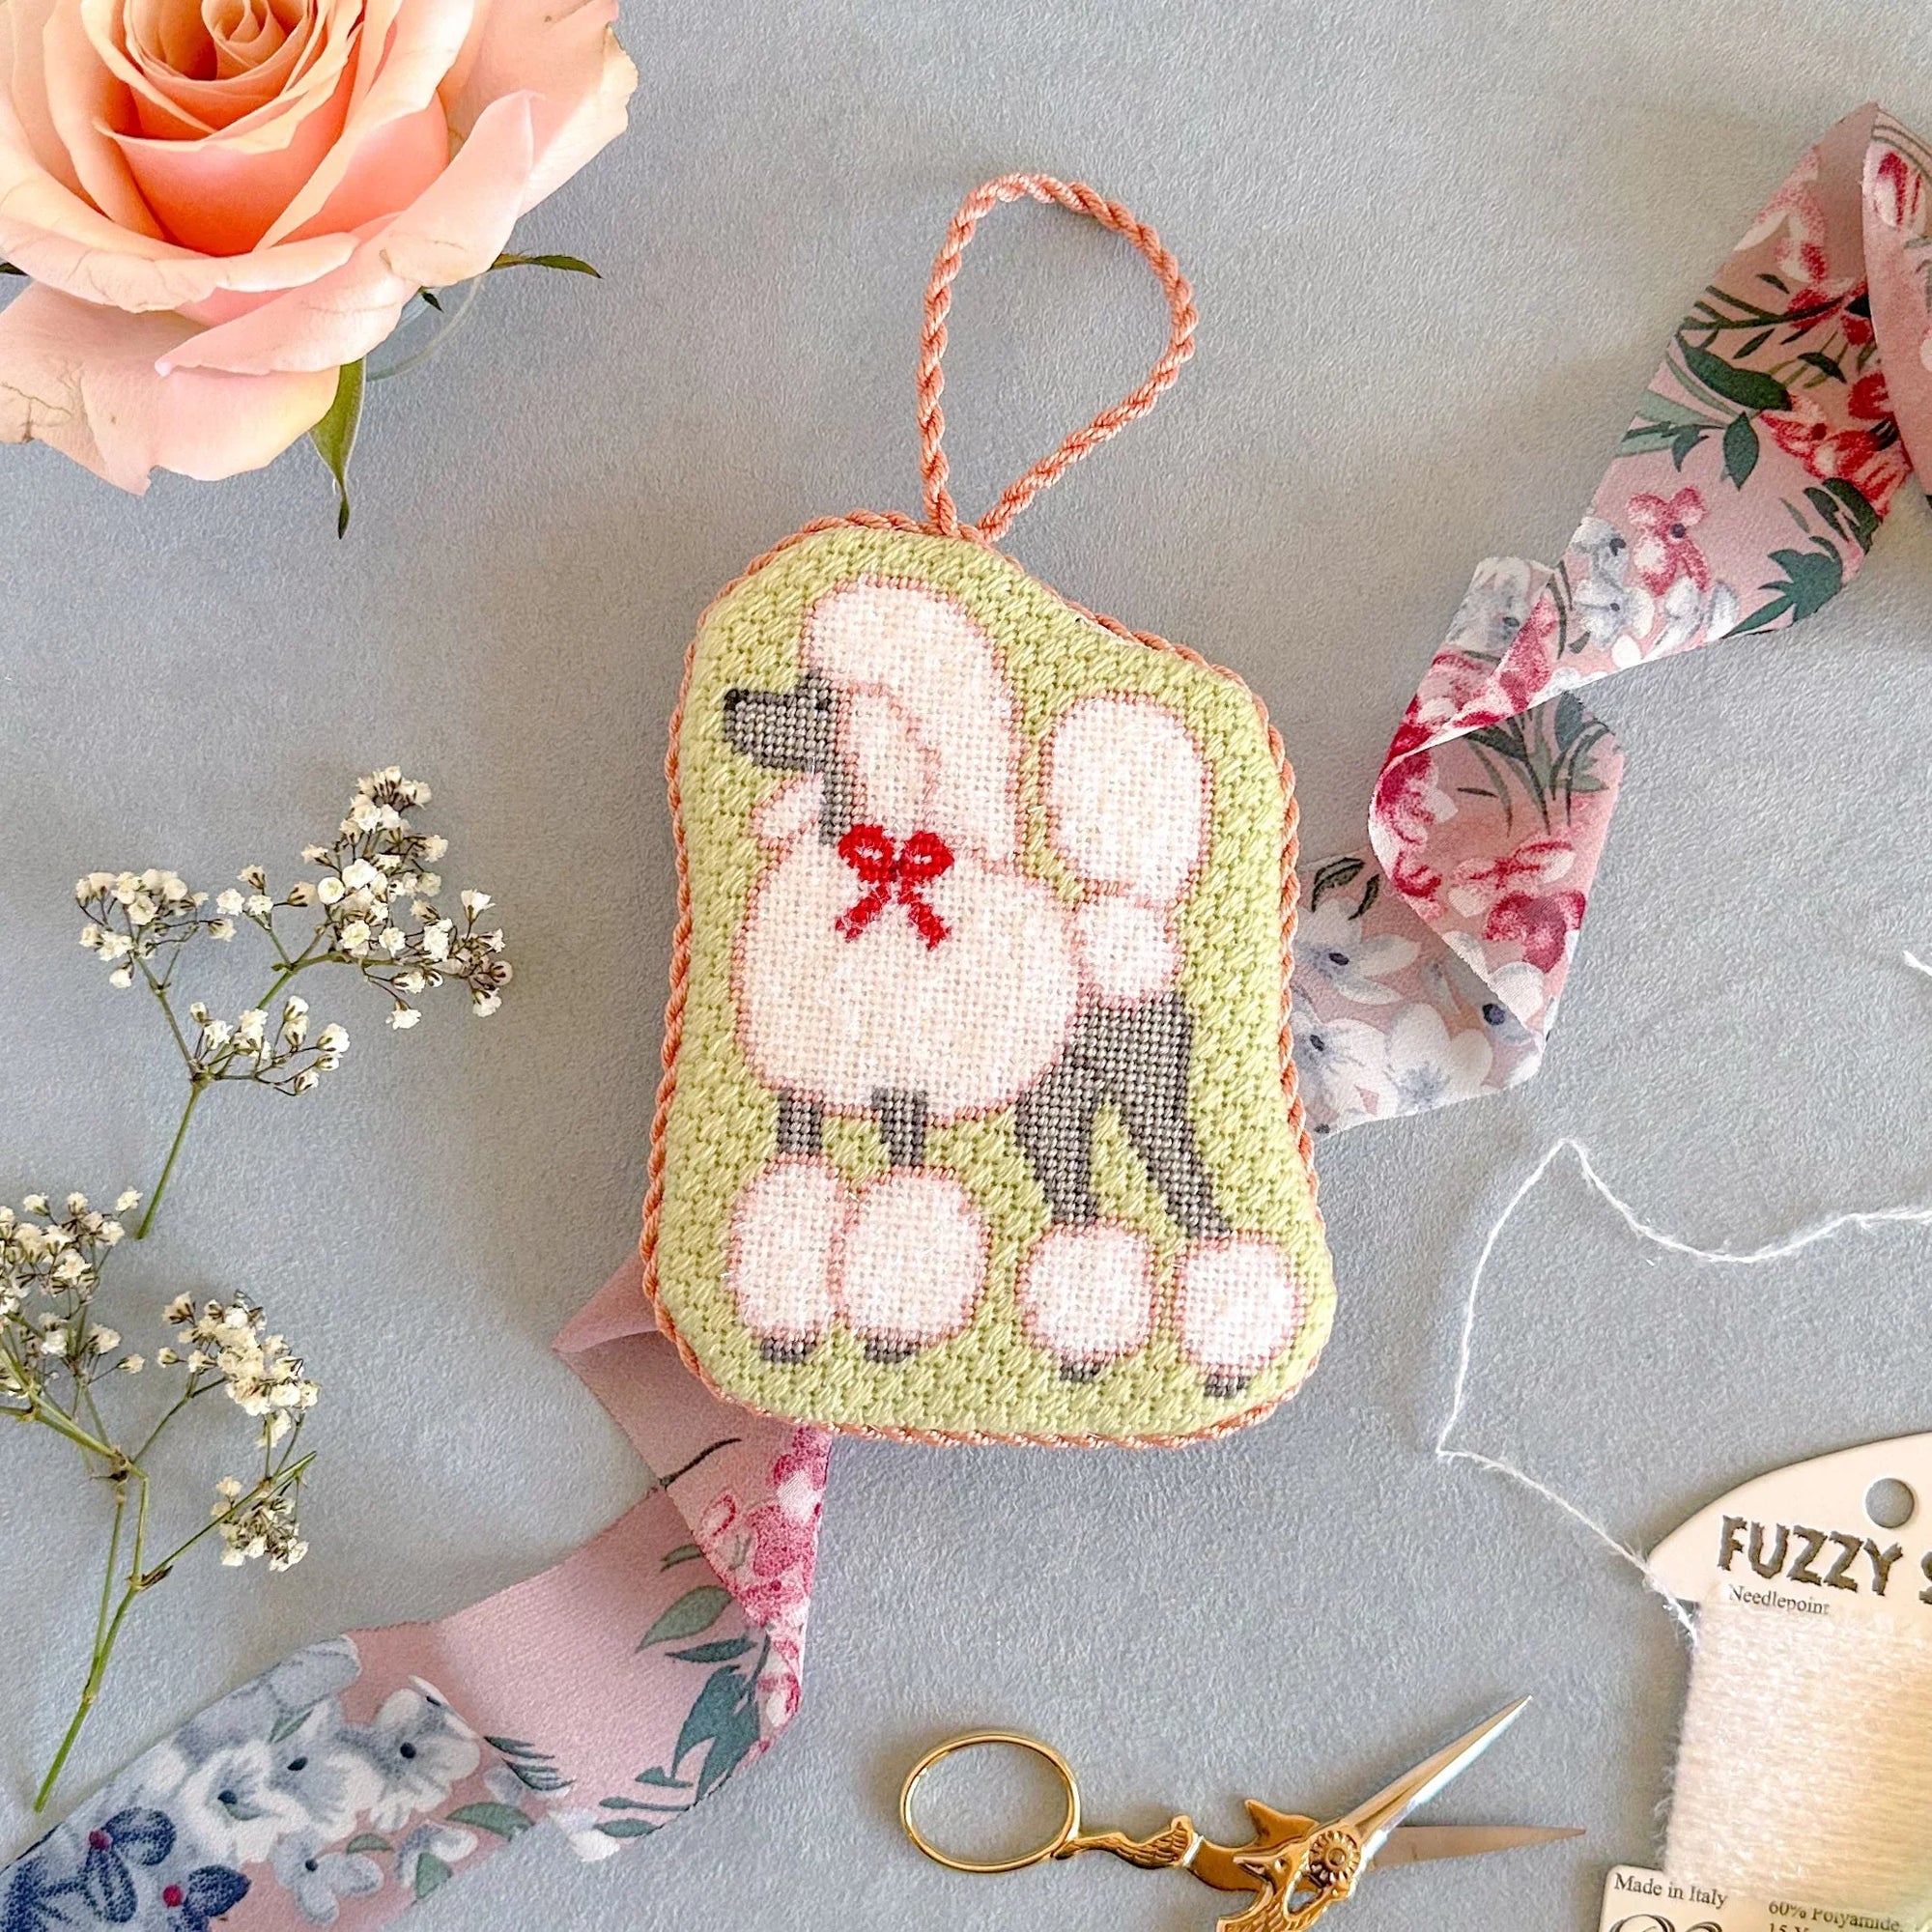
Pictured: Standard Poodle canvas
I’ve written before about how I love how personal needlepoint can be. There are so many options to make a canvas your own and I am constantly inspired by seeing how you all stitch pieces from my line. One thing I felt a little overwhelming when I first started stitching was buying a canvas that didn’t have an outline of the background. With a few simple tips and tricks, I learned that not only was it actually quite easy, but that it allows me to think about how I envision enjoying my needlepoint piece for years to come!
Below I’ve compiled a few options and tips for adding an outline to your ornament canvas. I hope they help you get started!

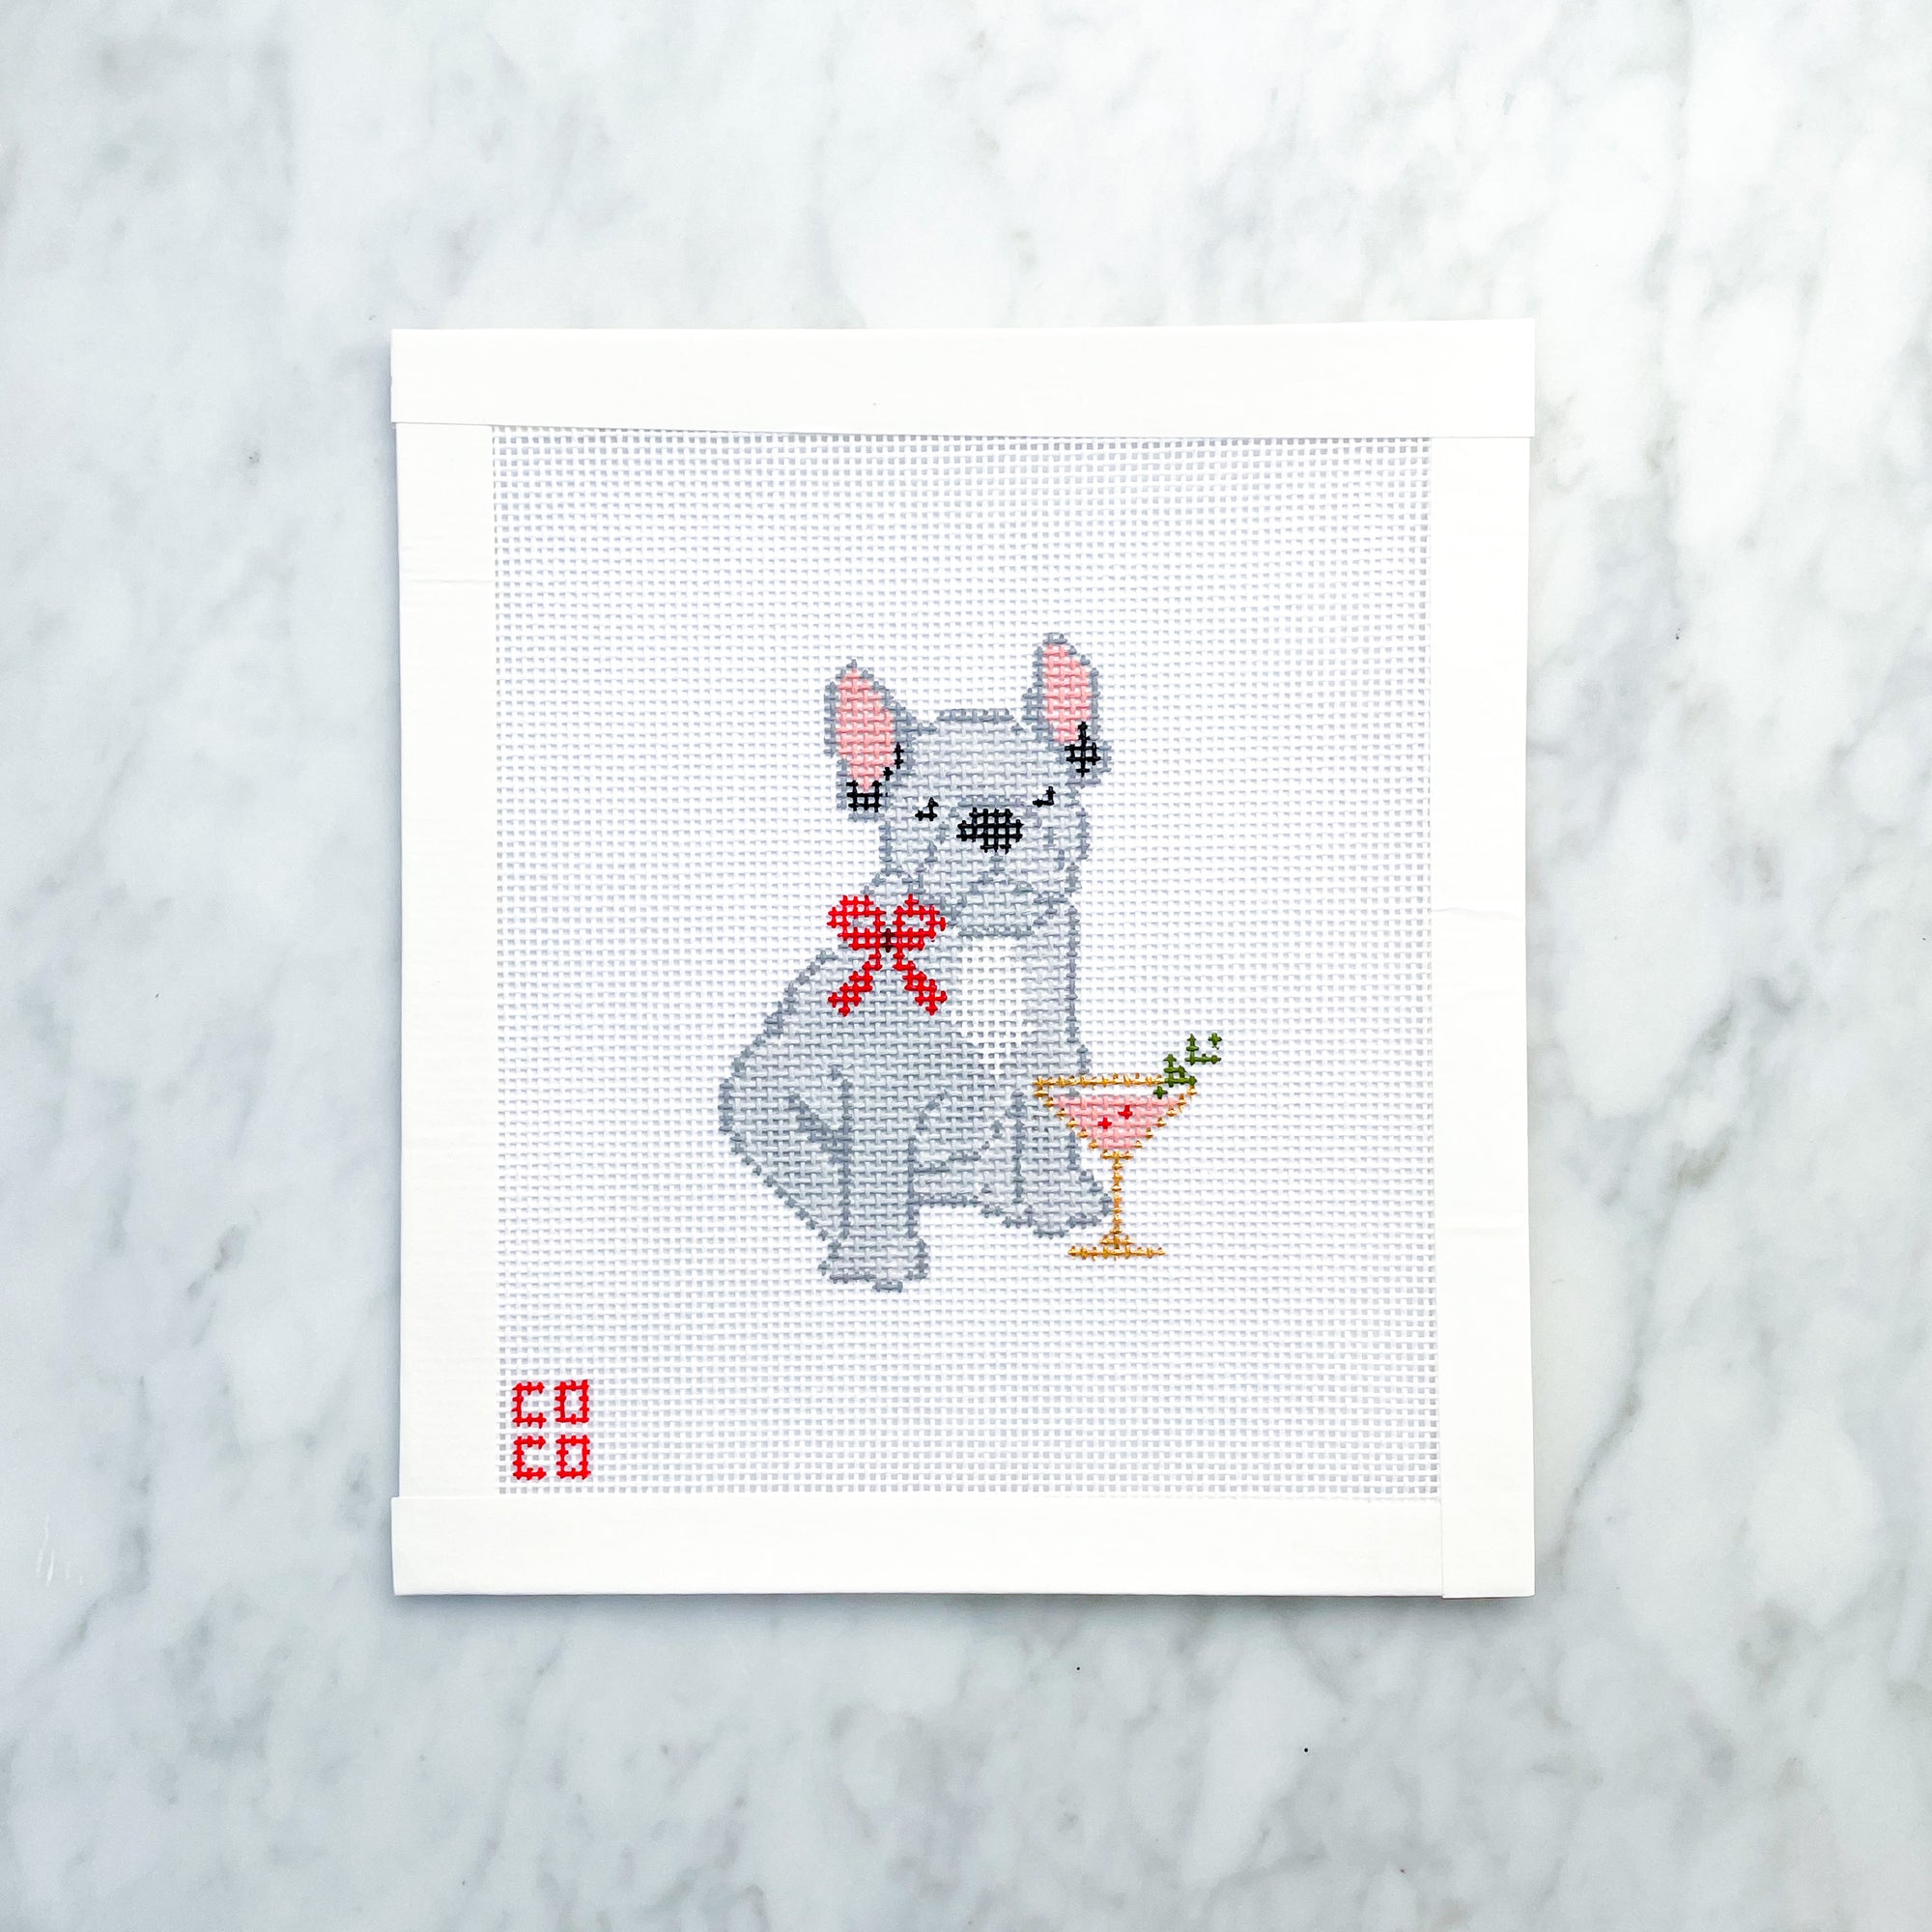
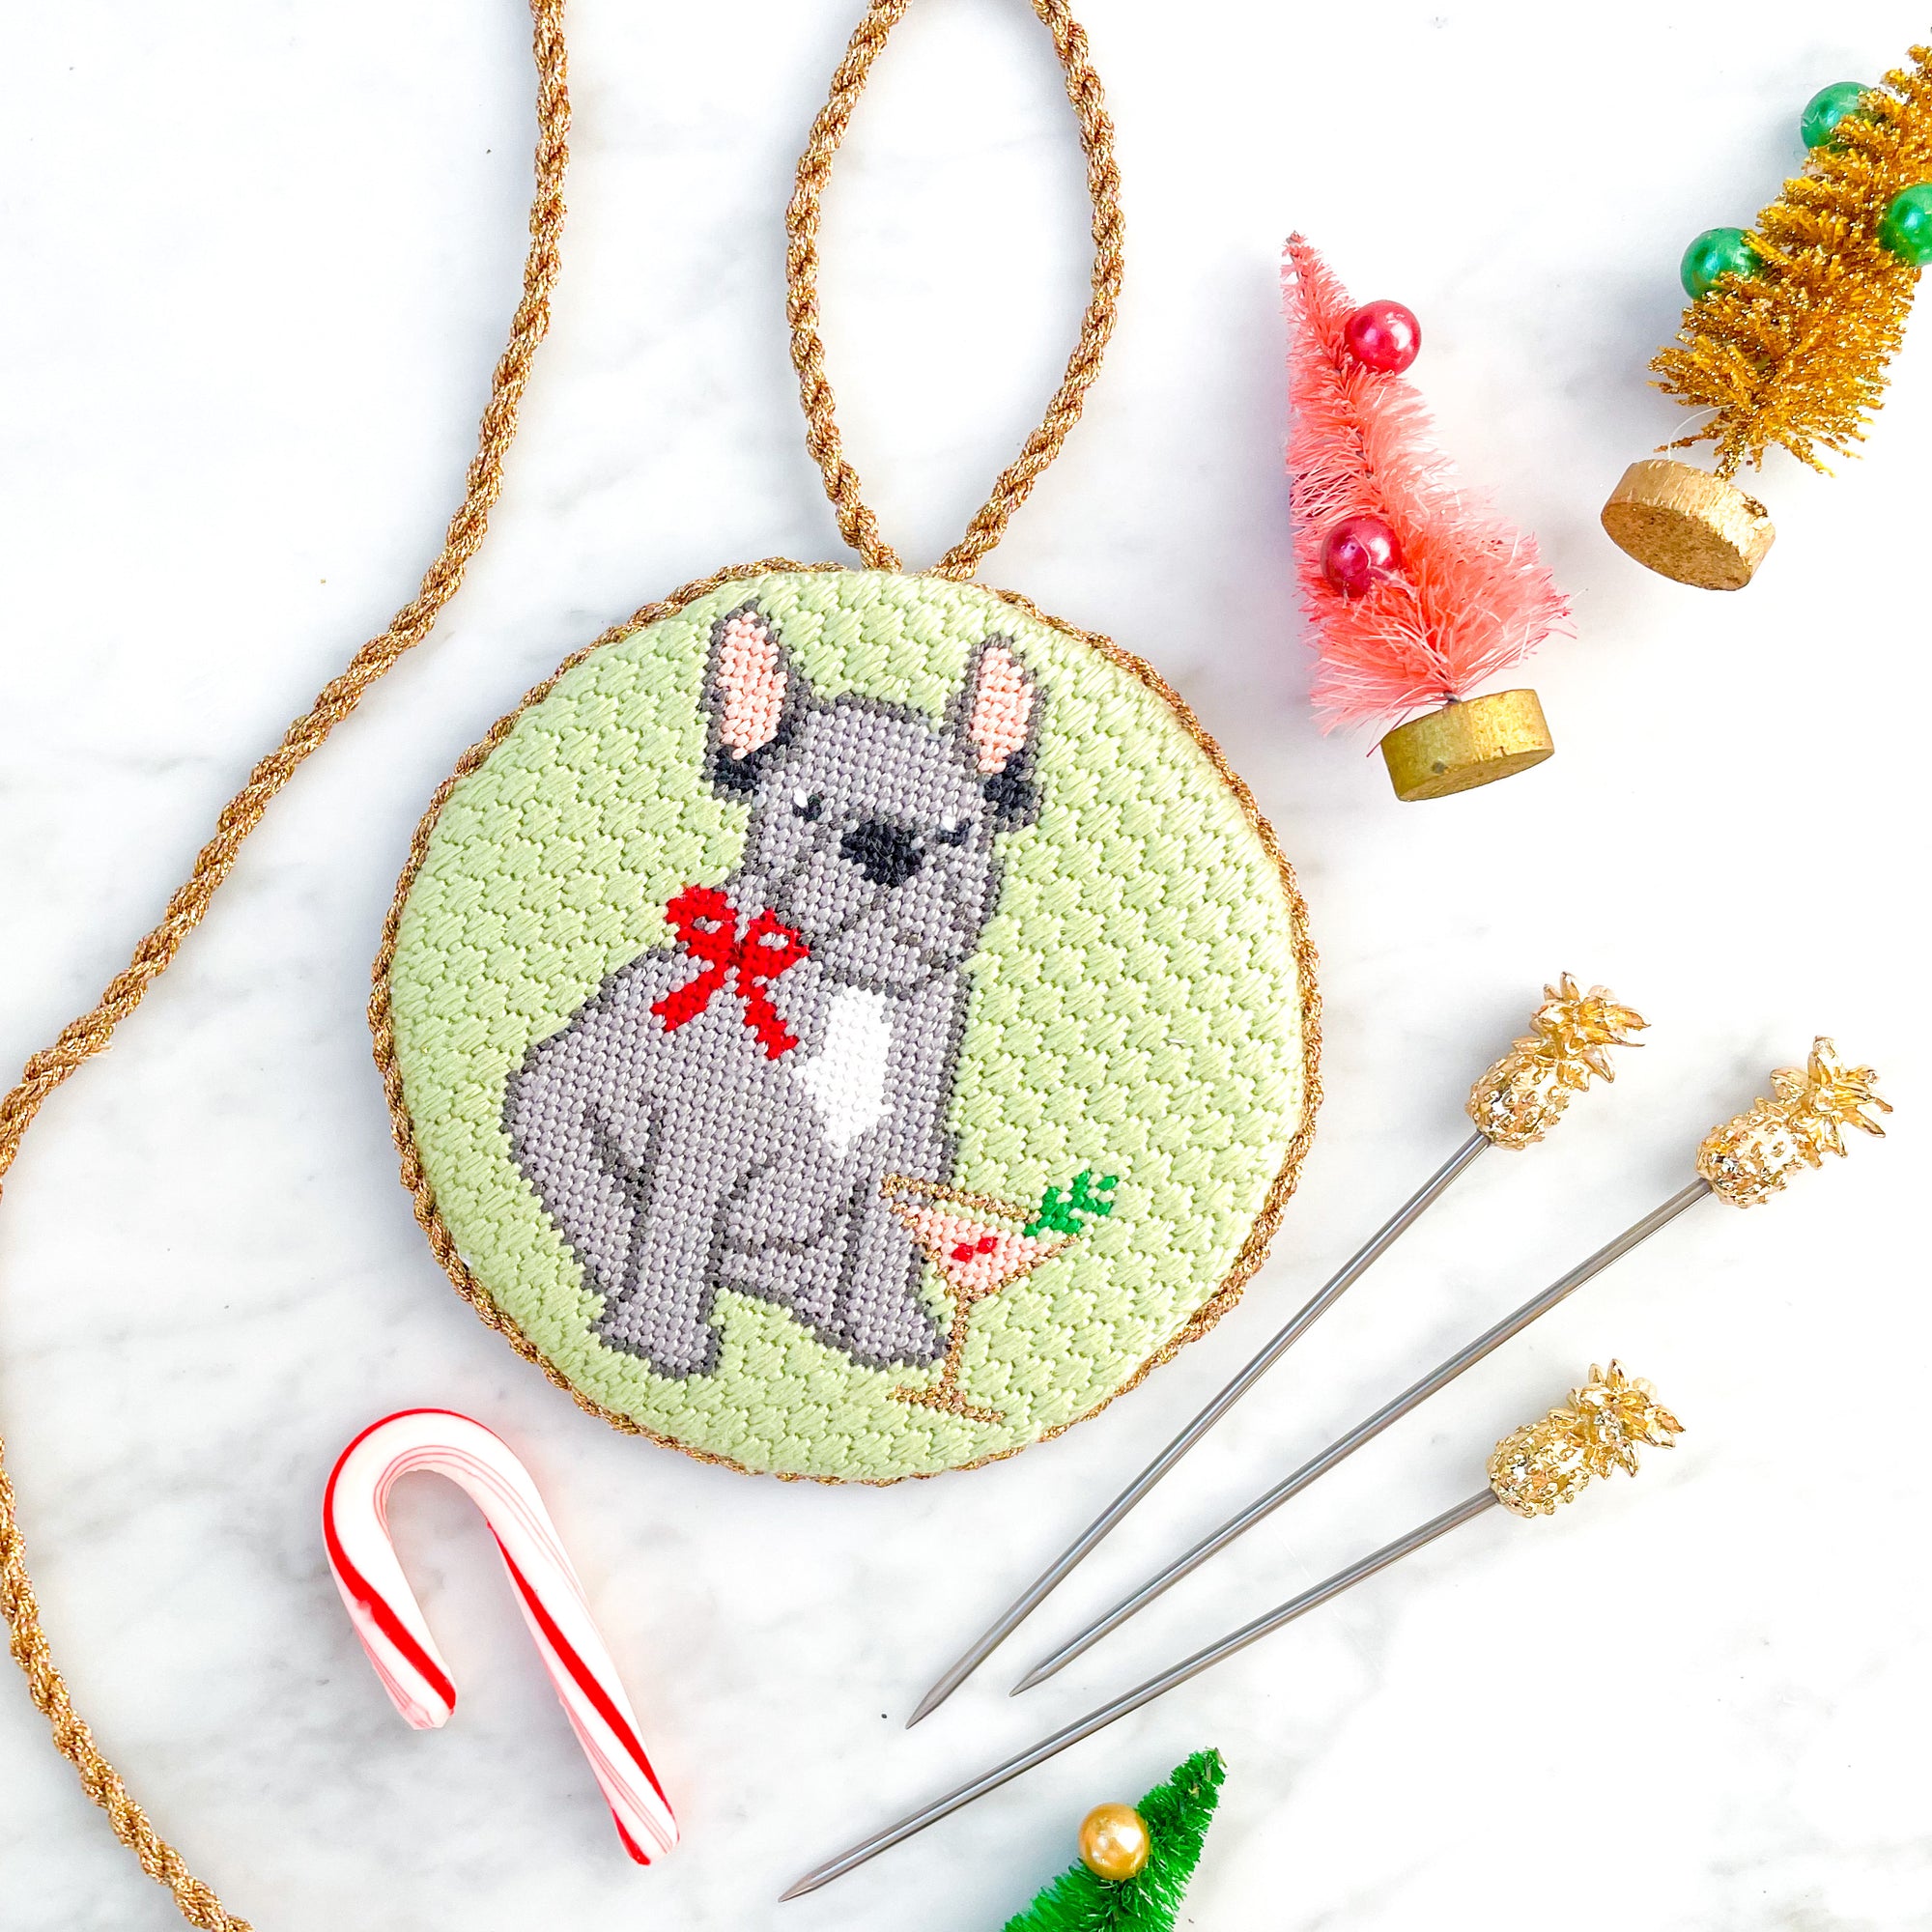
- Trace a circle. If you’re wanting to make a round ornament, tracing a circle onto your canvas is easy! I did this on my Frenchie canvas as it’s the perfect size for a circle. I recommend using a thin Micron pen. In my experience, these pens have a fine enough point to use on needlepoint canvas and archival ink that should not smear or bleed through on your thread. I do not suggest using a pencil, as the graphite will transfer to your thread. For tracing, I recommend purchasing a few acrylic stencils to make life easier! There’s nothing wrong with using items around the house either! Cups, bowls, or jars that you have handy will make a circle just fine.
- Start with a photocopy. For irregular shapes, I find that photocopying the canvas first can be extremely helpful, like I did with my Poodle canvas. Once I make a photocopy, I use a pencil on the printed image to decide what shape I’d like. This can take a few tries! Once I am happy with the shape, I stitch that outline around my canvas. I will note that while most of the intersections of canvas copy through, sometimes I have to increase the contrast setting on my printer to be able to see each square.
-
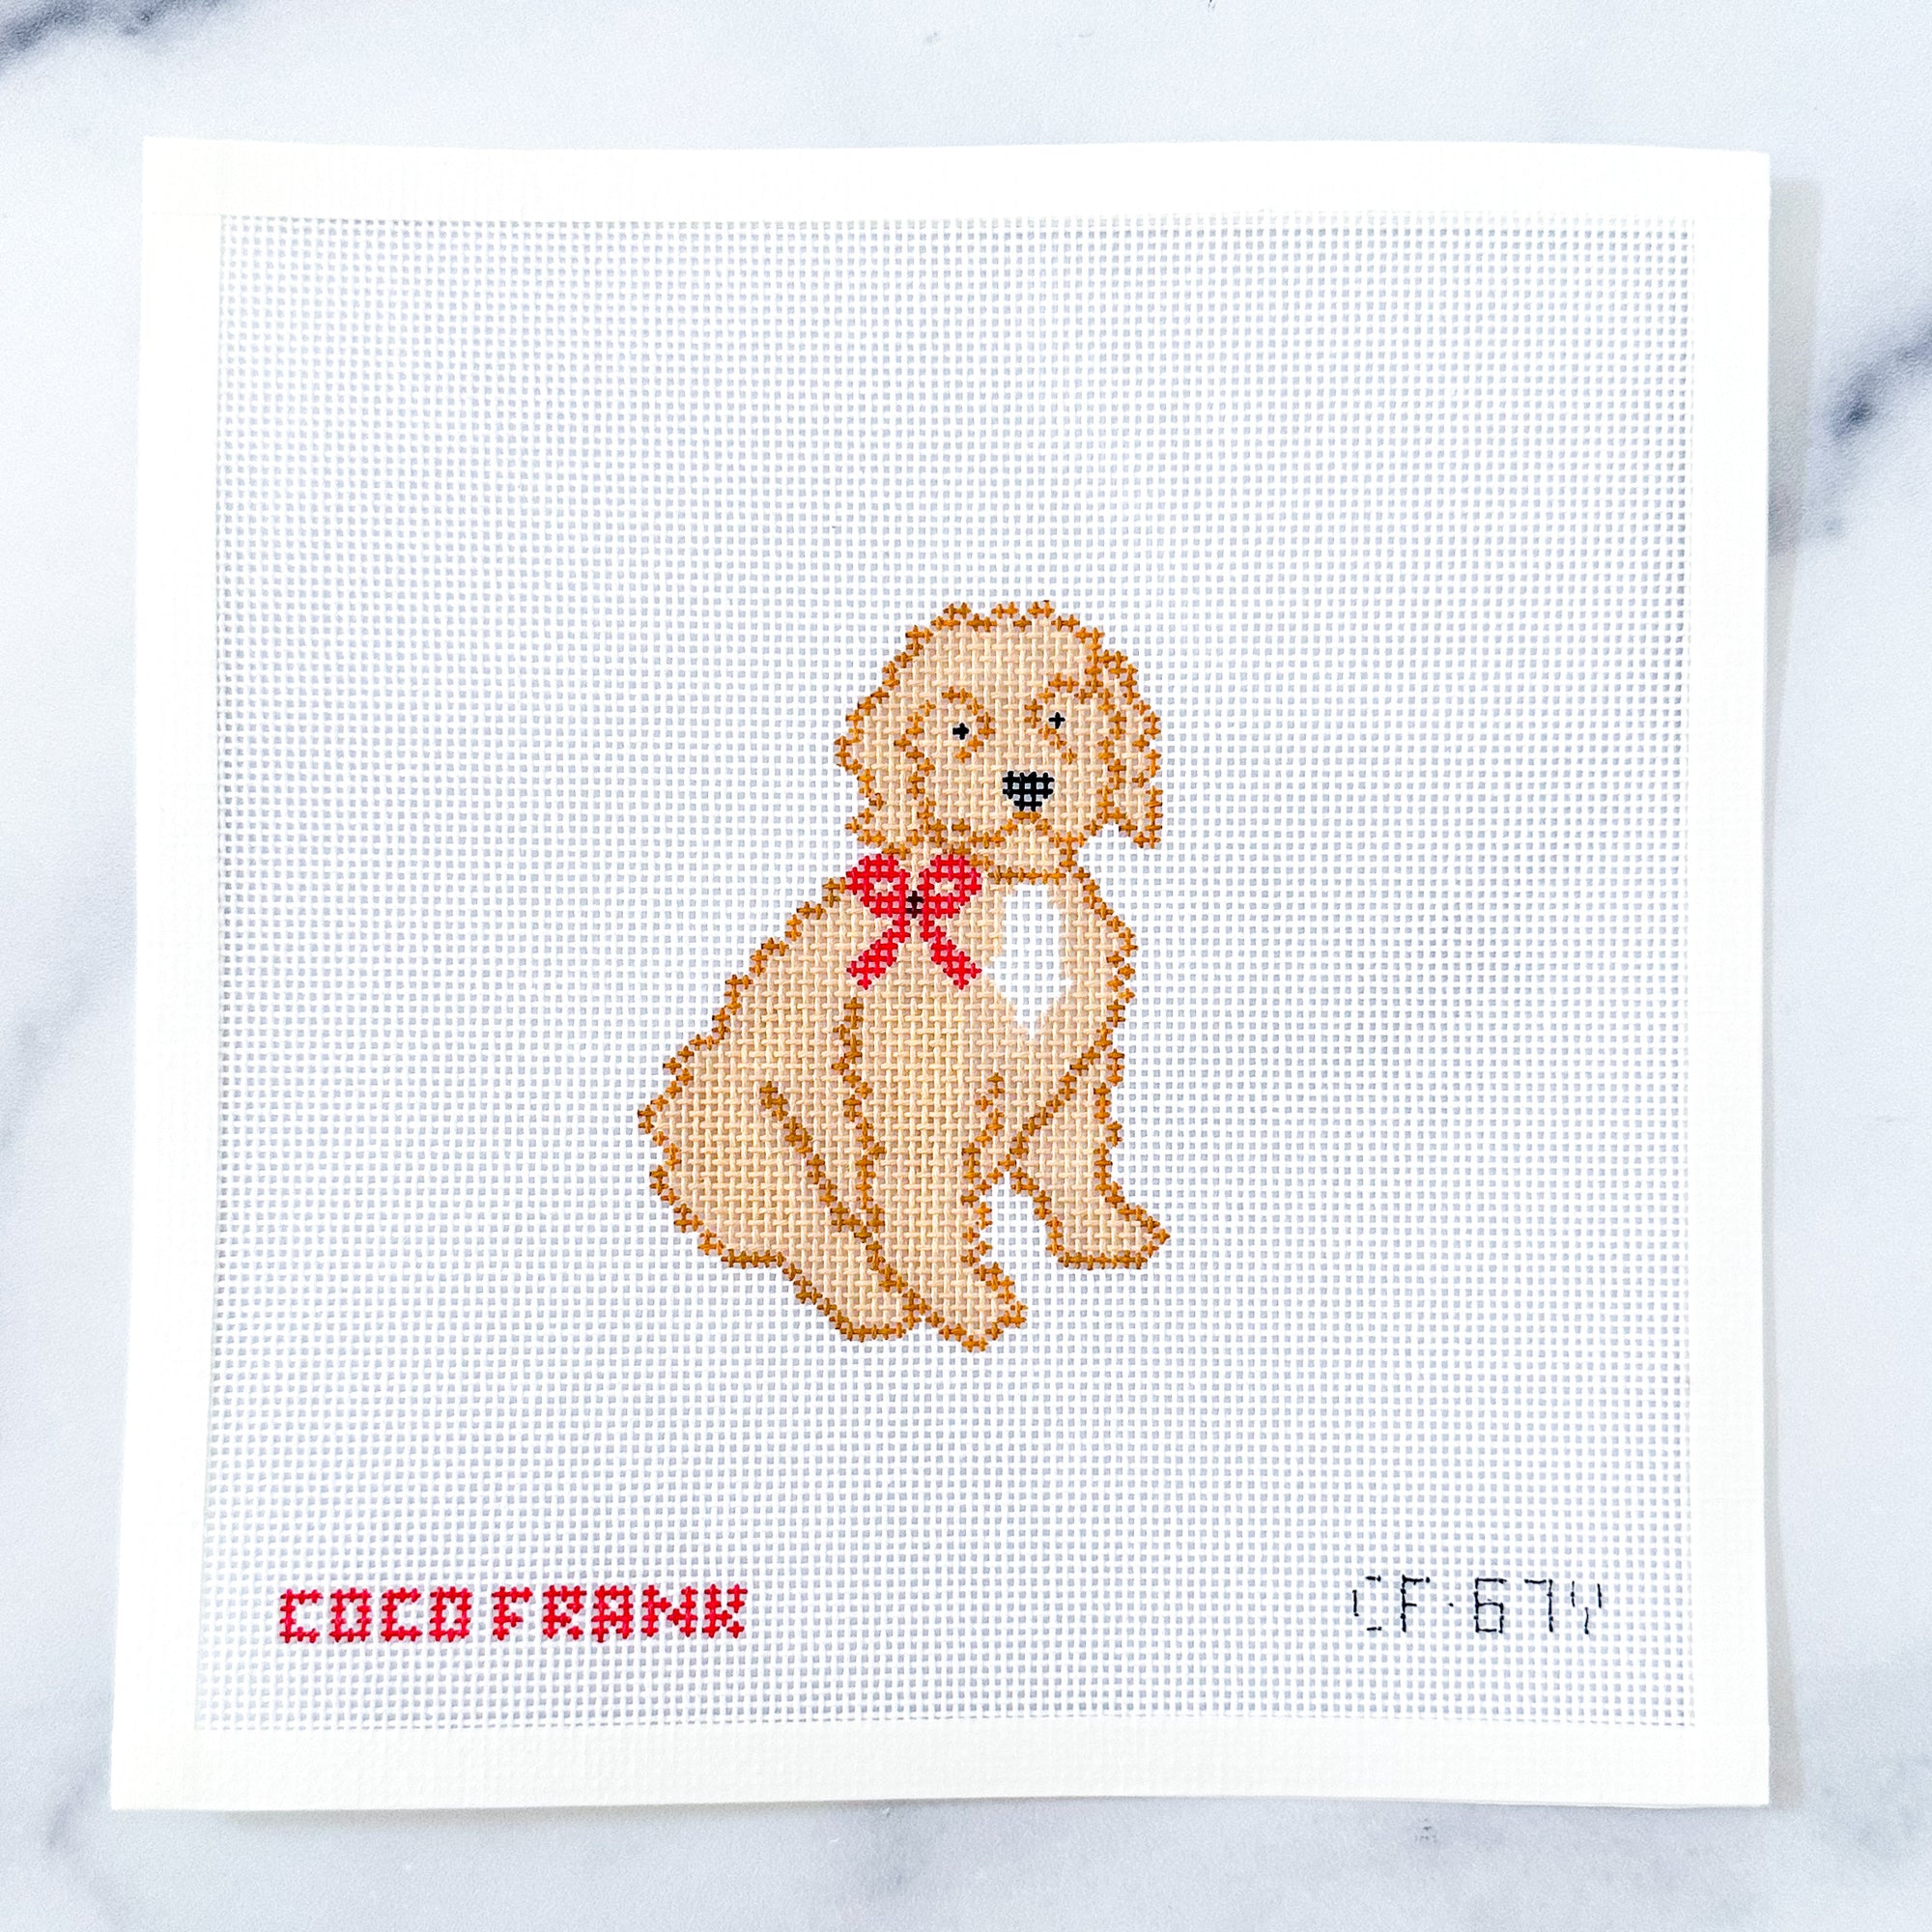
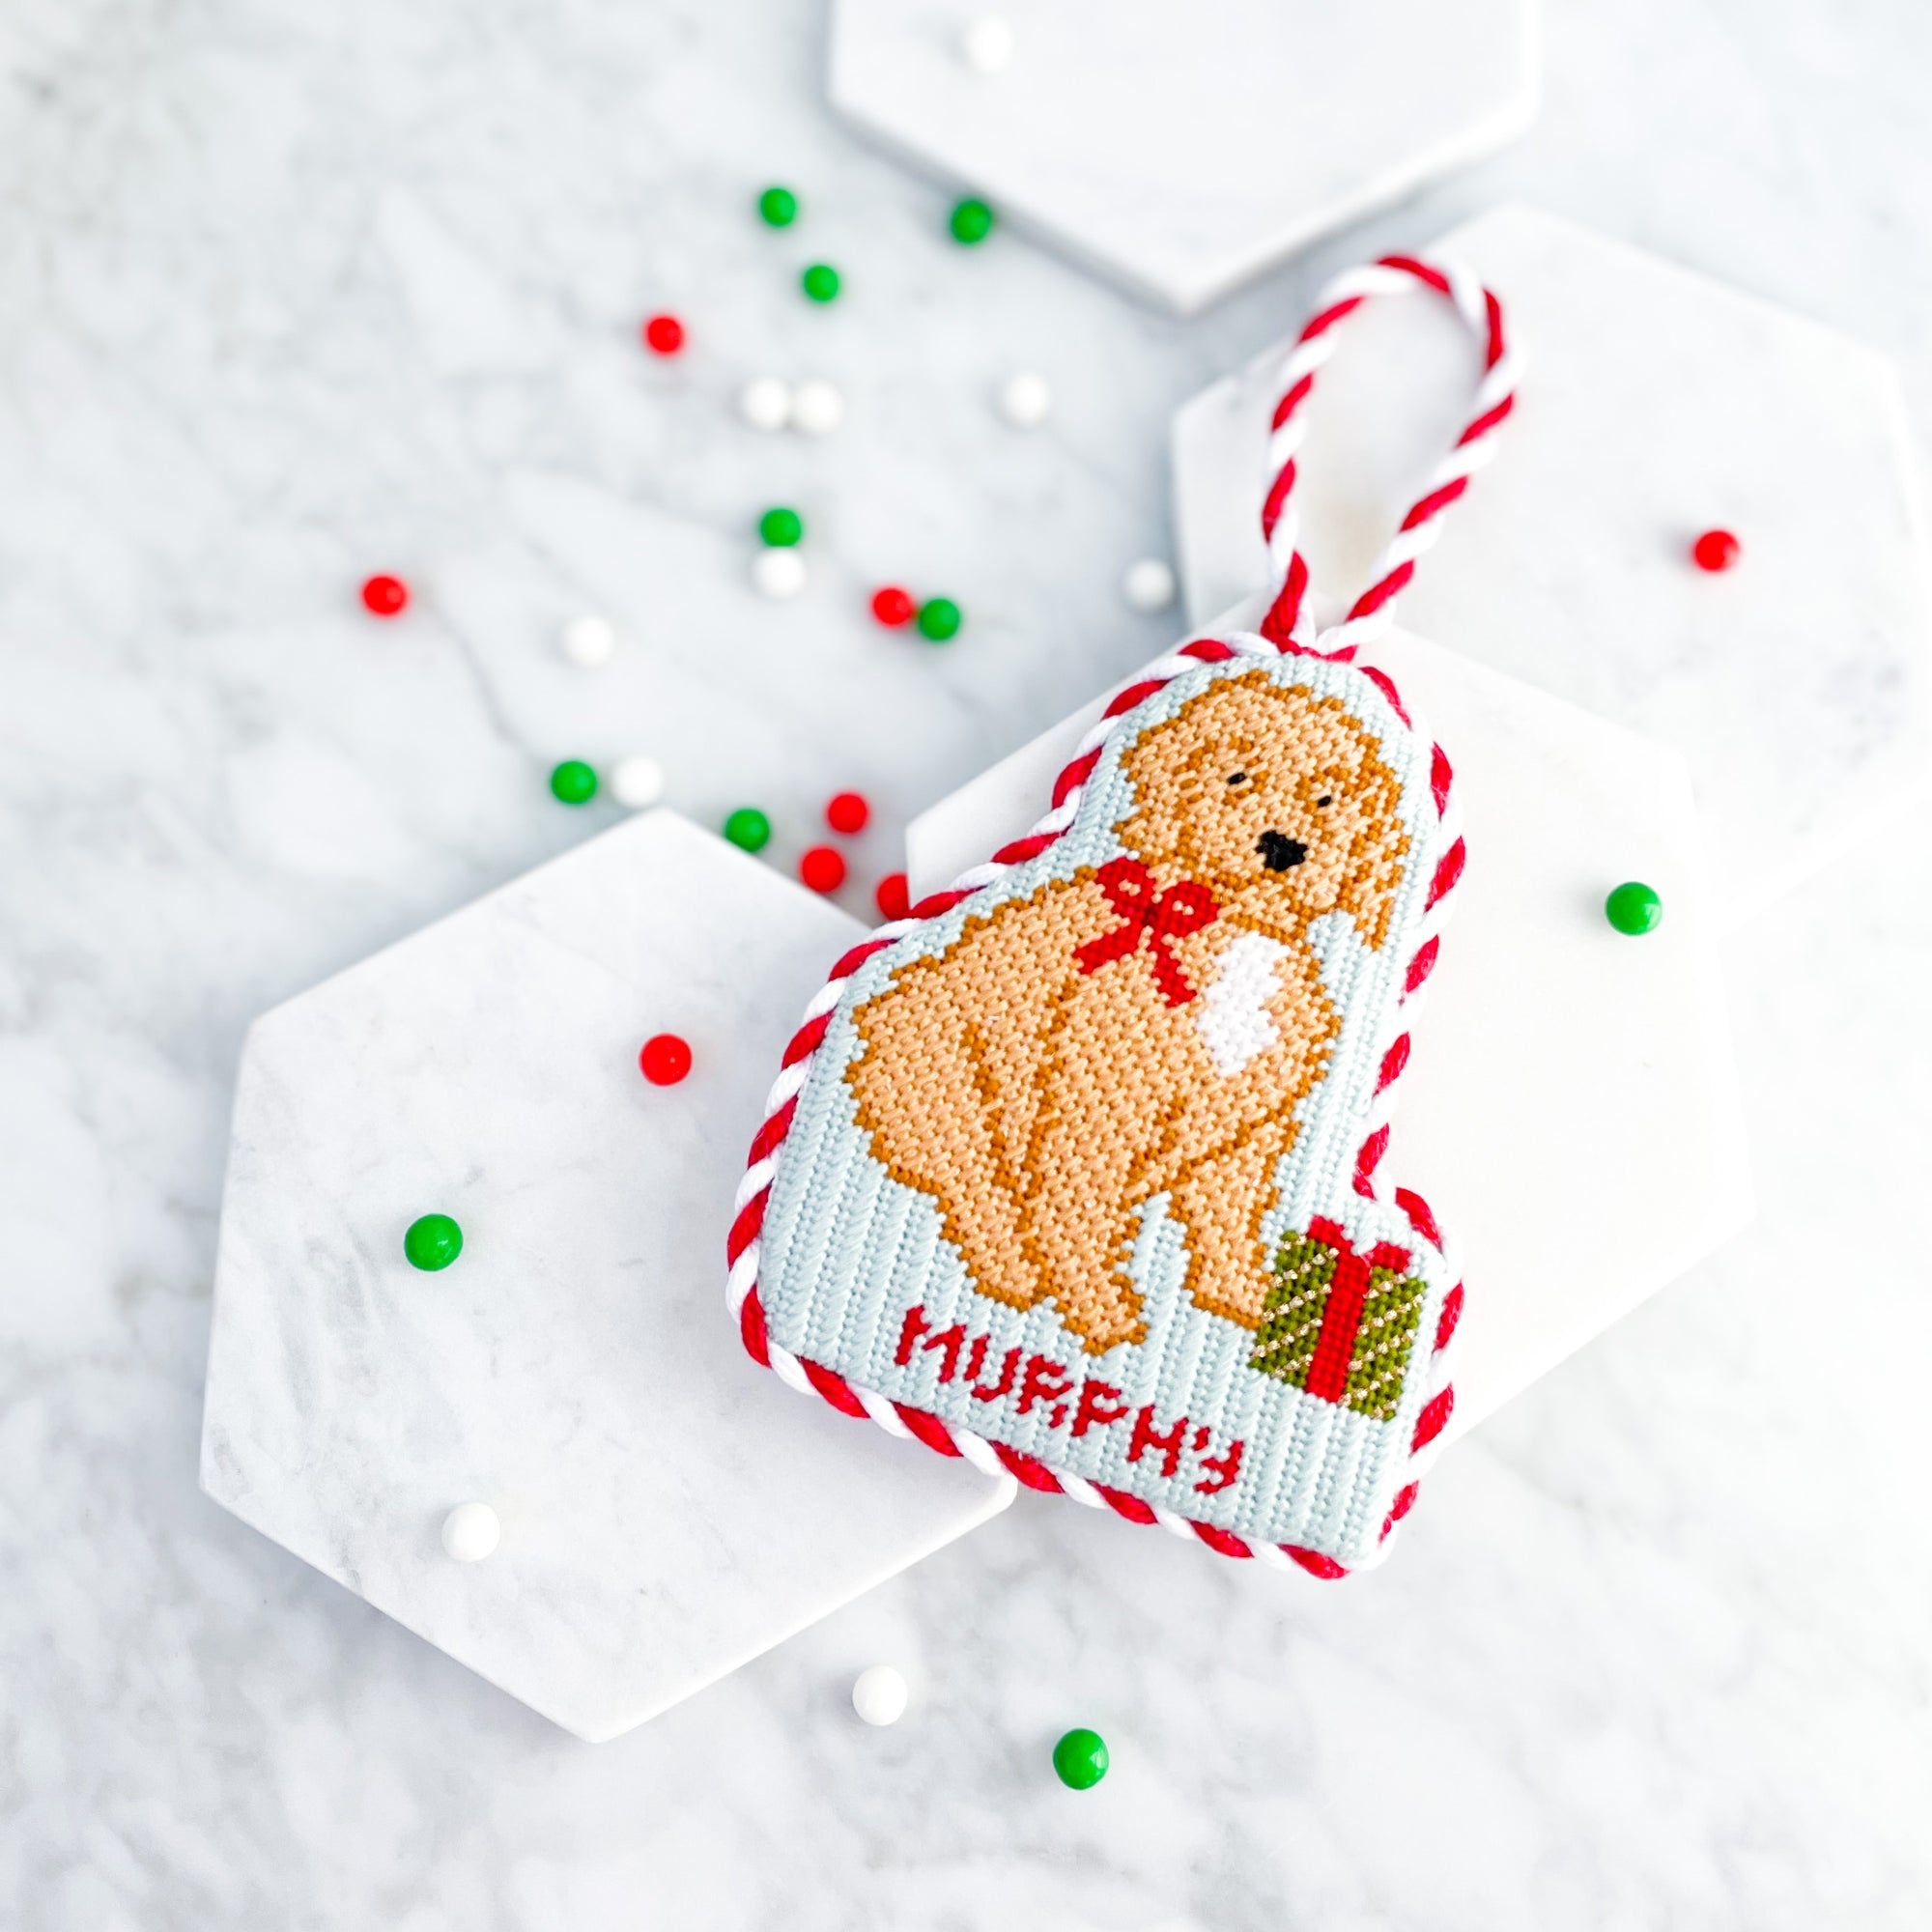
Tent stitch an outline. There is nothing wrong with eyeballing an outline on your own! I find that using a tent stitch is easiest if you need to backtrack and make adjustments. I have done this when stitching the background on my Doodle canvas. This lets you still use decorative stitches if you want and can make compensation a little bit simpler.

- Count out stitches. Much like eyeballing an outline, you can use the lines of the design to guide you along to add additional rows. Simply start on the row immediately next to the painted design and stitch out 4-5 stitches. I used this when stitching my nutcracker canvases. Some turned out more oval-like and some kept true to the original shape of the nutcracker depending on how many rows I added. Watch out for corners and curves, that’s where this method can get tricky if you’re not paying close attention!
-
Use the grid for squares/rectangles. Some of the easiest shapes to outline are squares and rectangles. Use the grid of the canvas to guide you along and take your Micron pen to mark the corners. Use a ruler to help keep your lines straight!

I hope you feel more confident in adding an outline to your needlepoint canvas. Like any other skill, it takes practice before getting it perfect! When in doubt, asking your local needlepoint shop or finisher can be helpful to make sure you are stitching to any specifications they may have for finishing. Happy stitching!

