

Spring break is quickly approaching and this means my favorite kind of stitching: vacation stitching! Whether you’re hitting the beach for sand and sun, retreating to the mountains for lots of fresh air and time in the great outdoors, or jet setting to fabulous far away locations, I hope you bring some needlepoint projects to work on! Here are some tips for traveling with needlepoint:
Picking Your Project
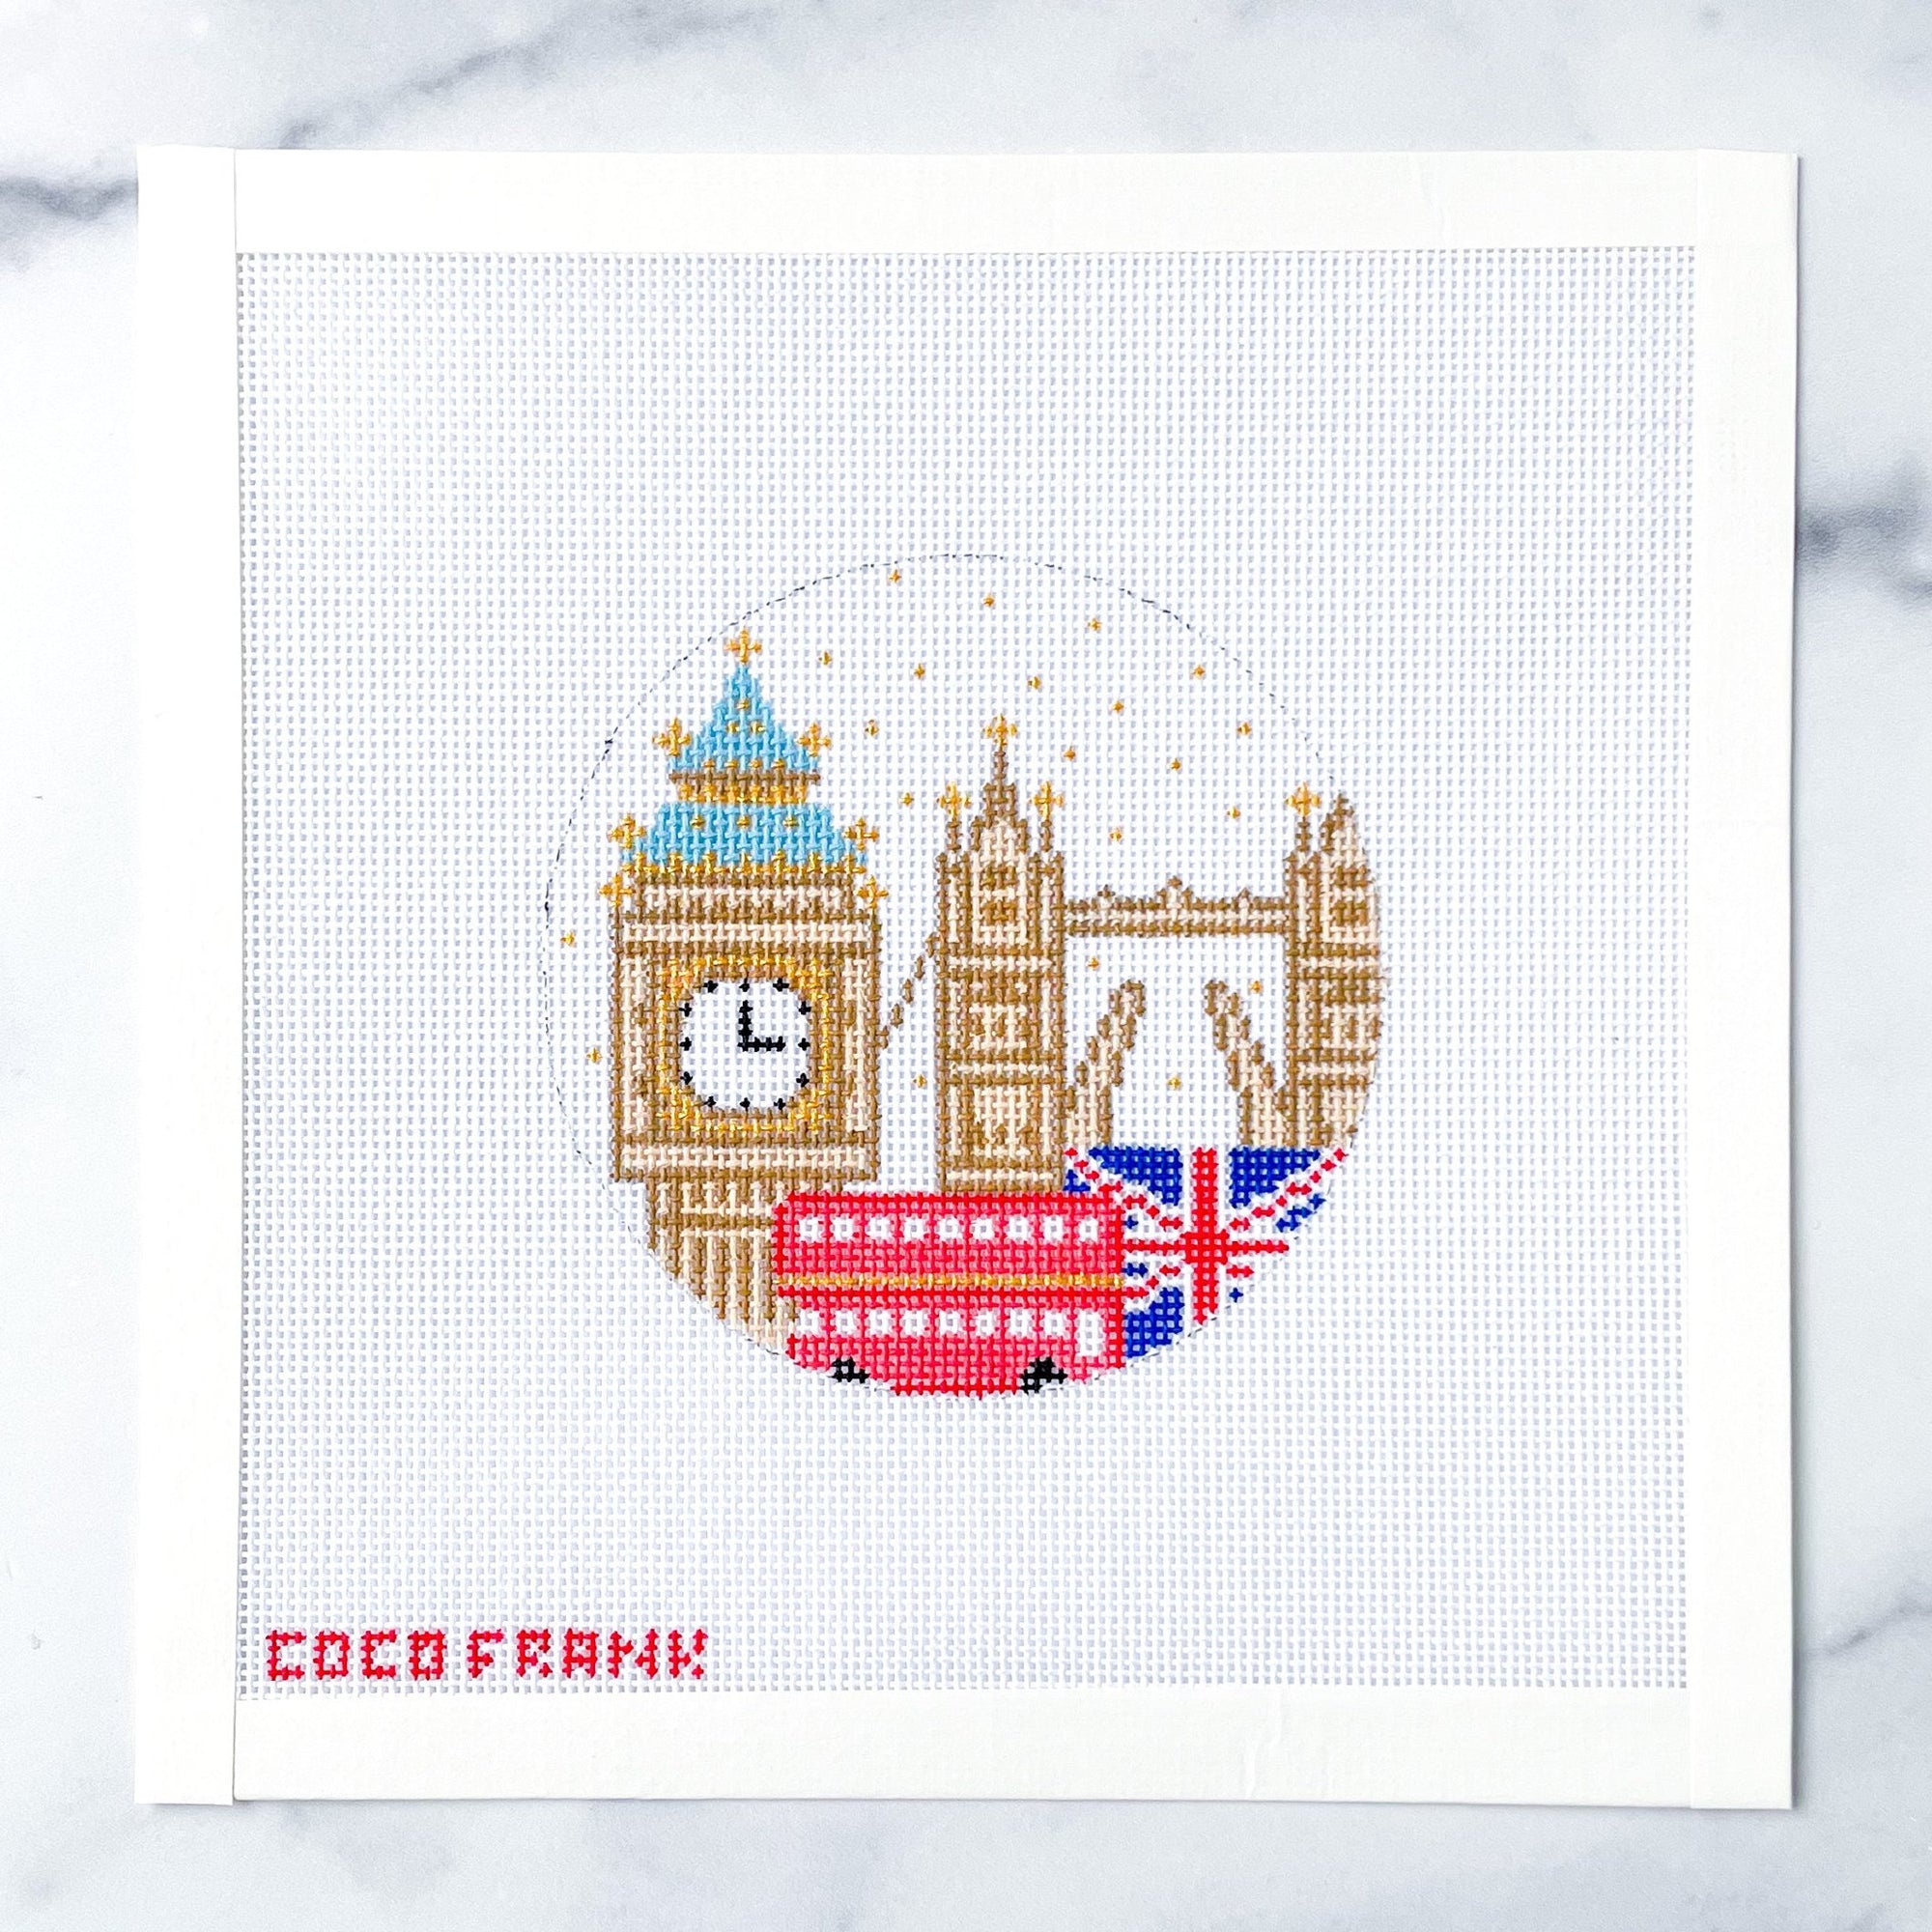
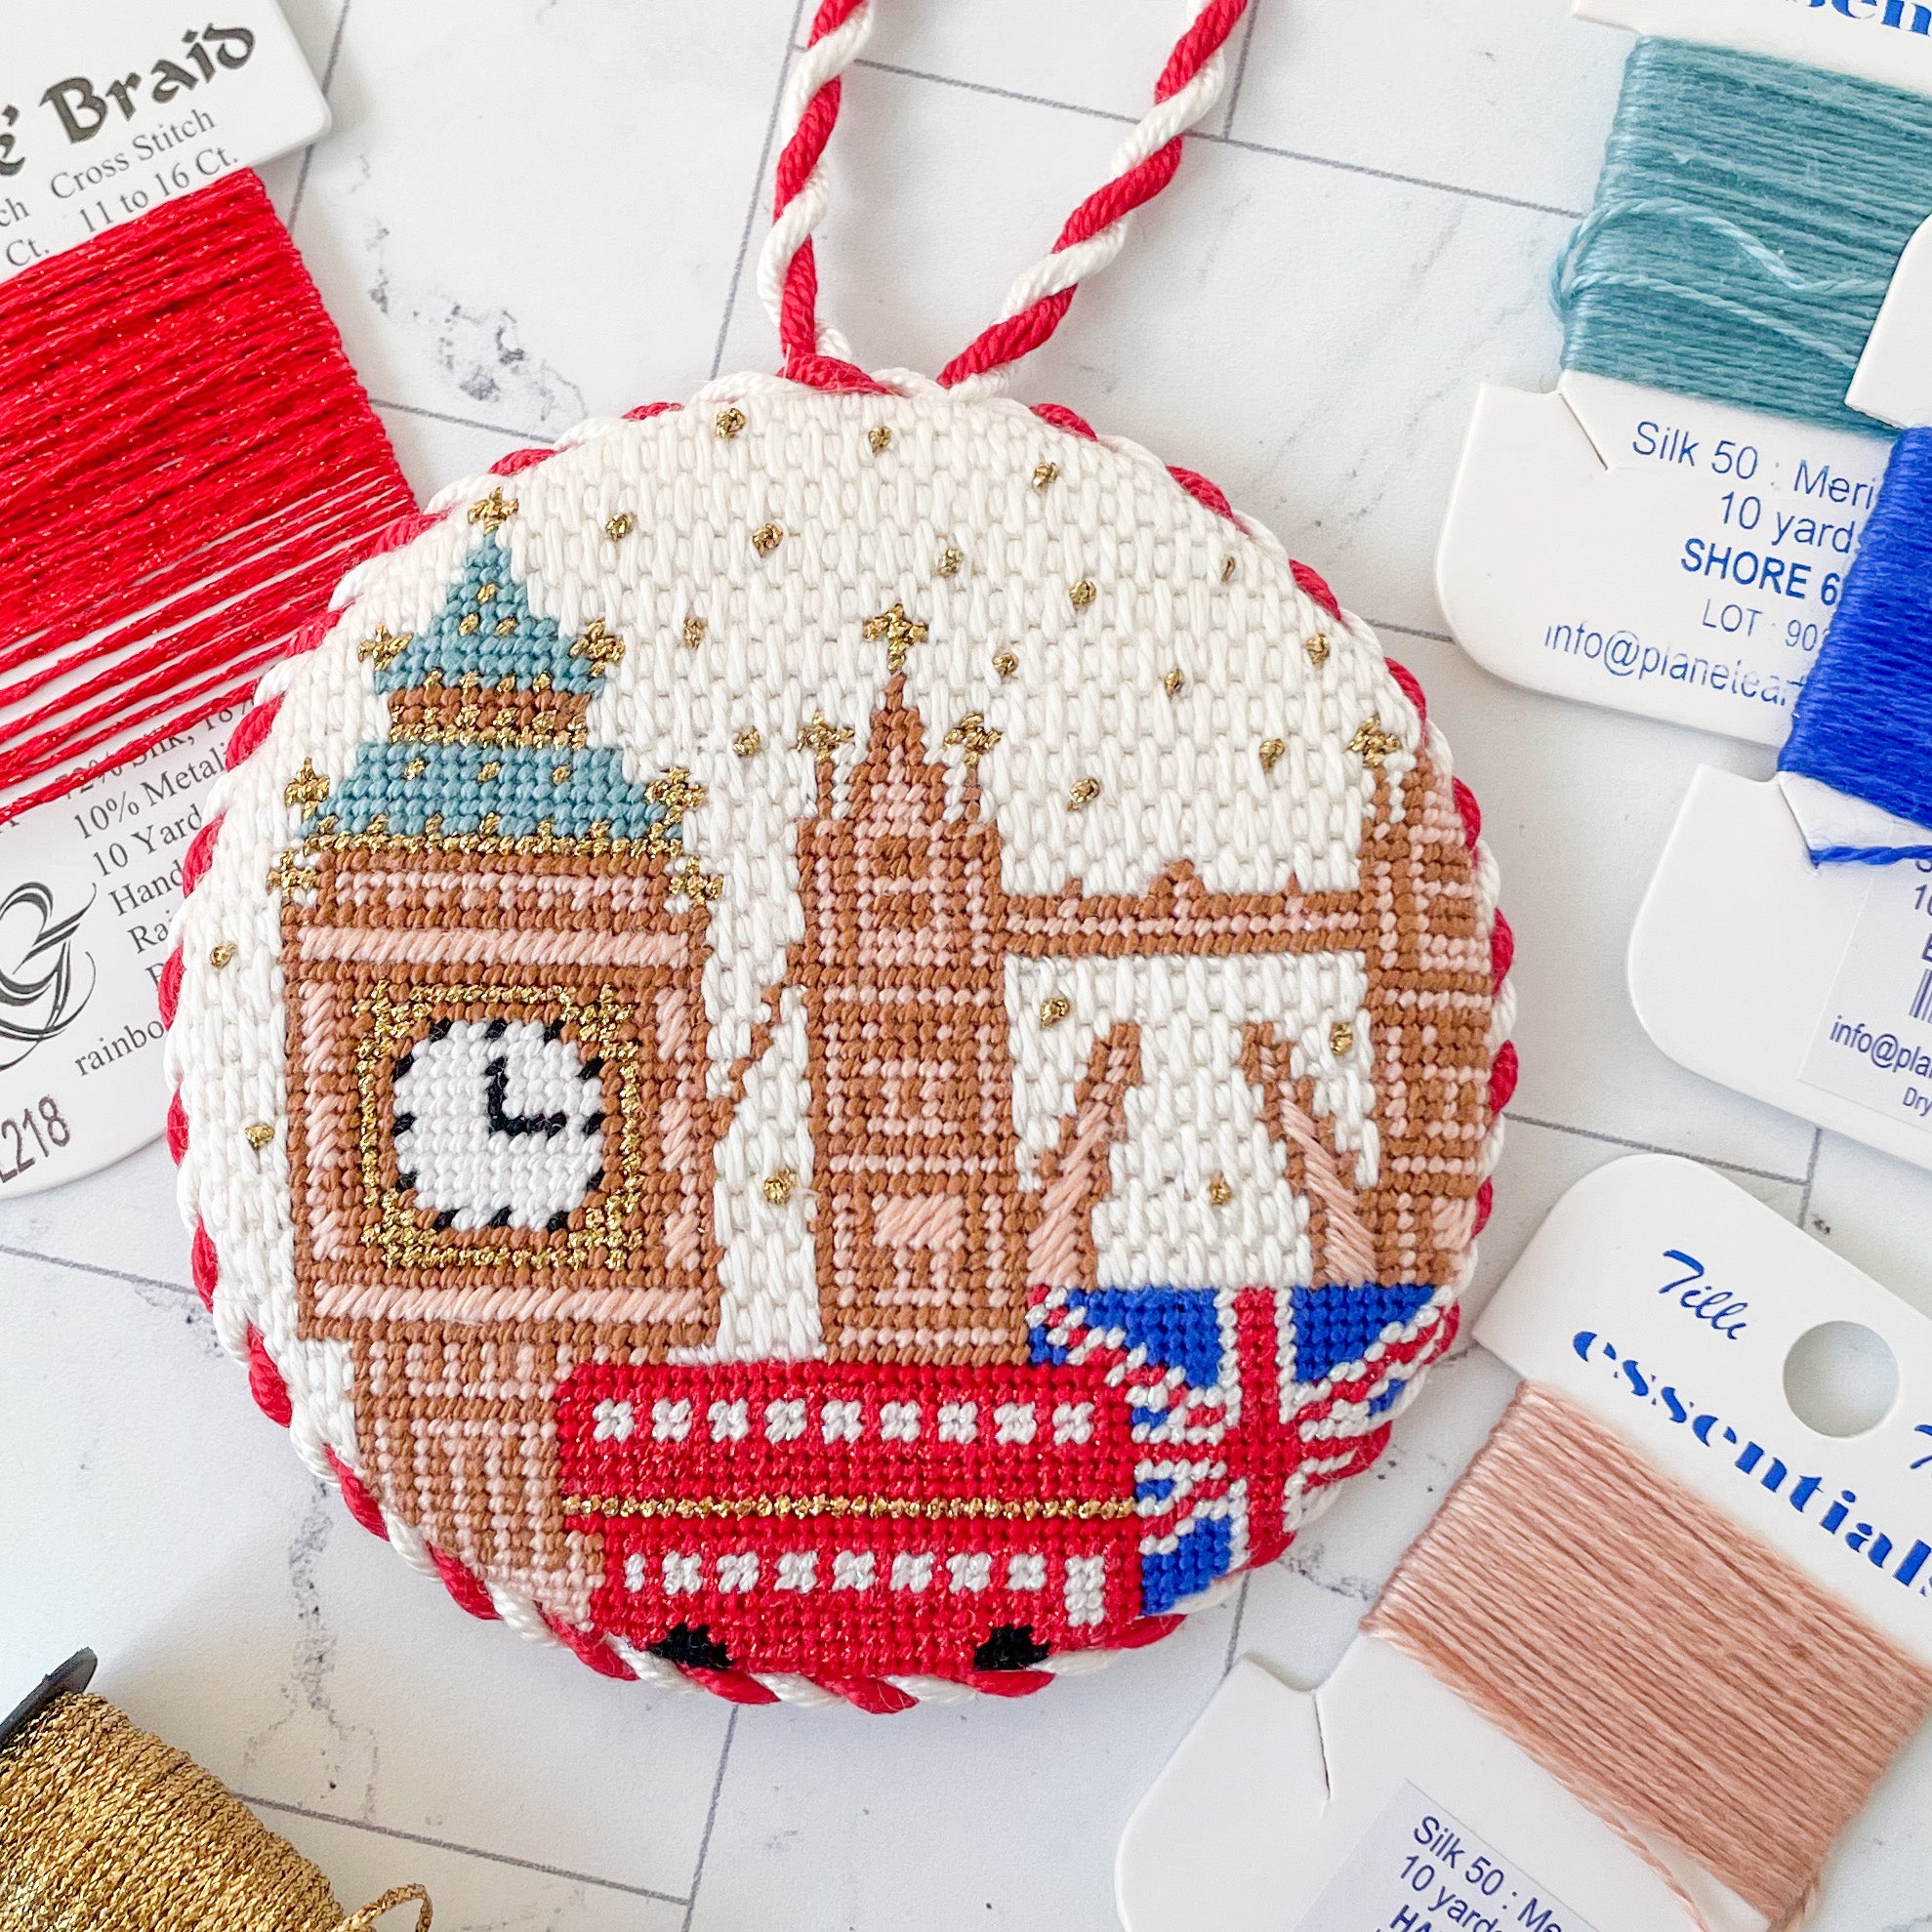
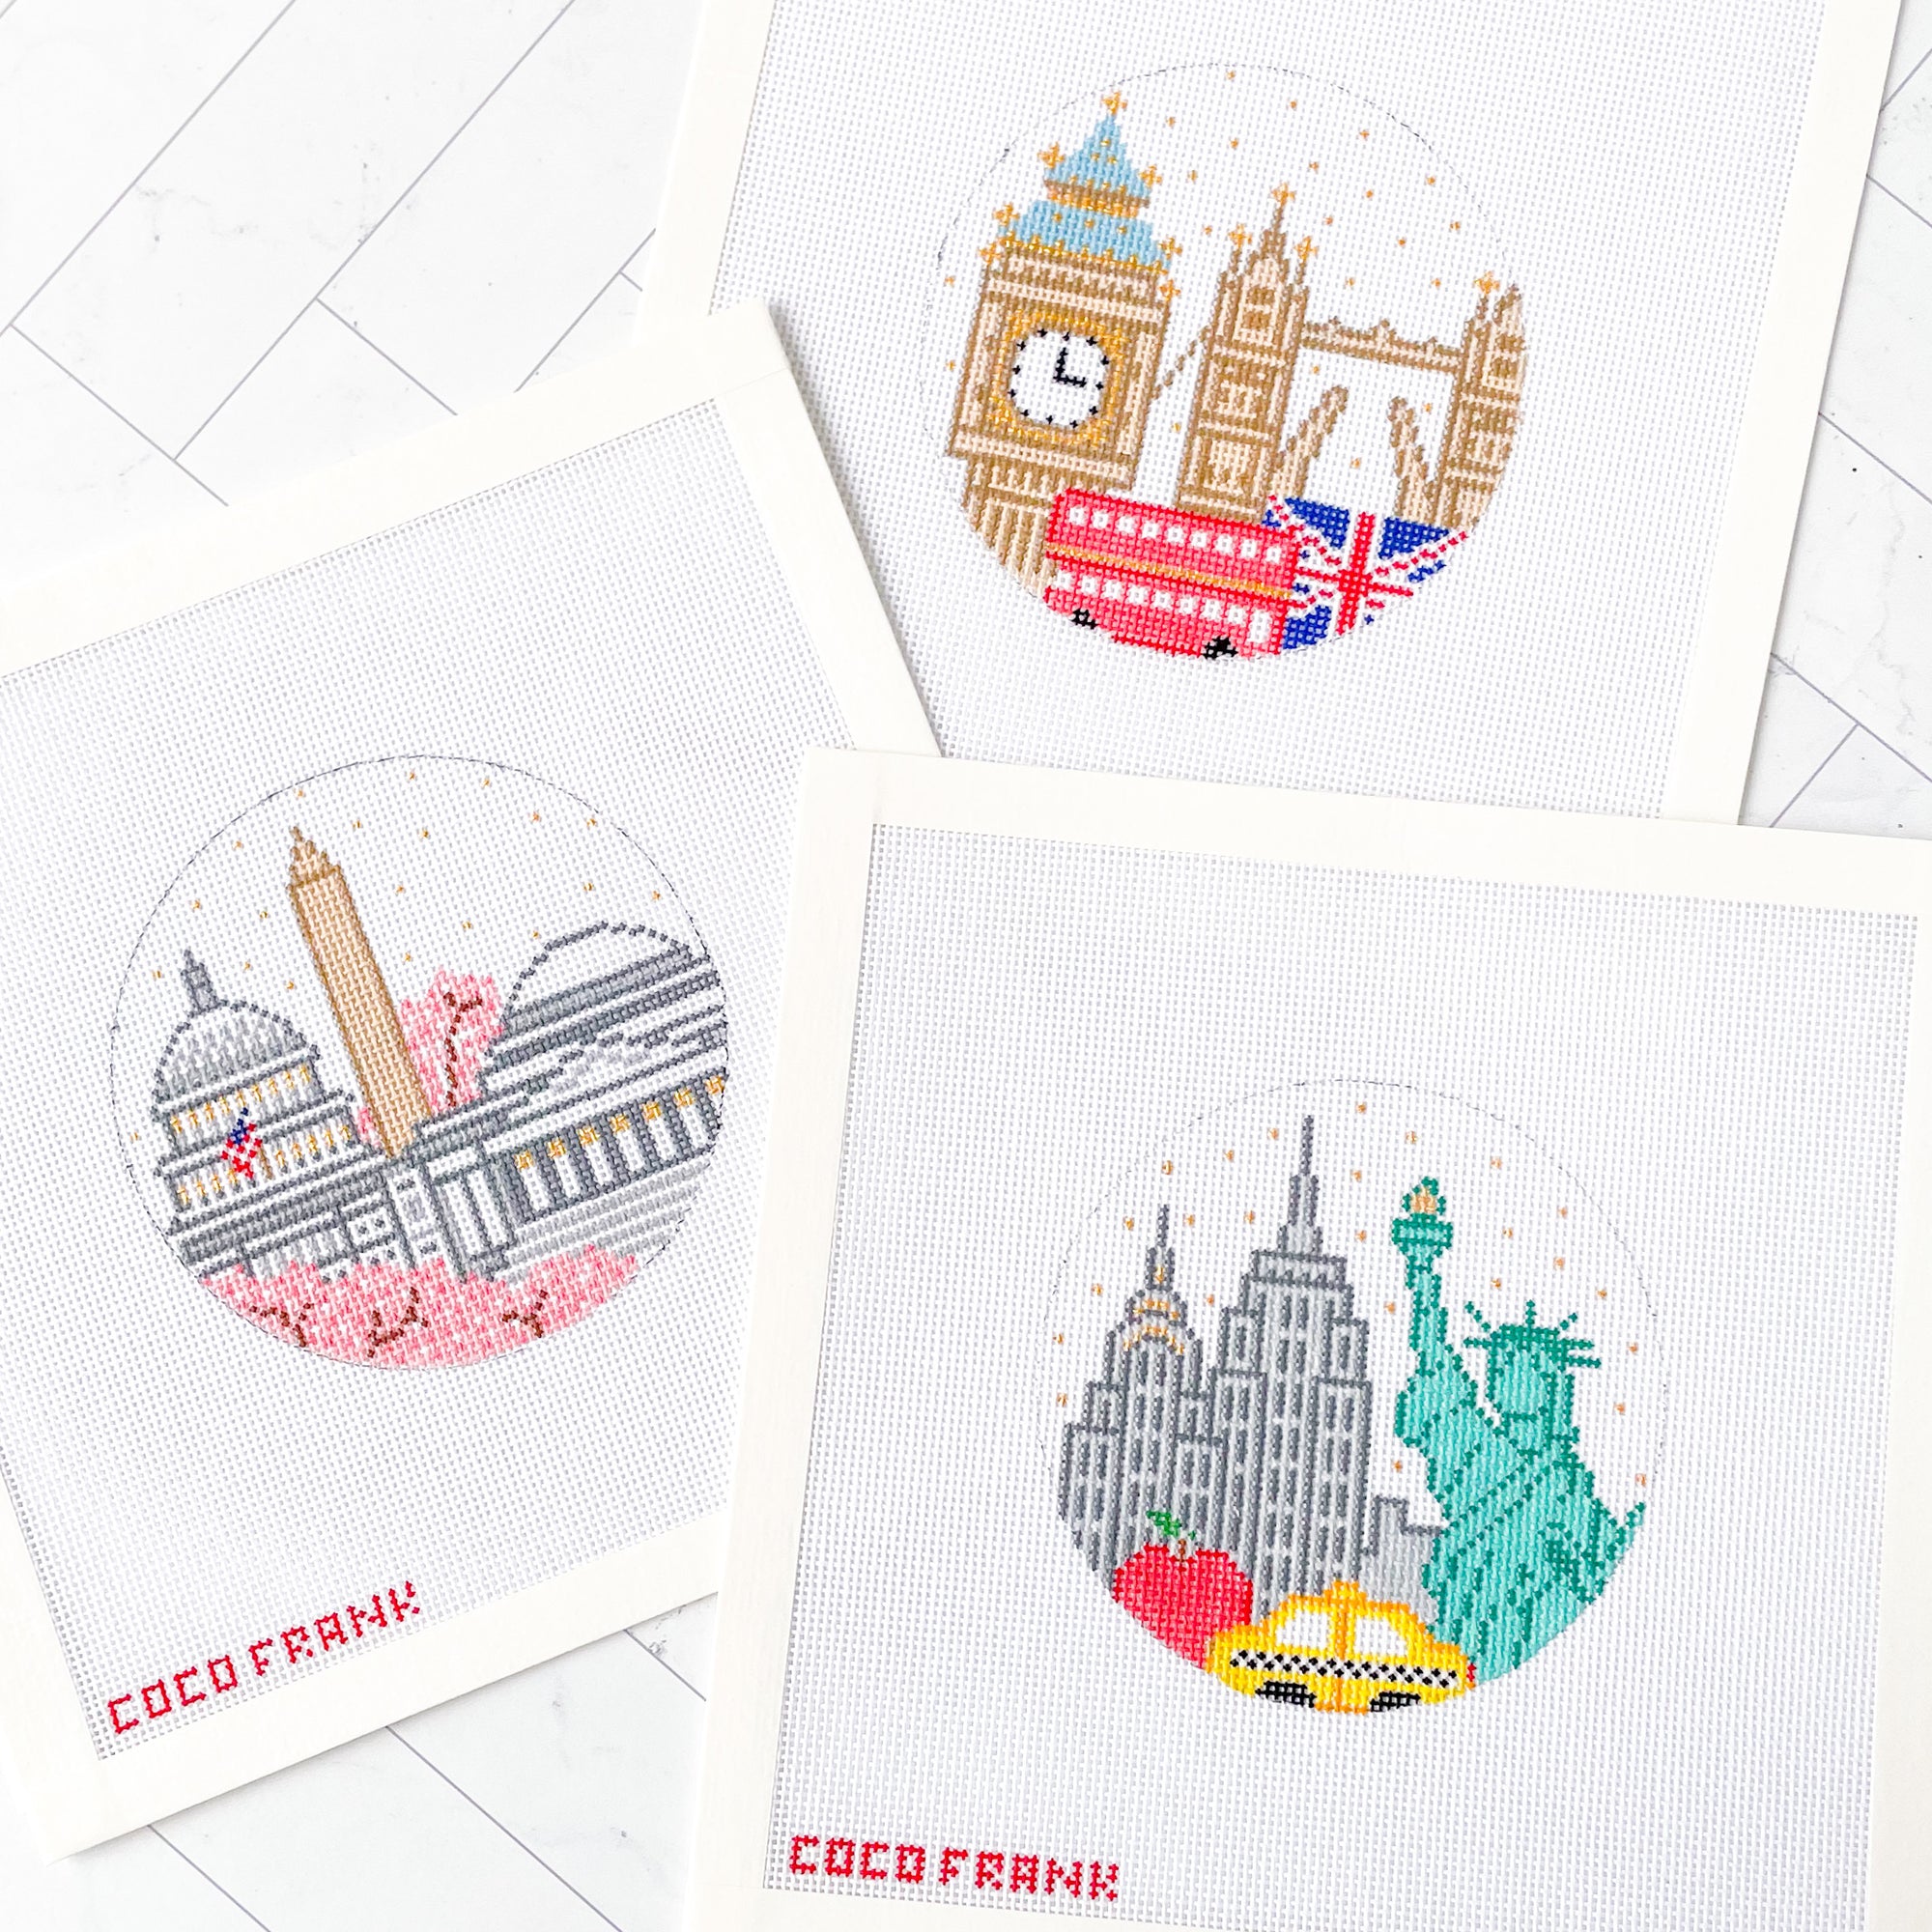
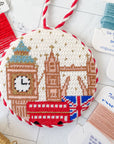
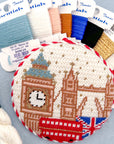
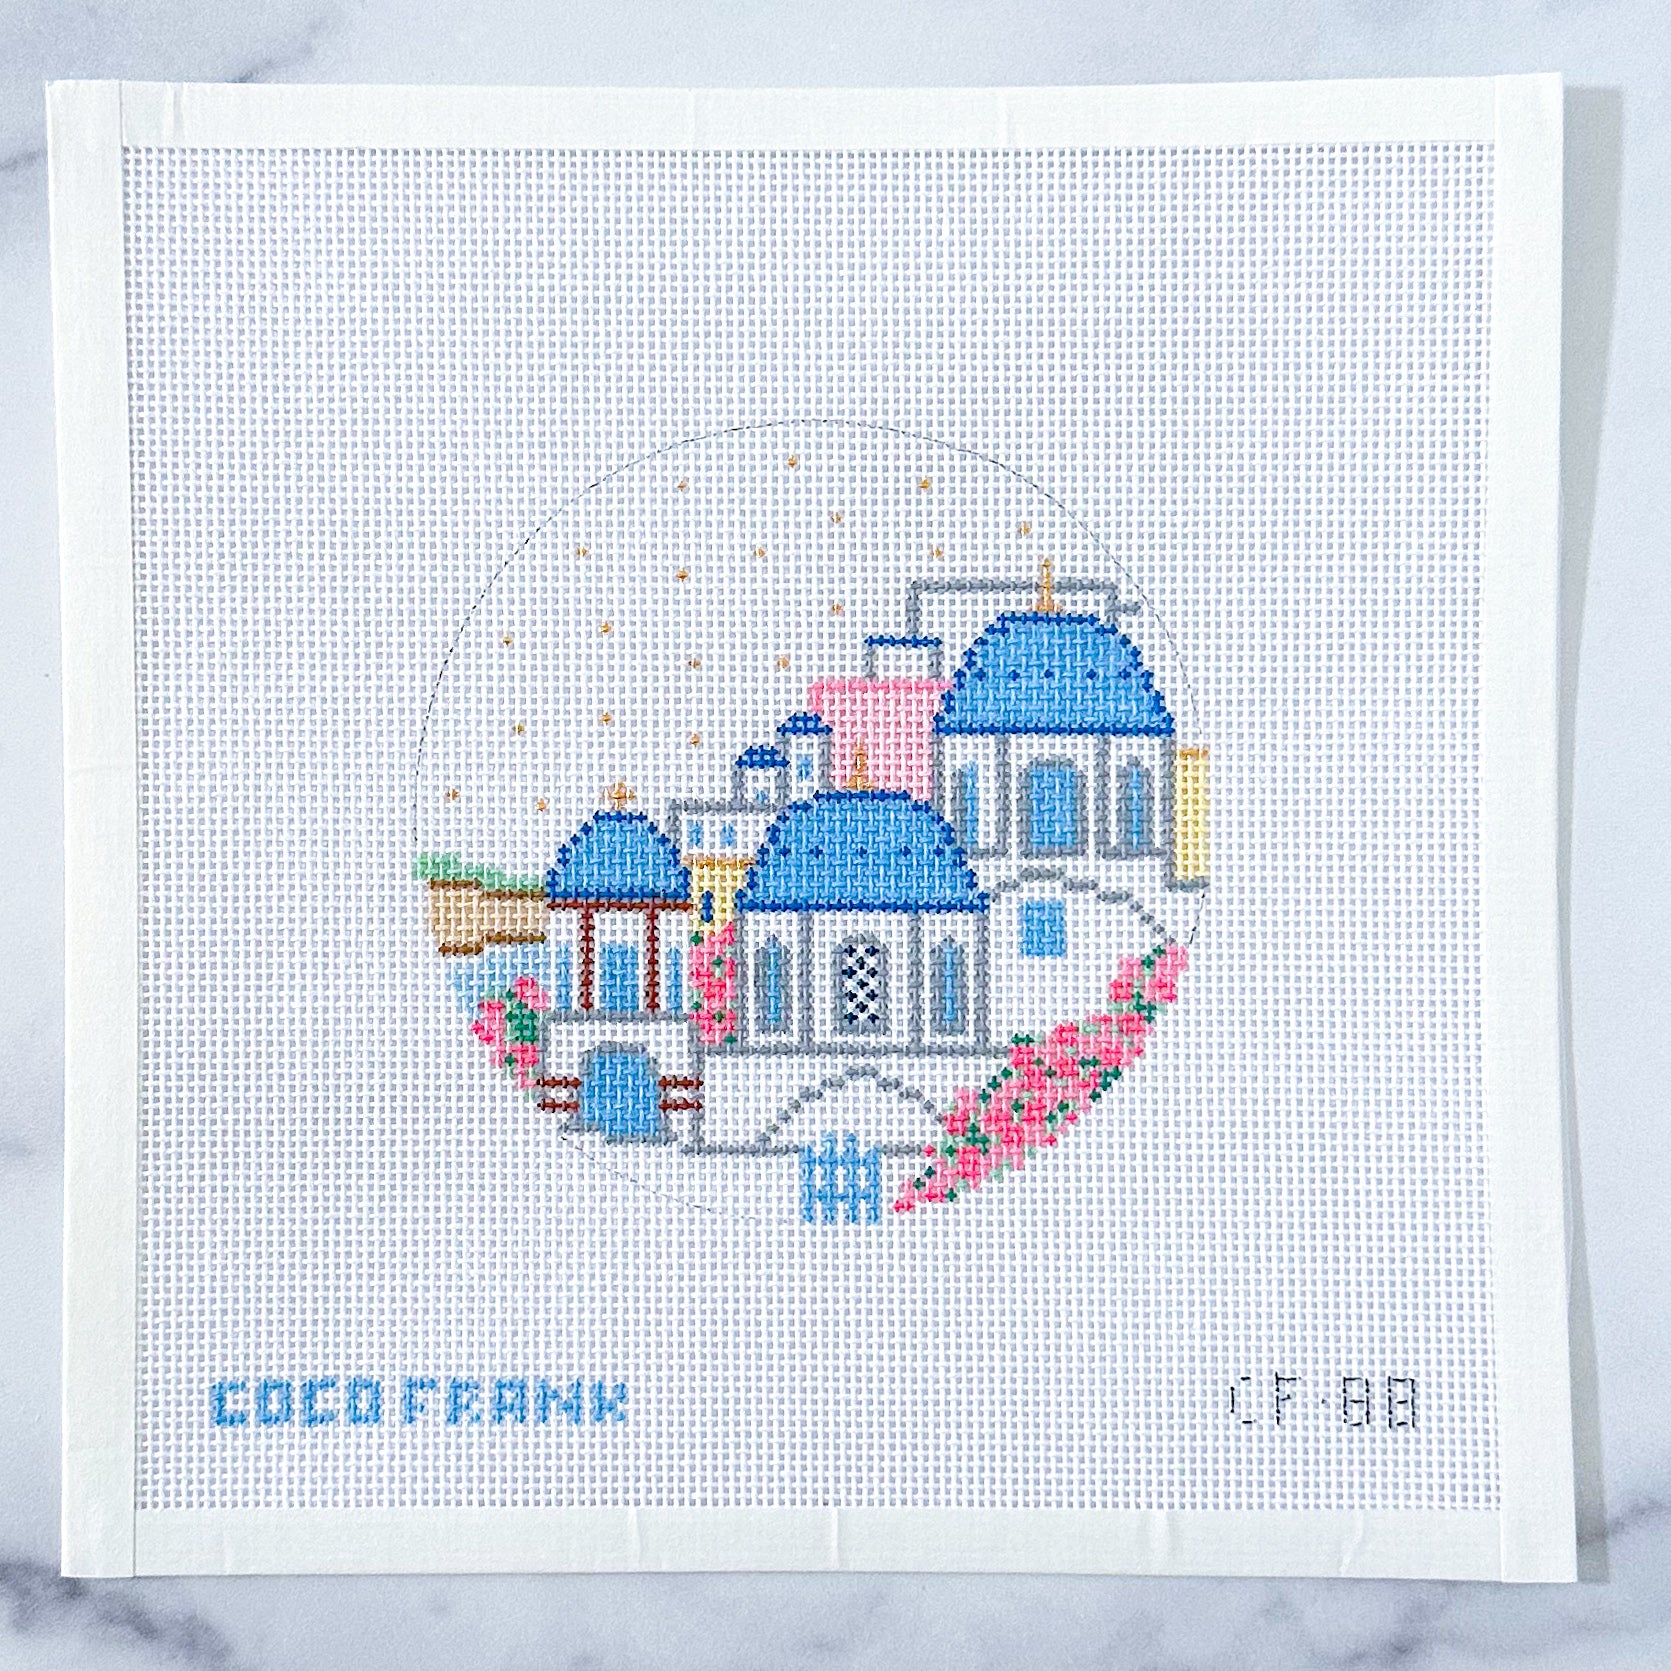
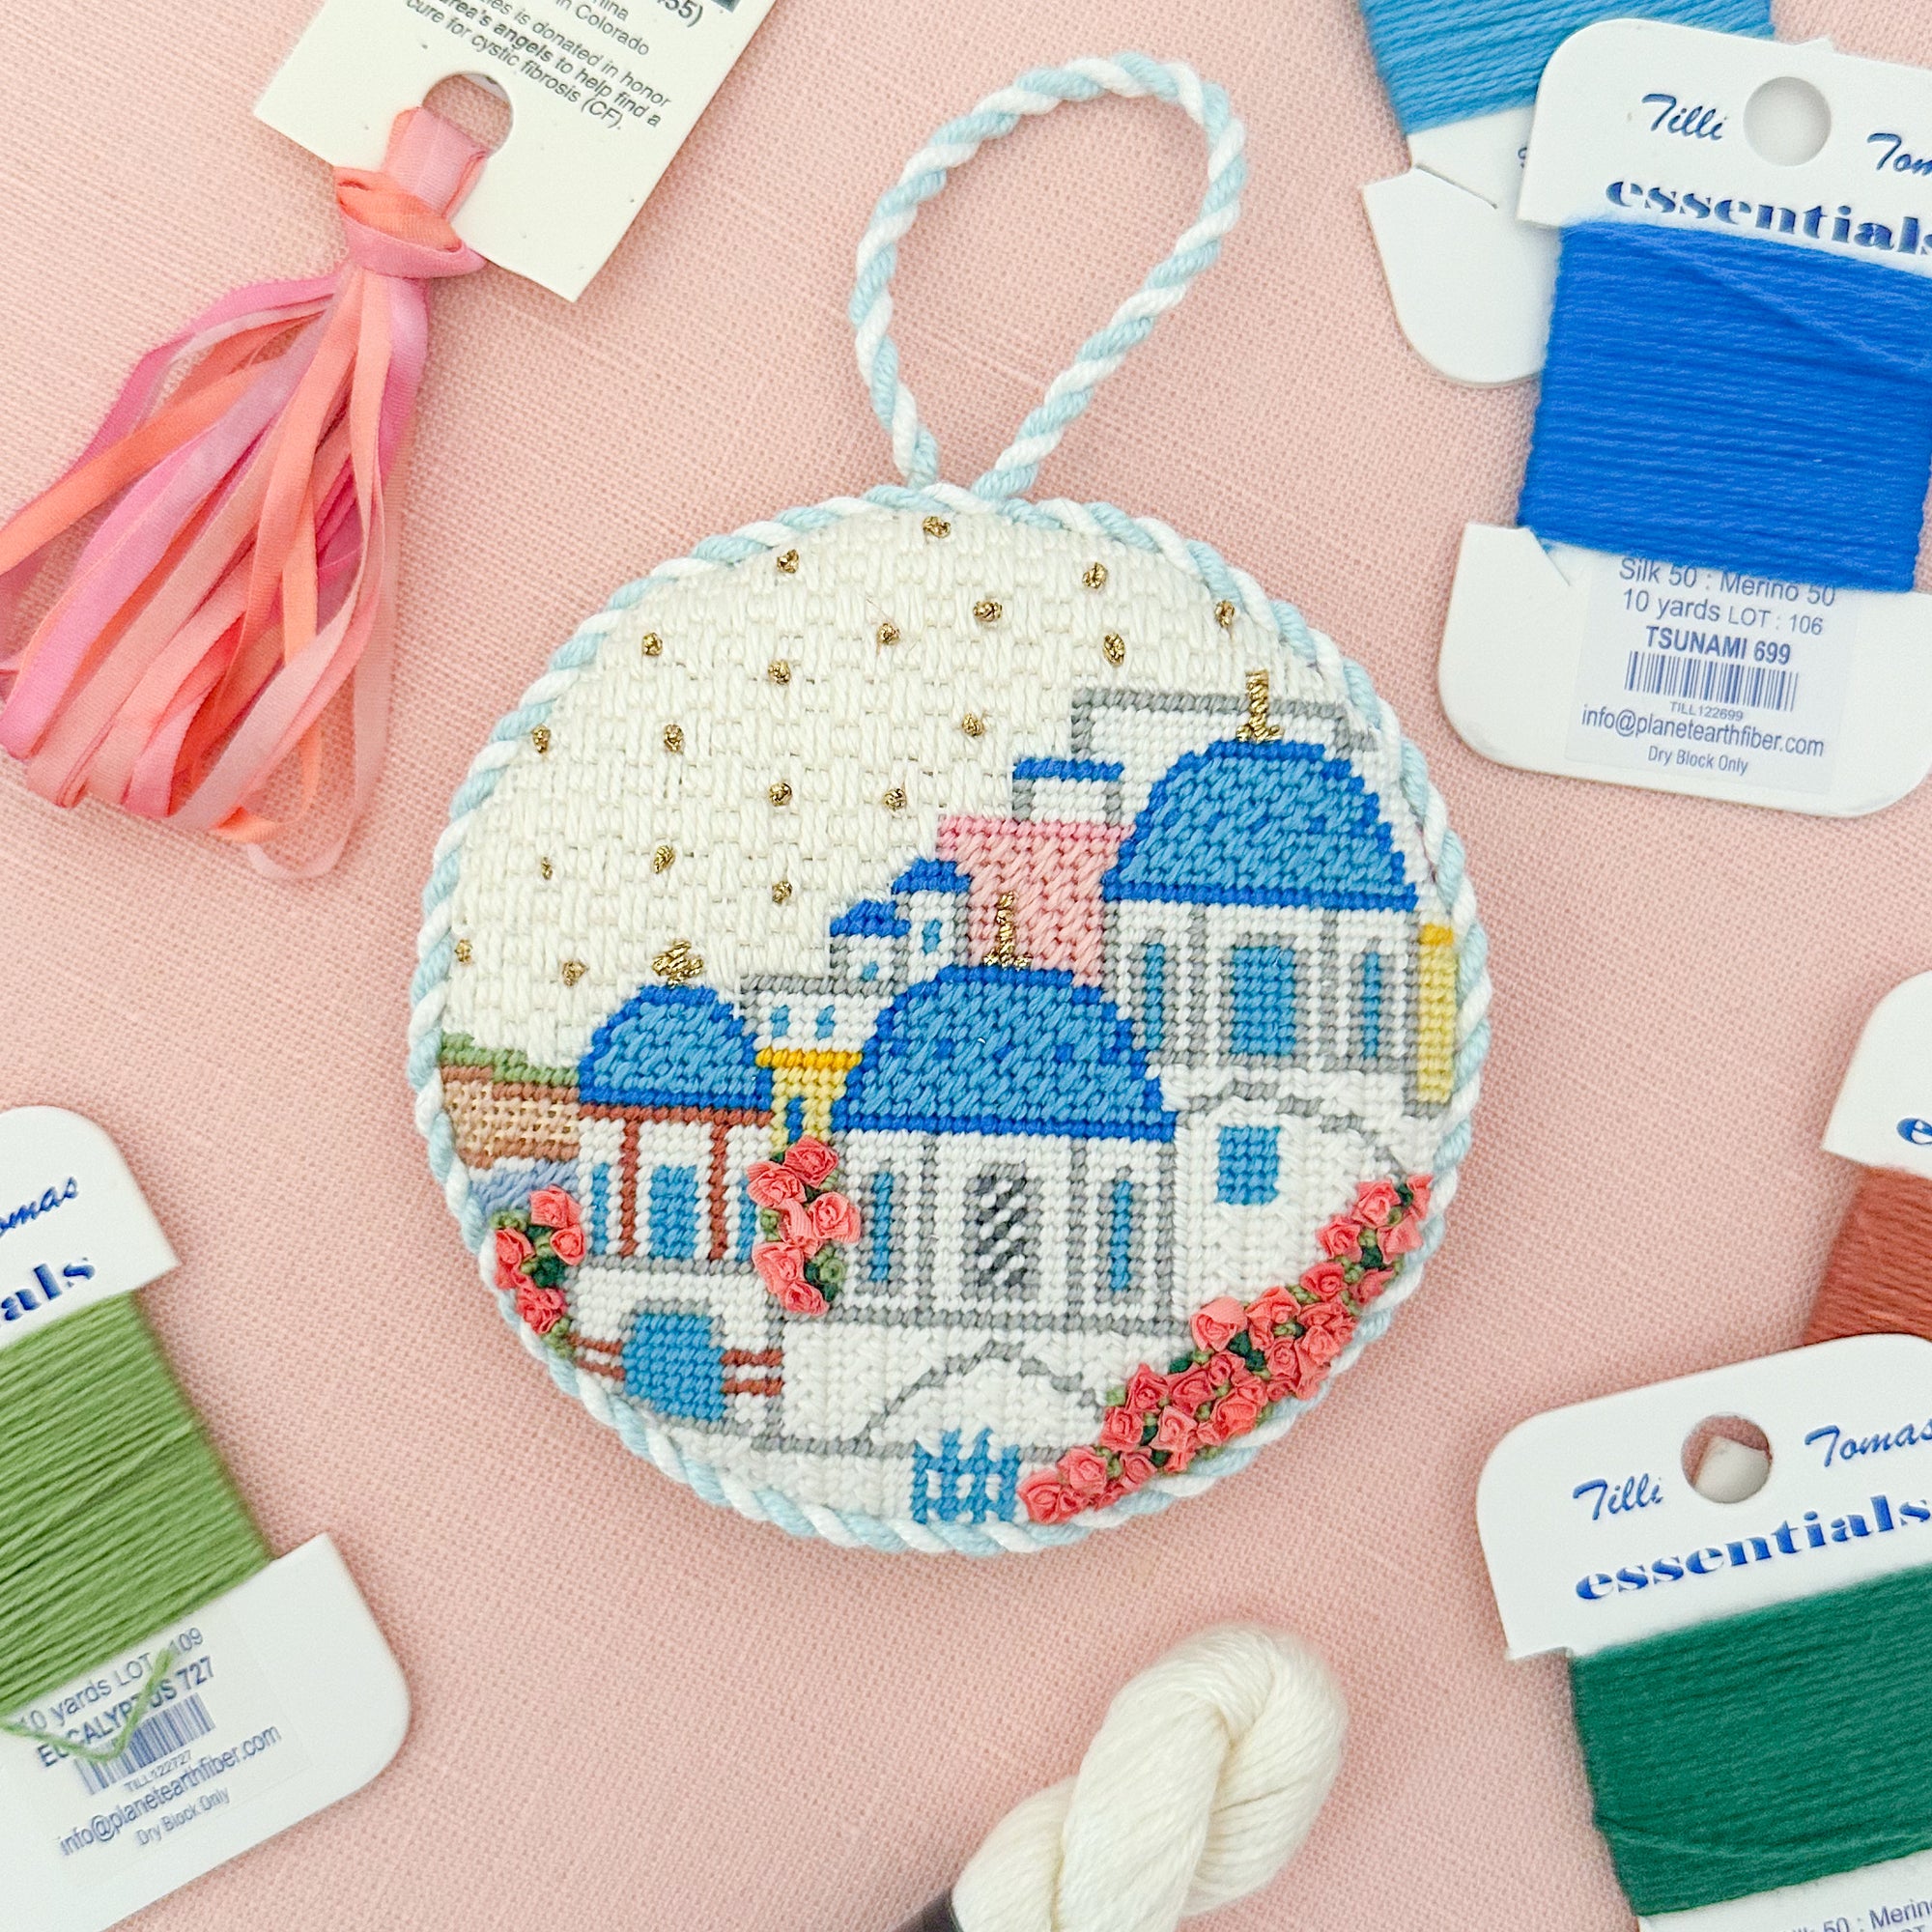
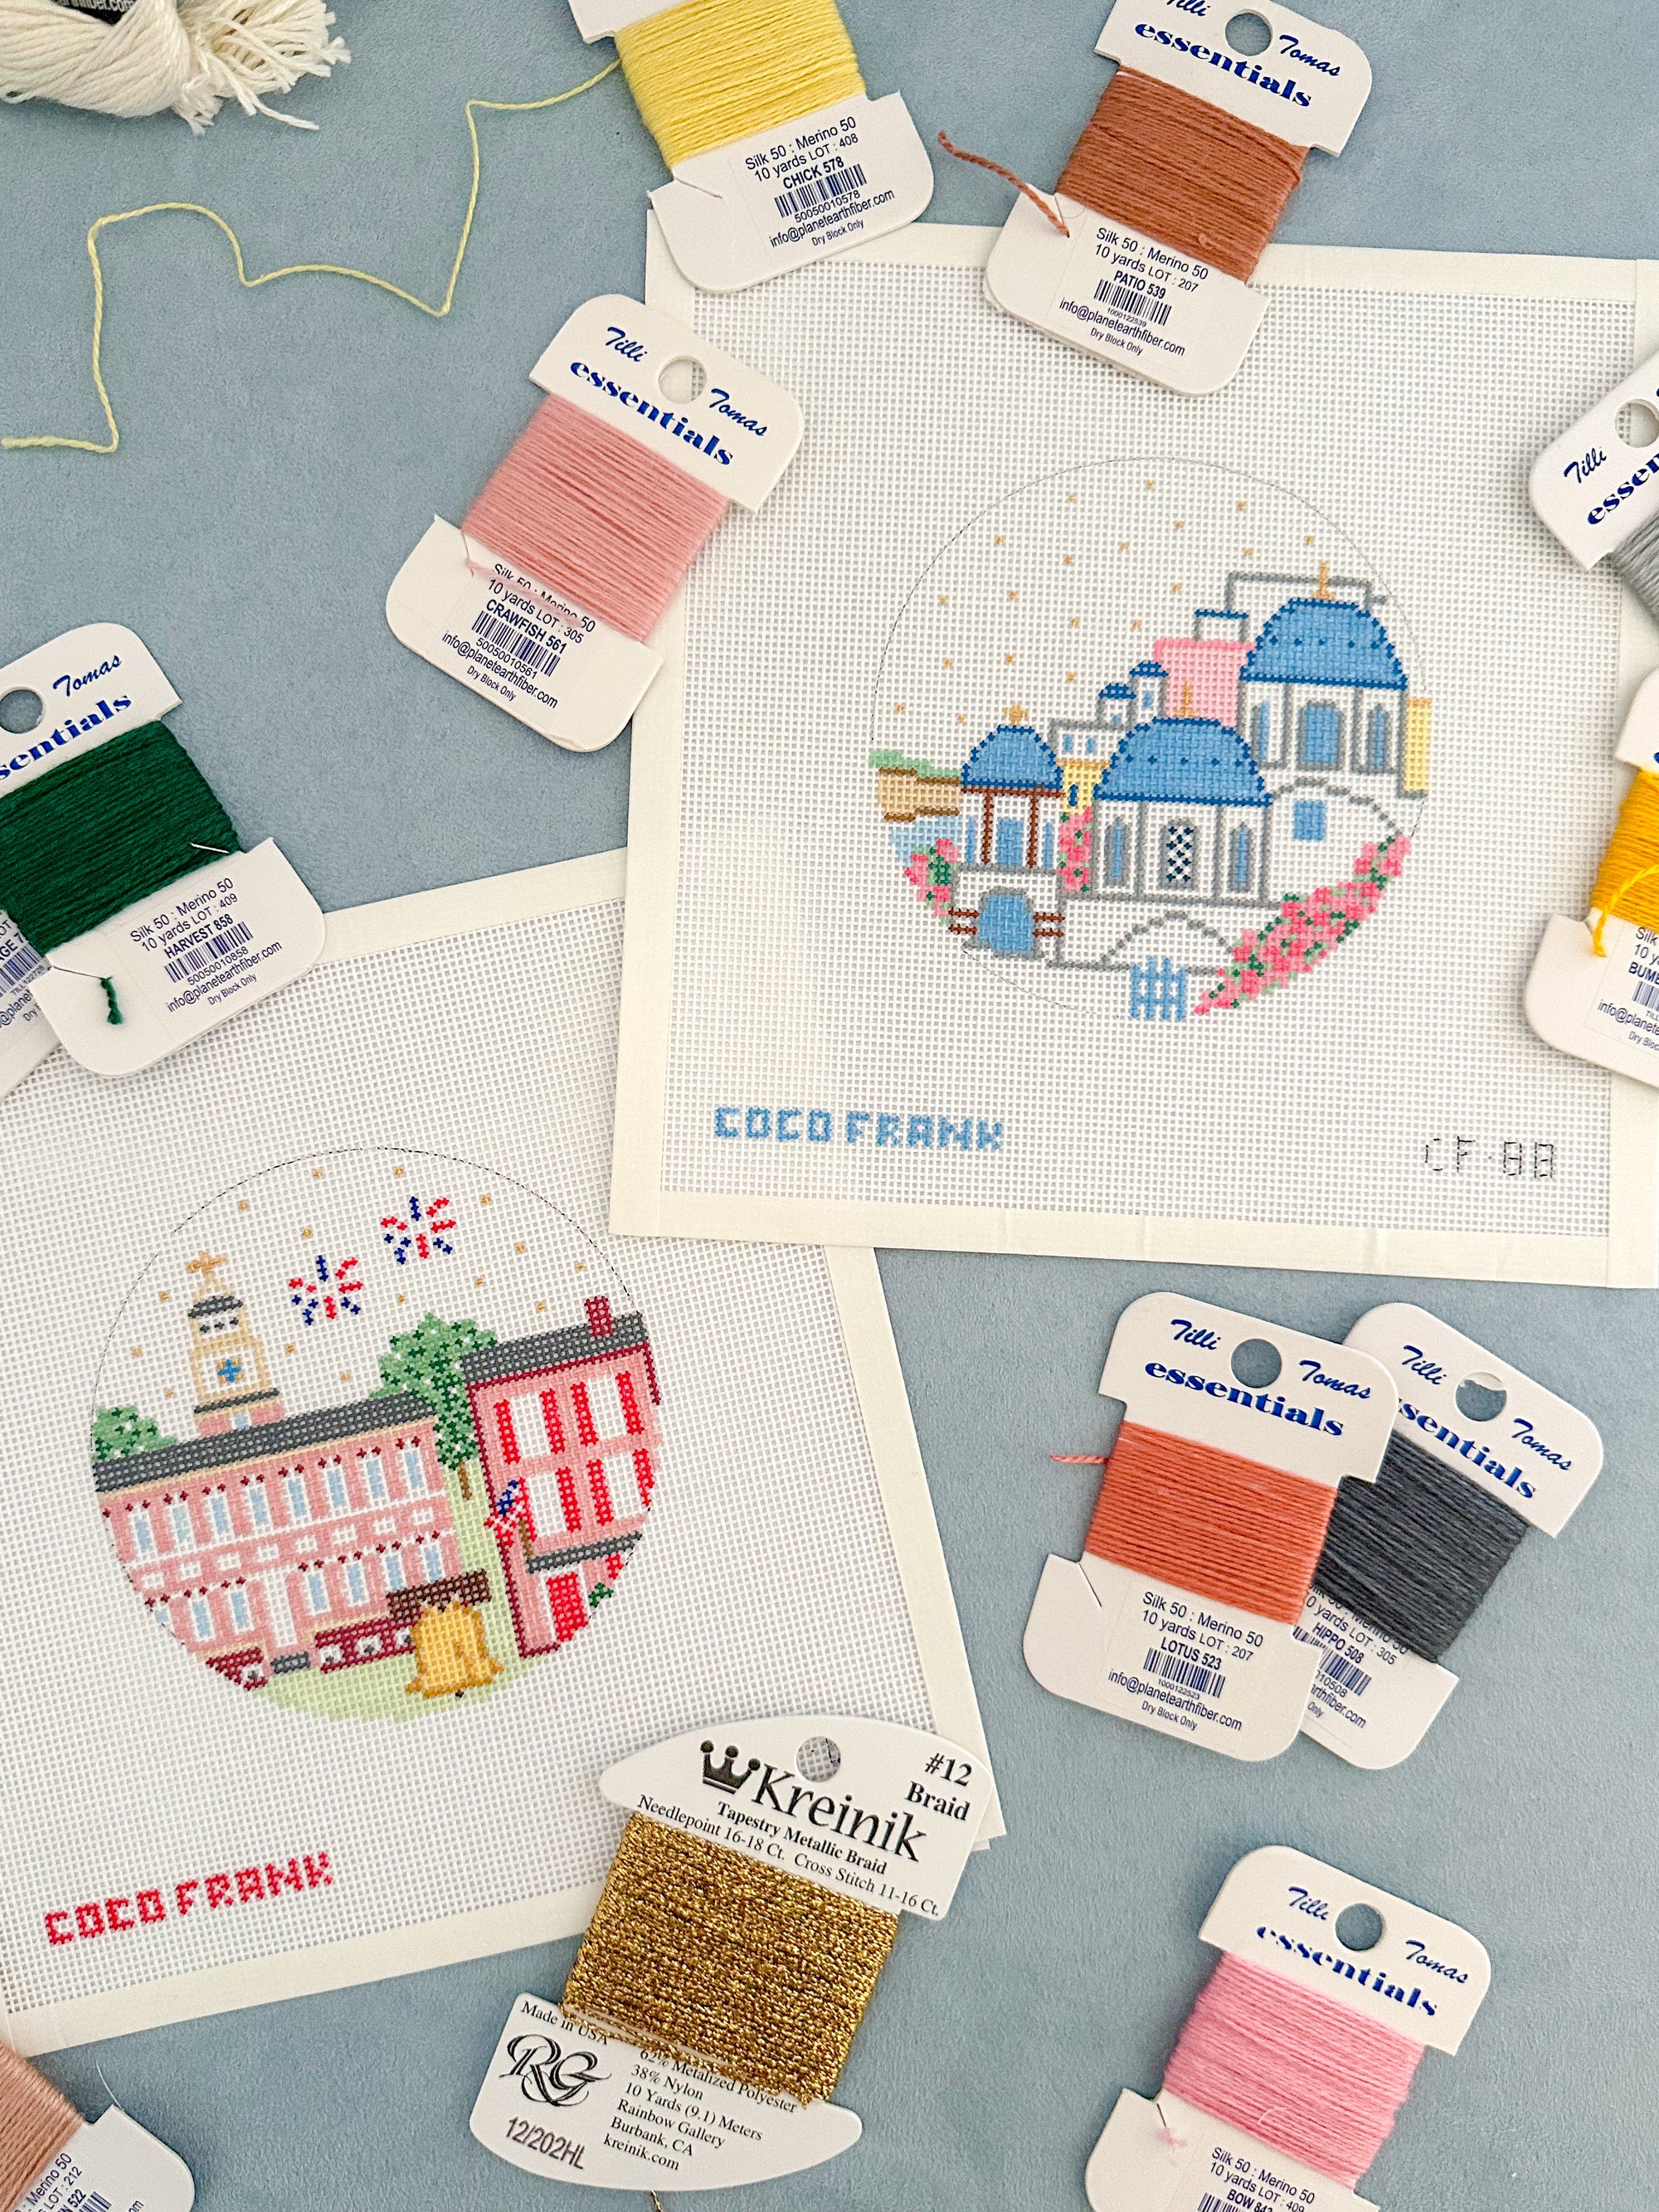
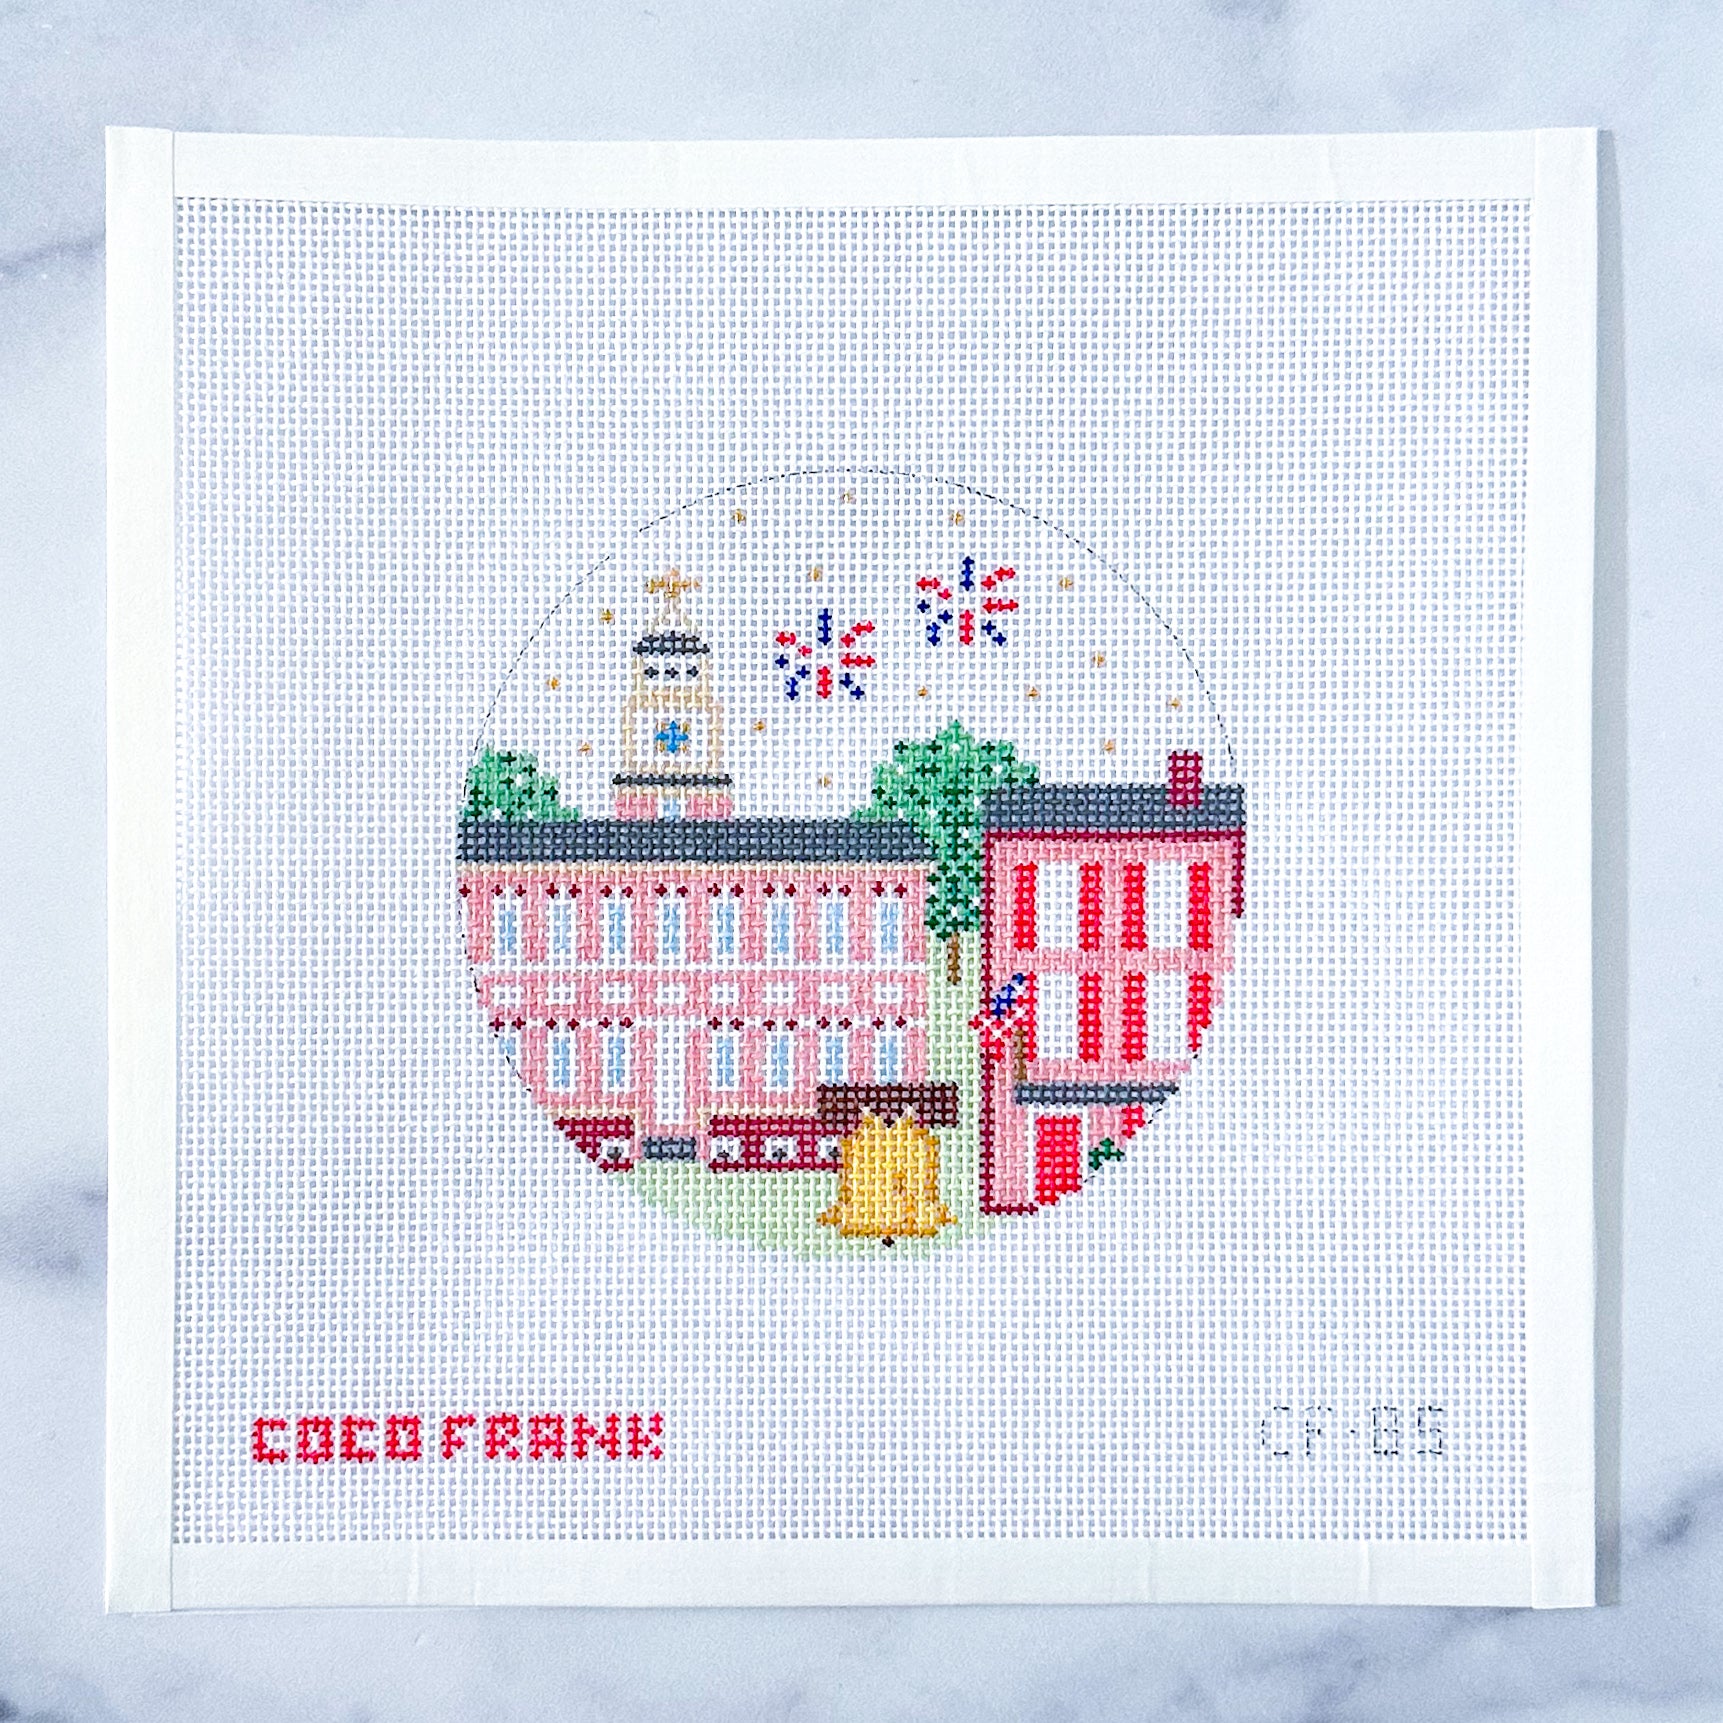
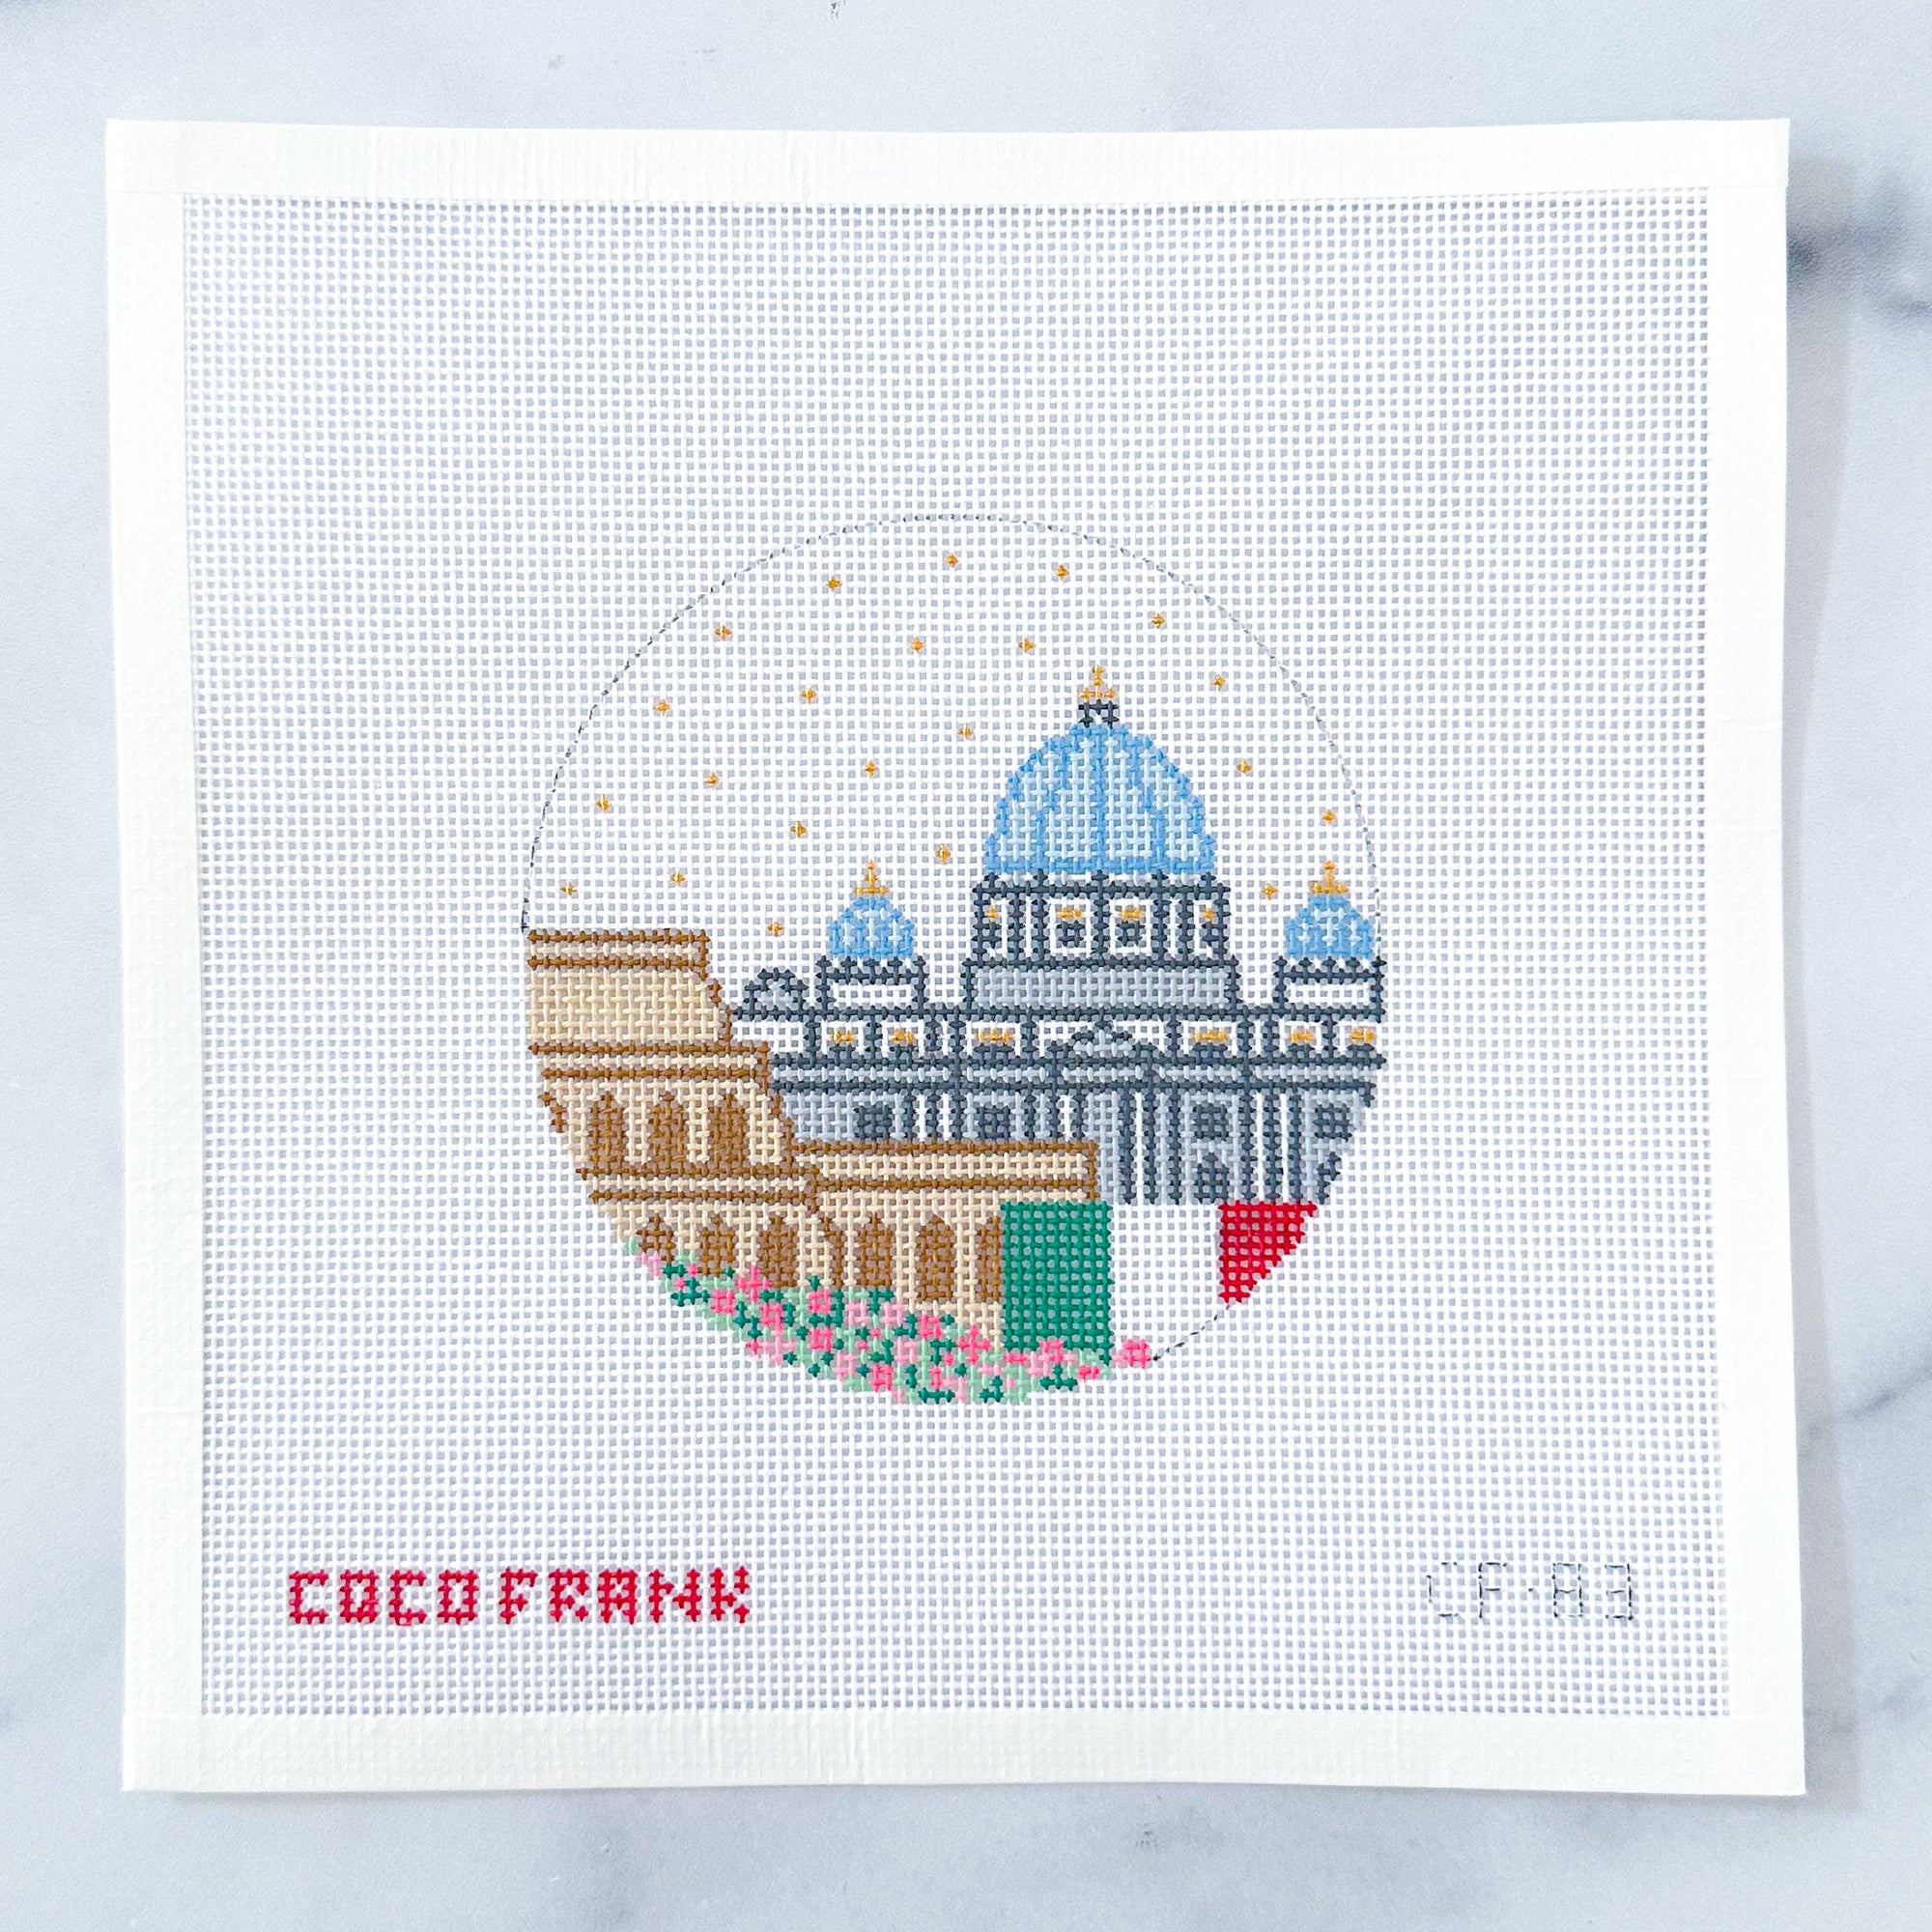
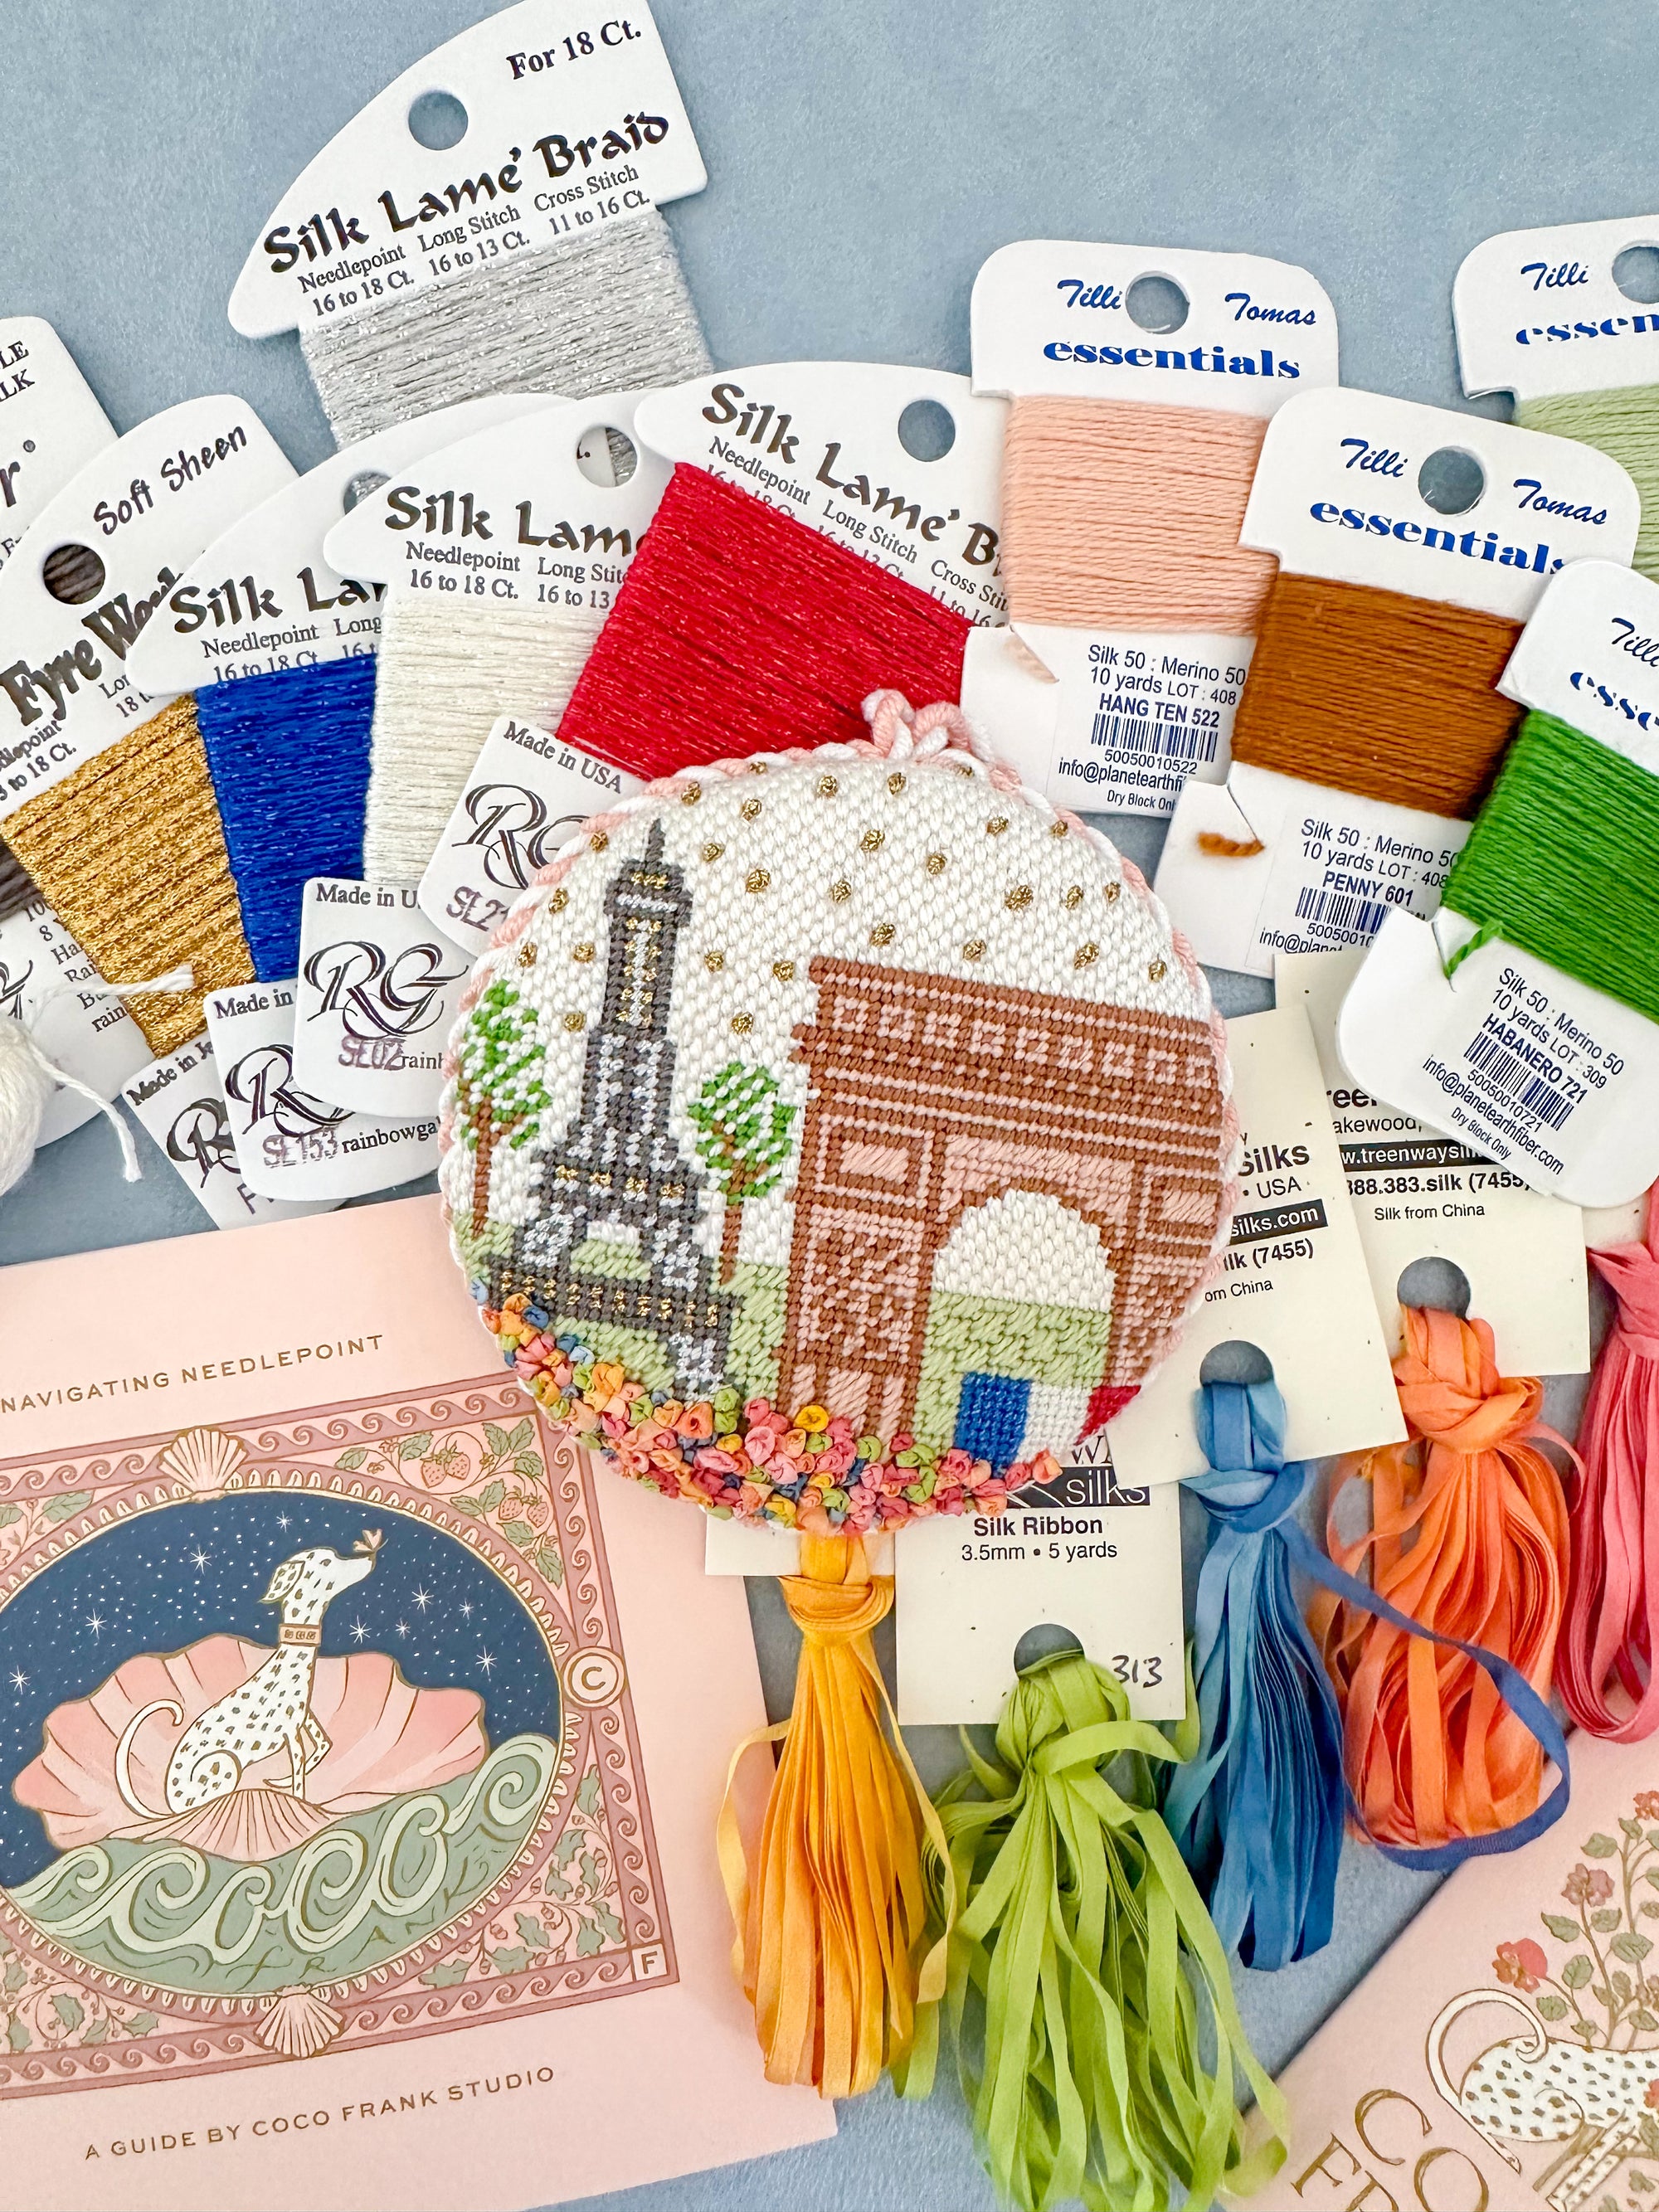
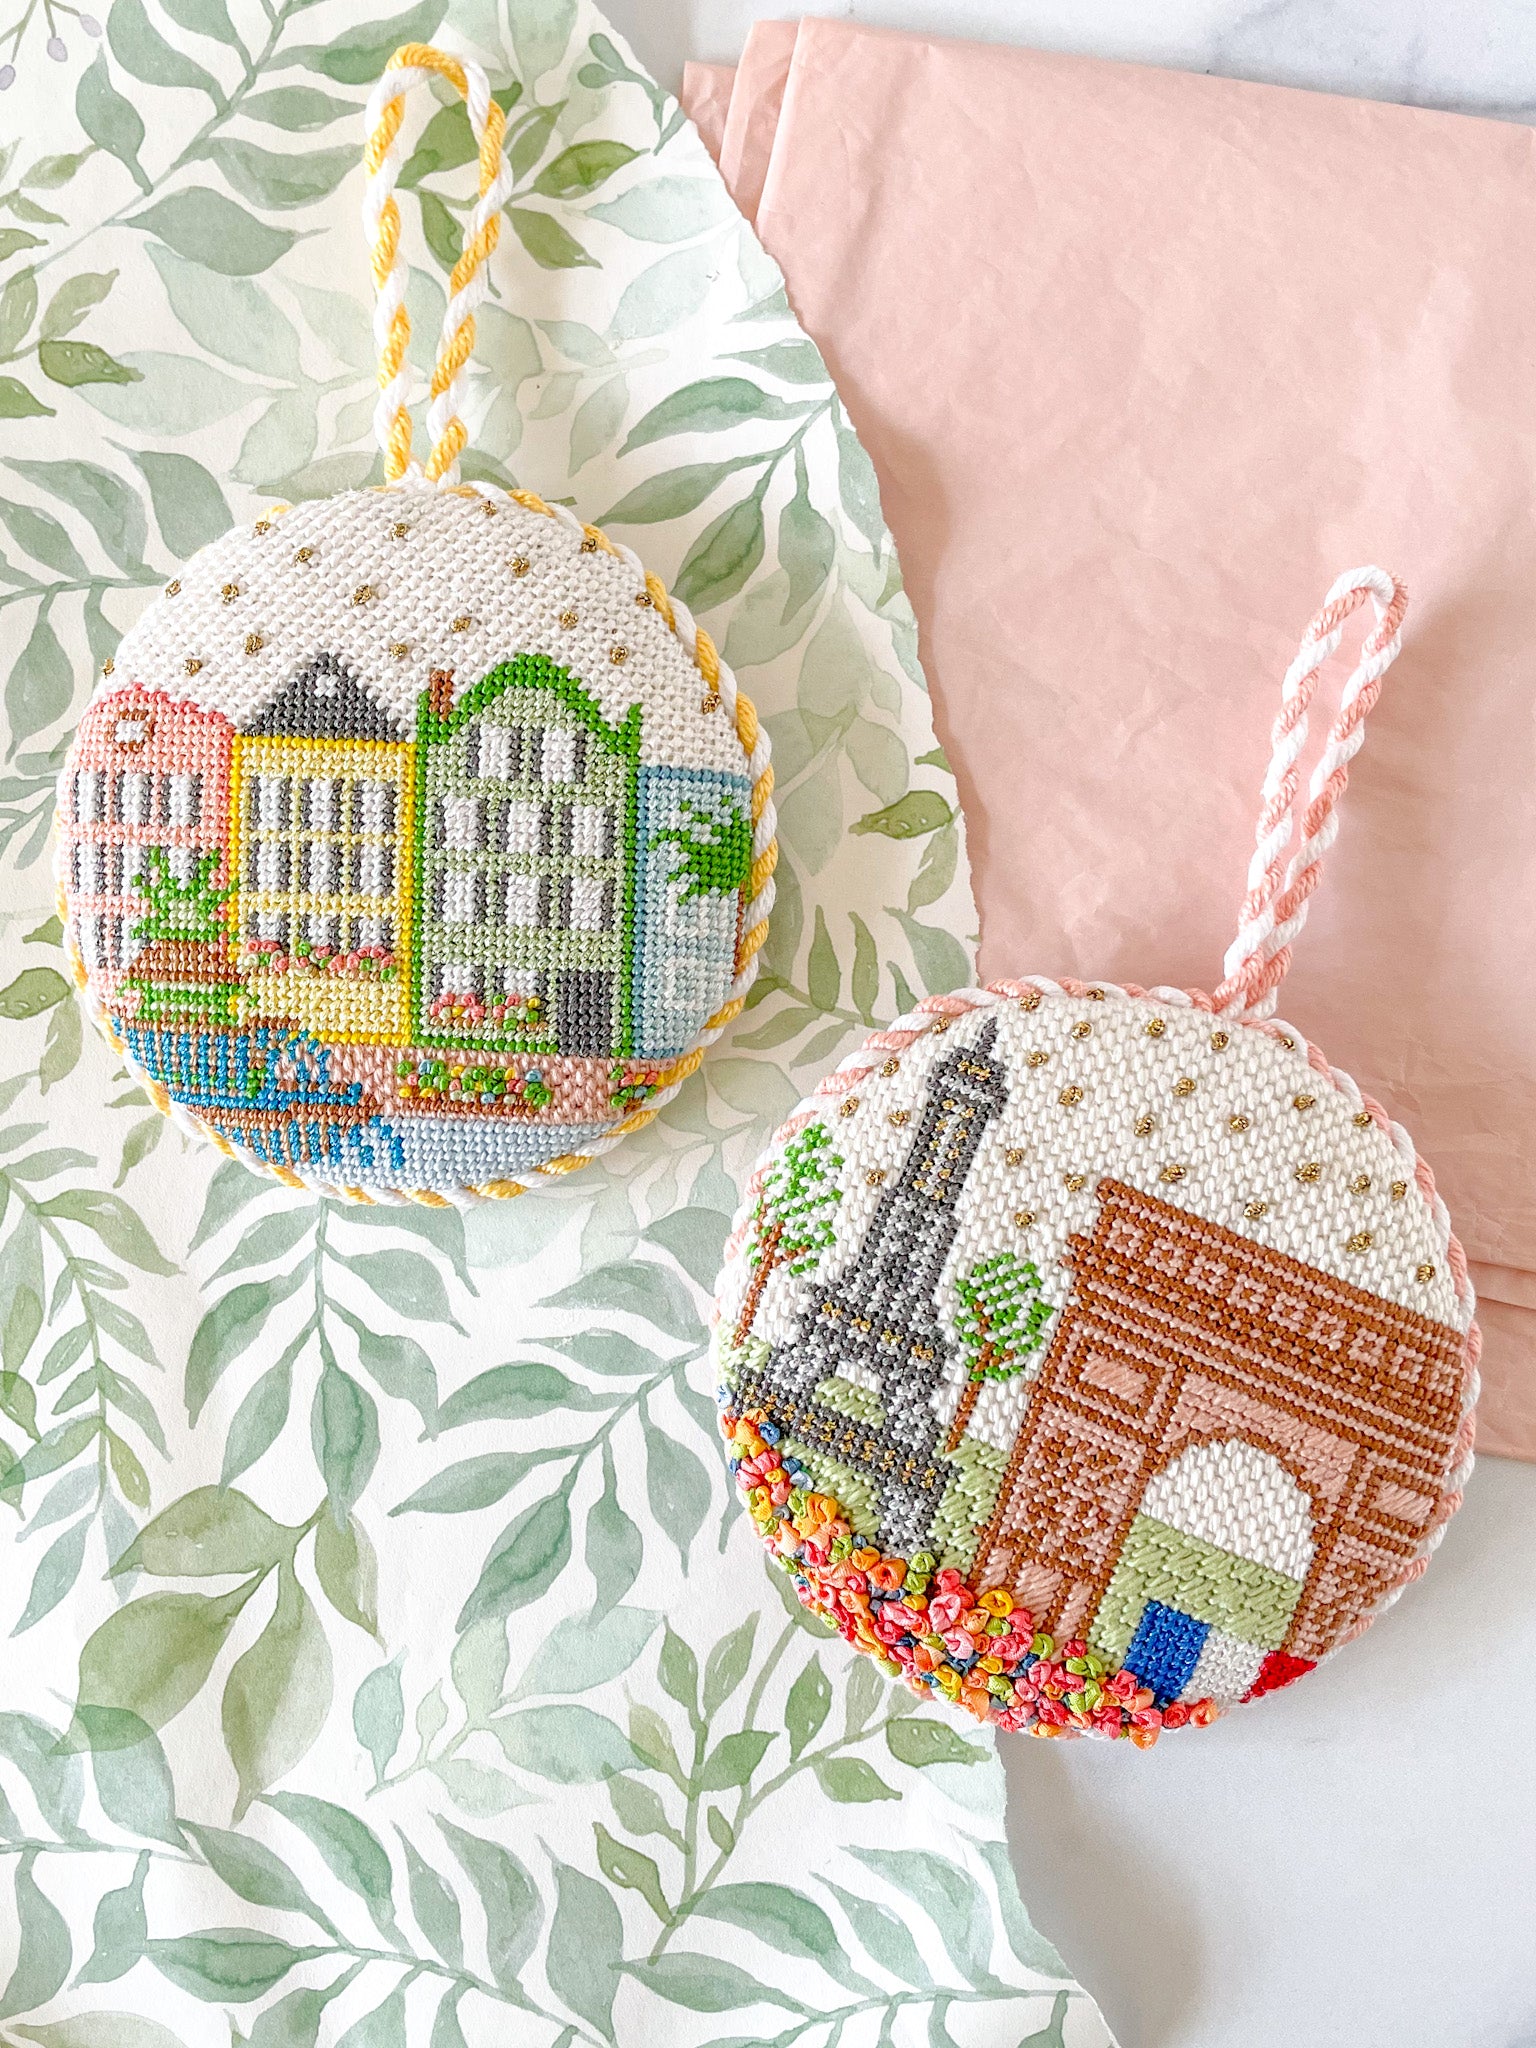
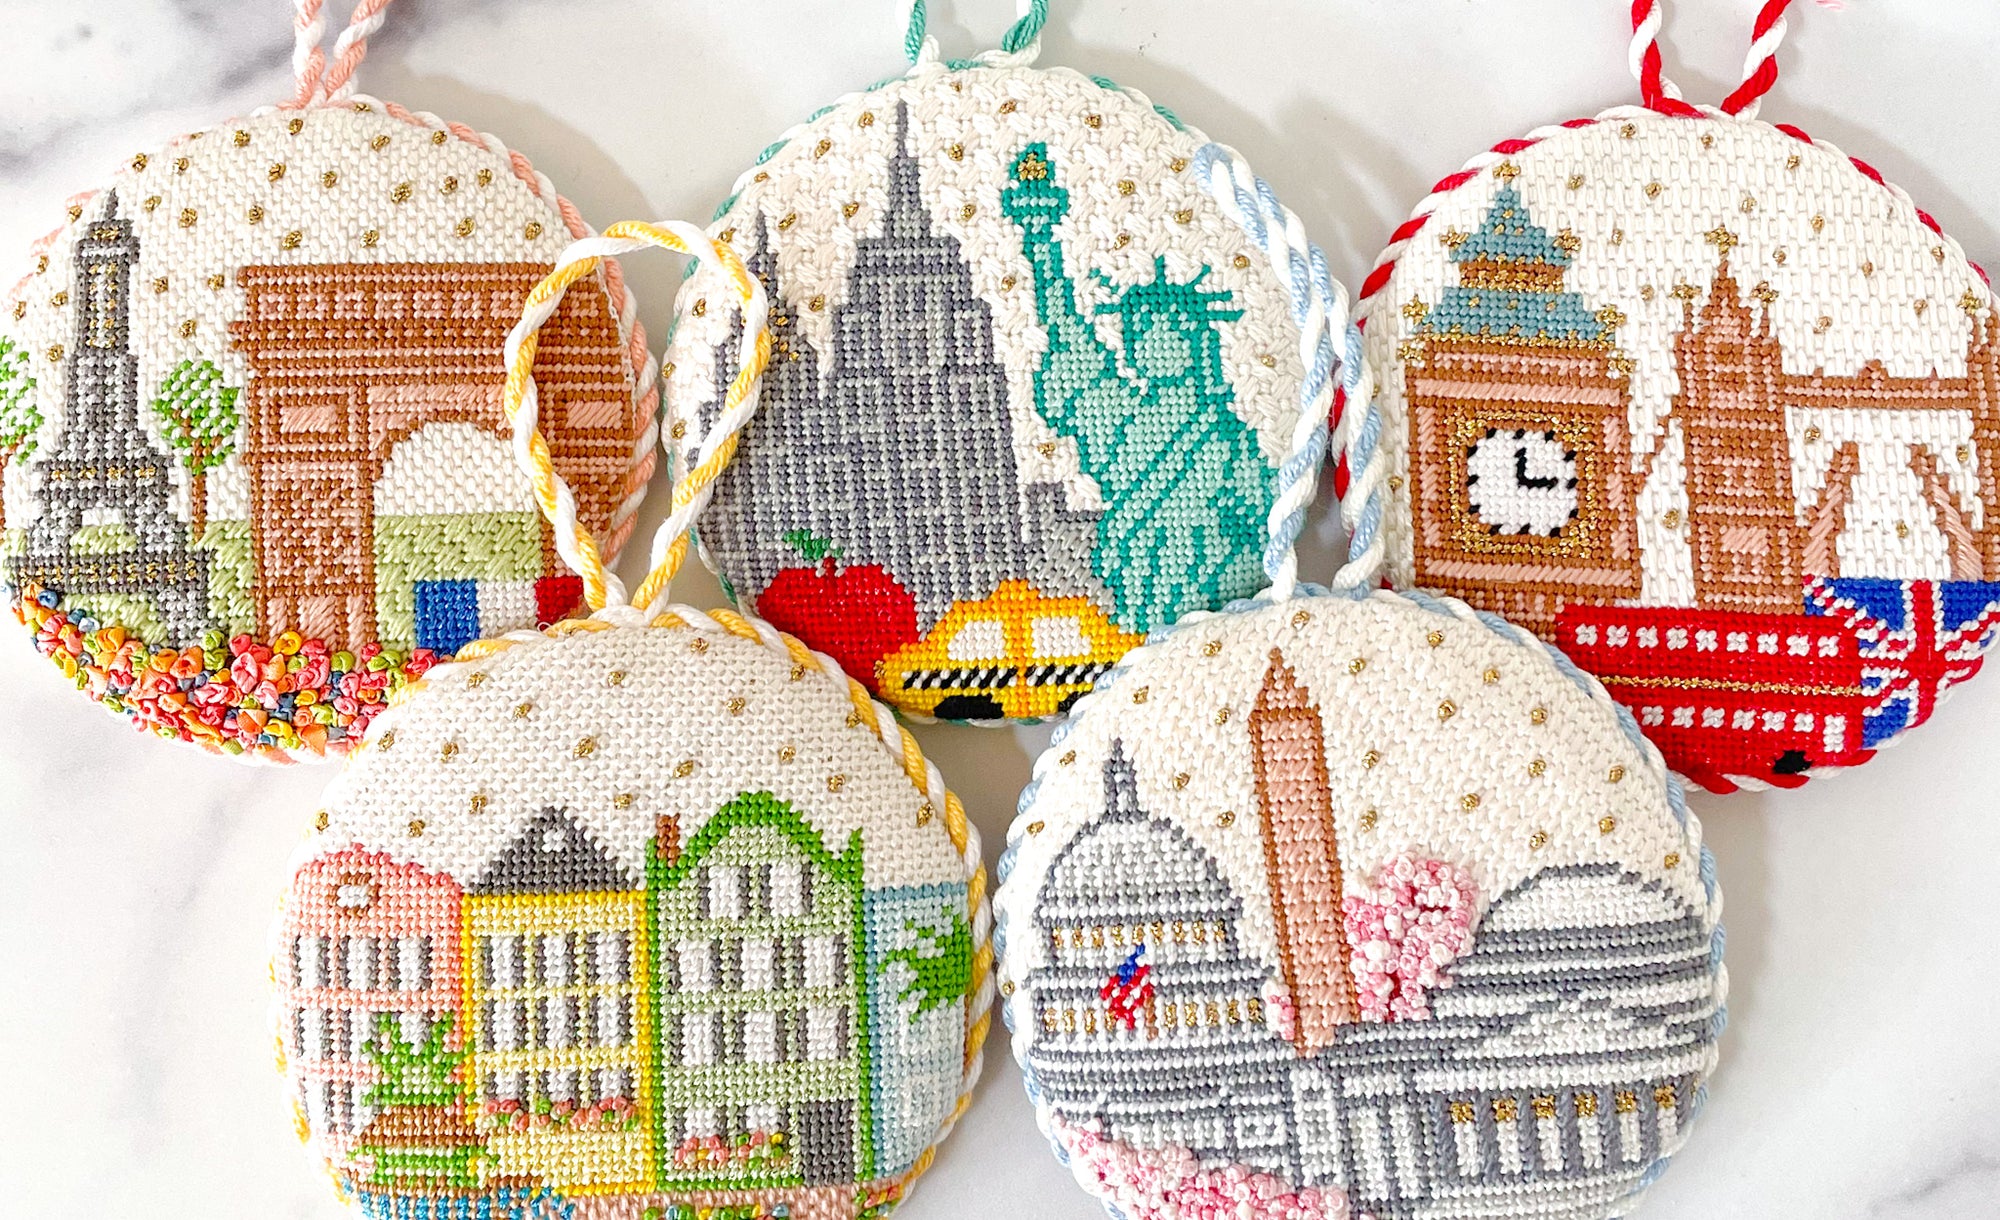
When I’m traveling, I like to pick smaller projects to stitch because they’re just a little more portable! Of course I stay on theme with a travel round if I’m going to one of those destinations! I also think about the length of my trip and how much time I may have to stitch. I usually pack 3-5 small projects to work on just in case there are unexpected delays and I end up with more downtime than anticipated
Packing Your Projects
Whether you’re a carry-on only kind of traveler, or you bring everything but the kitchen sink, these bags are my favorite to store projects in for travel! I like them because they’re waterproof, come in a variety of sizes, and since they’re clear I can see what is inside each of them. I find they pack easily in my purse or luggage so I can access them quickly! My small kitted projects all slide easily into them, so you have your canvas, threads, needles, and instructions all in one place!
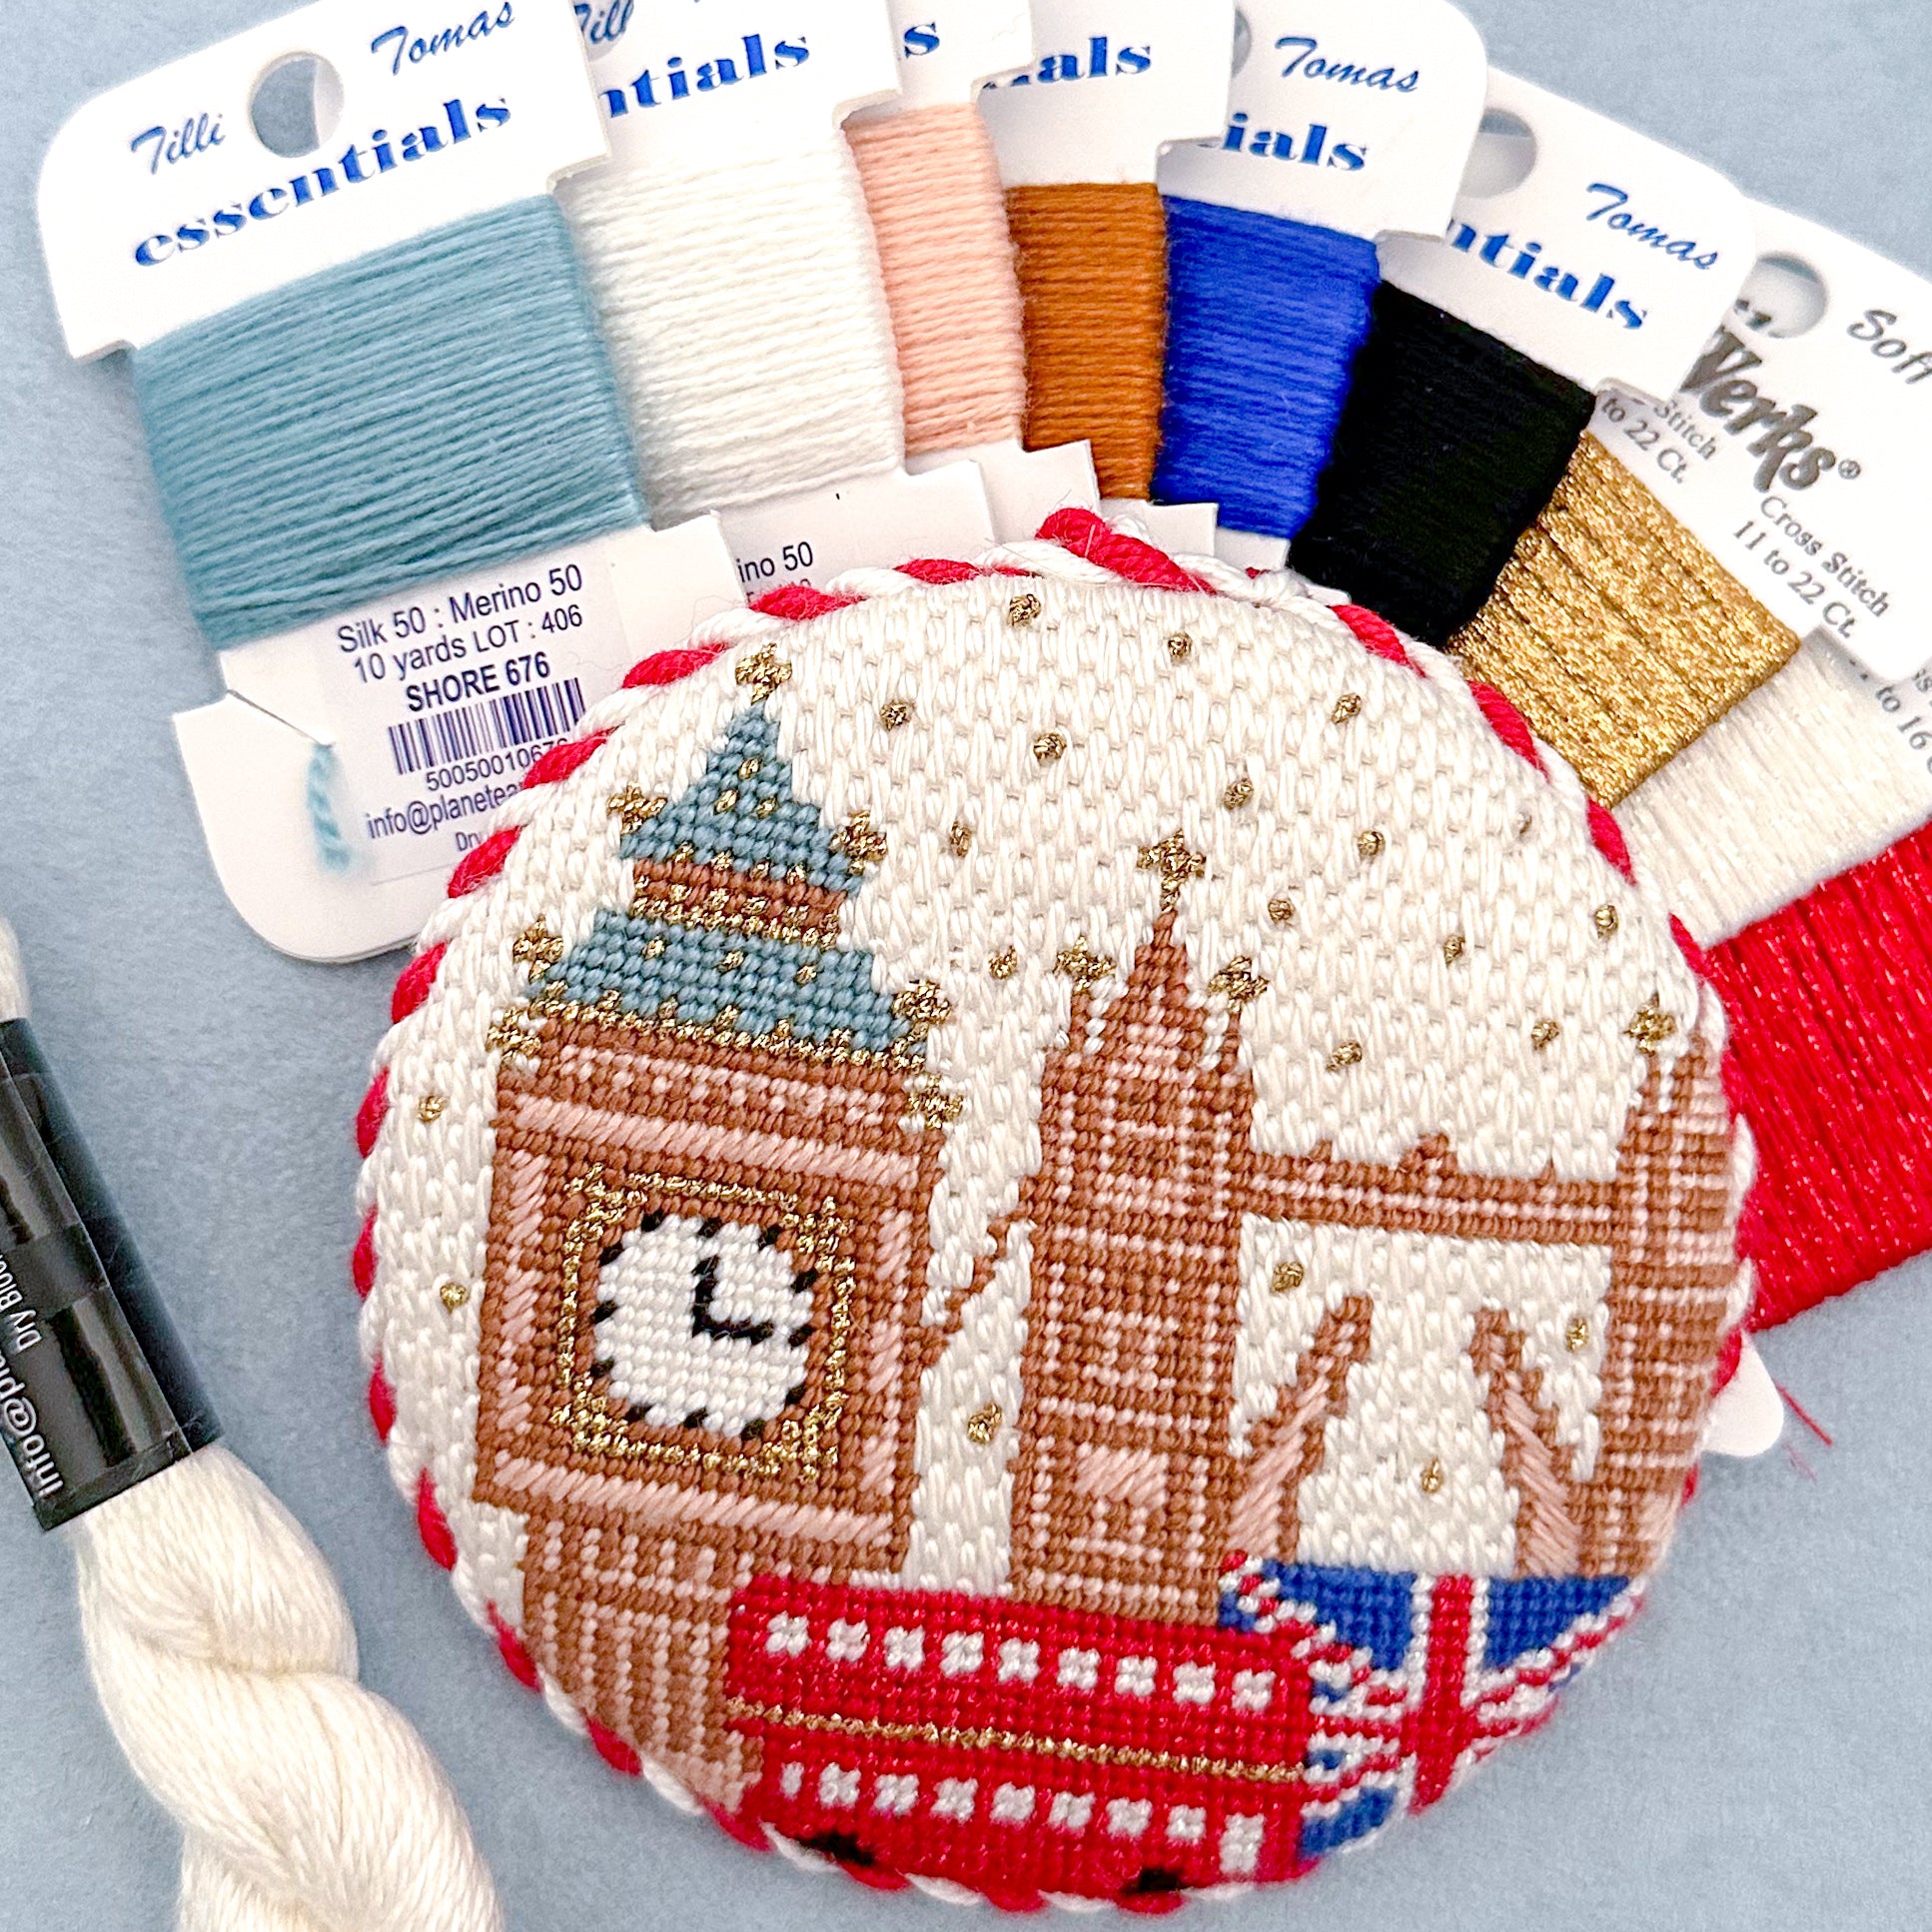
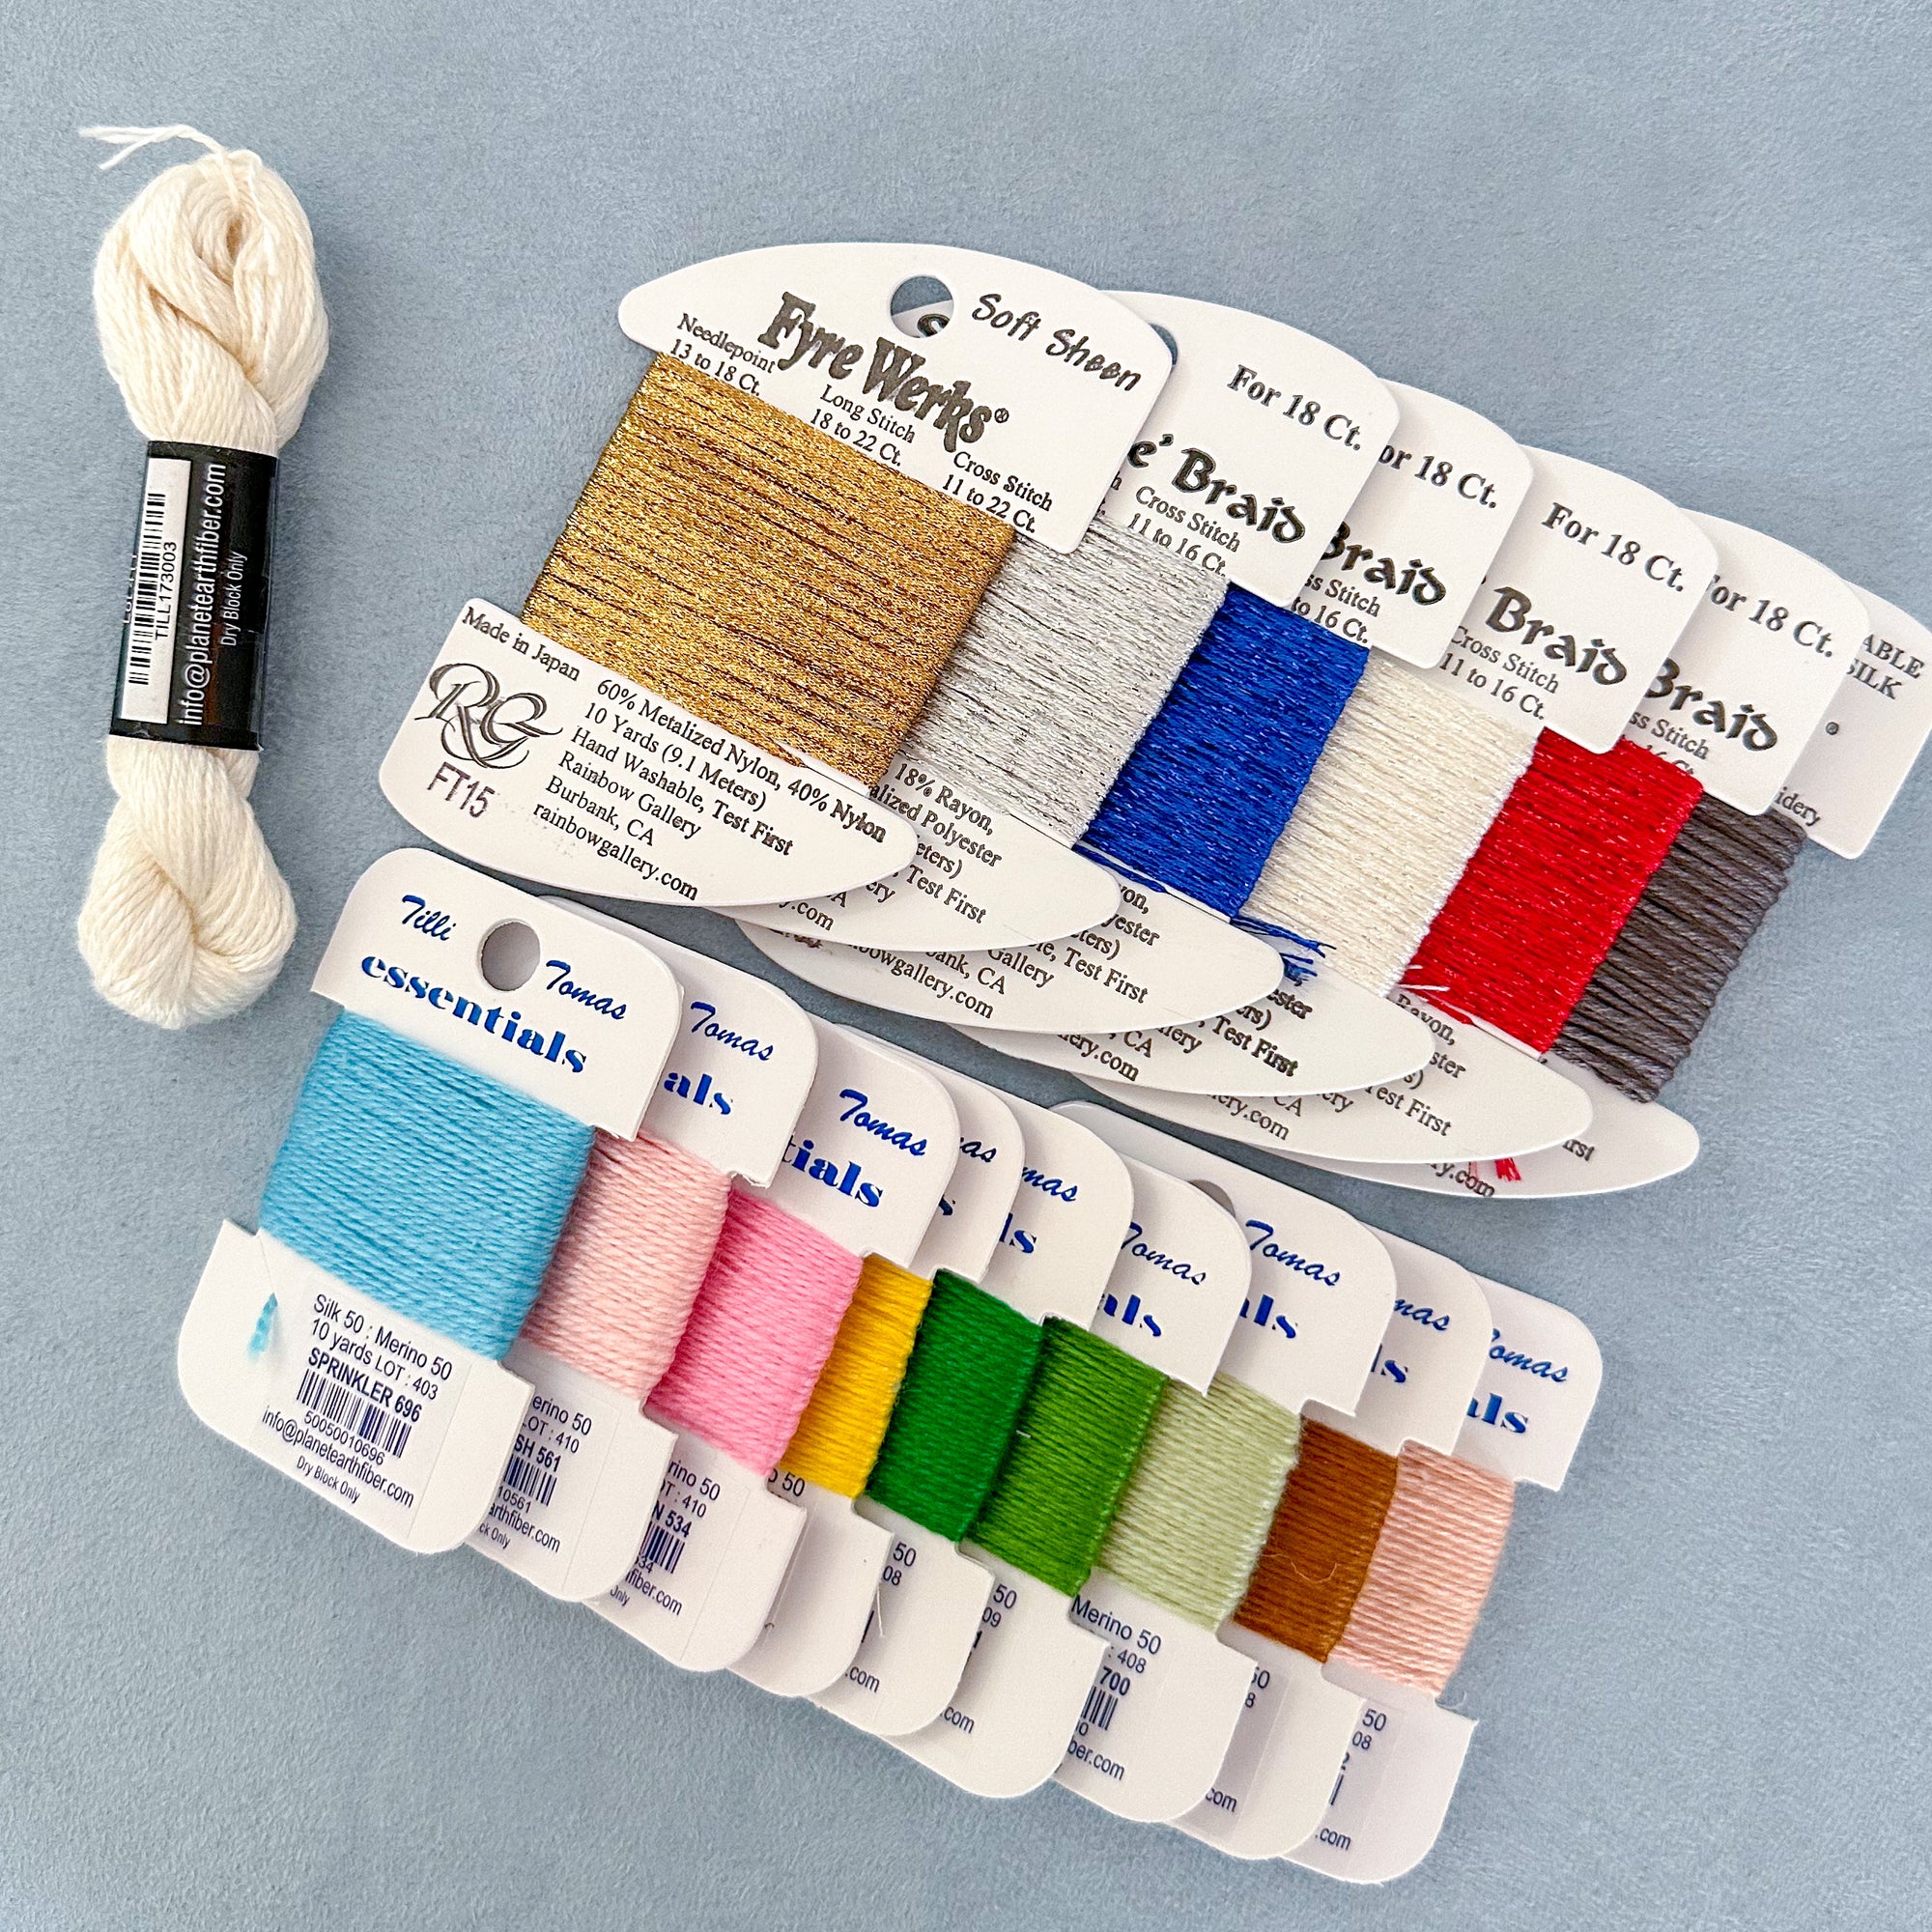
Packing Essential Tools
There are so many great tools at your disposal for needlepointing, but I find traveling is the time to streamline to only the essentials. I try to pack spare needles, a neck lamp for dark hotel rooms, and a good pair of scissors. If you’re flying to your destination, make sure you observe the TSA guidelines on scissors.
I hope that wherever you venture is full of fun, adventure, and relaxation! Needlepoint is a great hobby to enjoy in any locale, and I find it especially sweet to stitch projects that will remind you of your trip for many years to come.