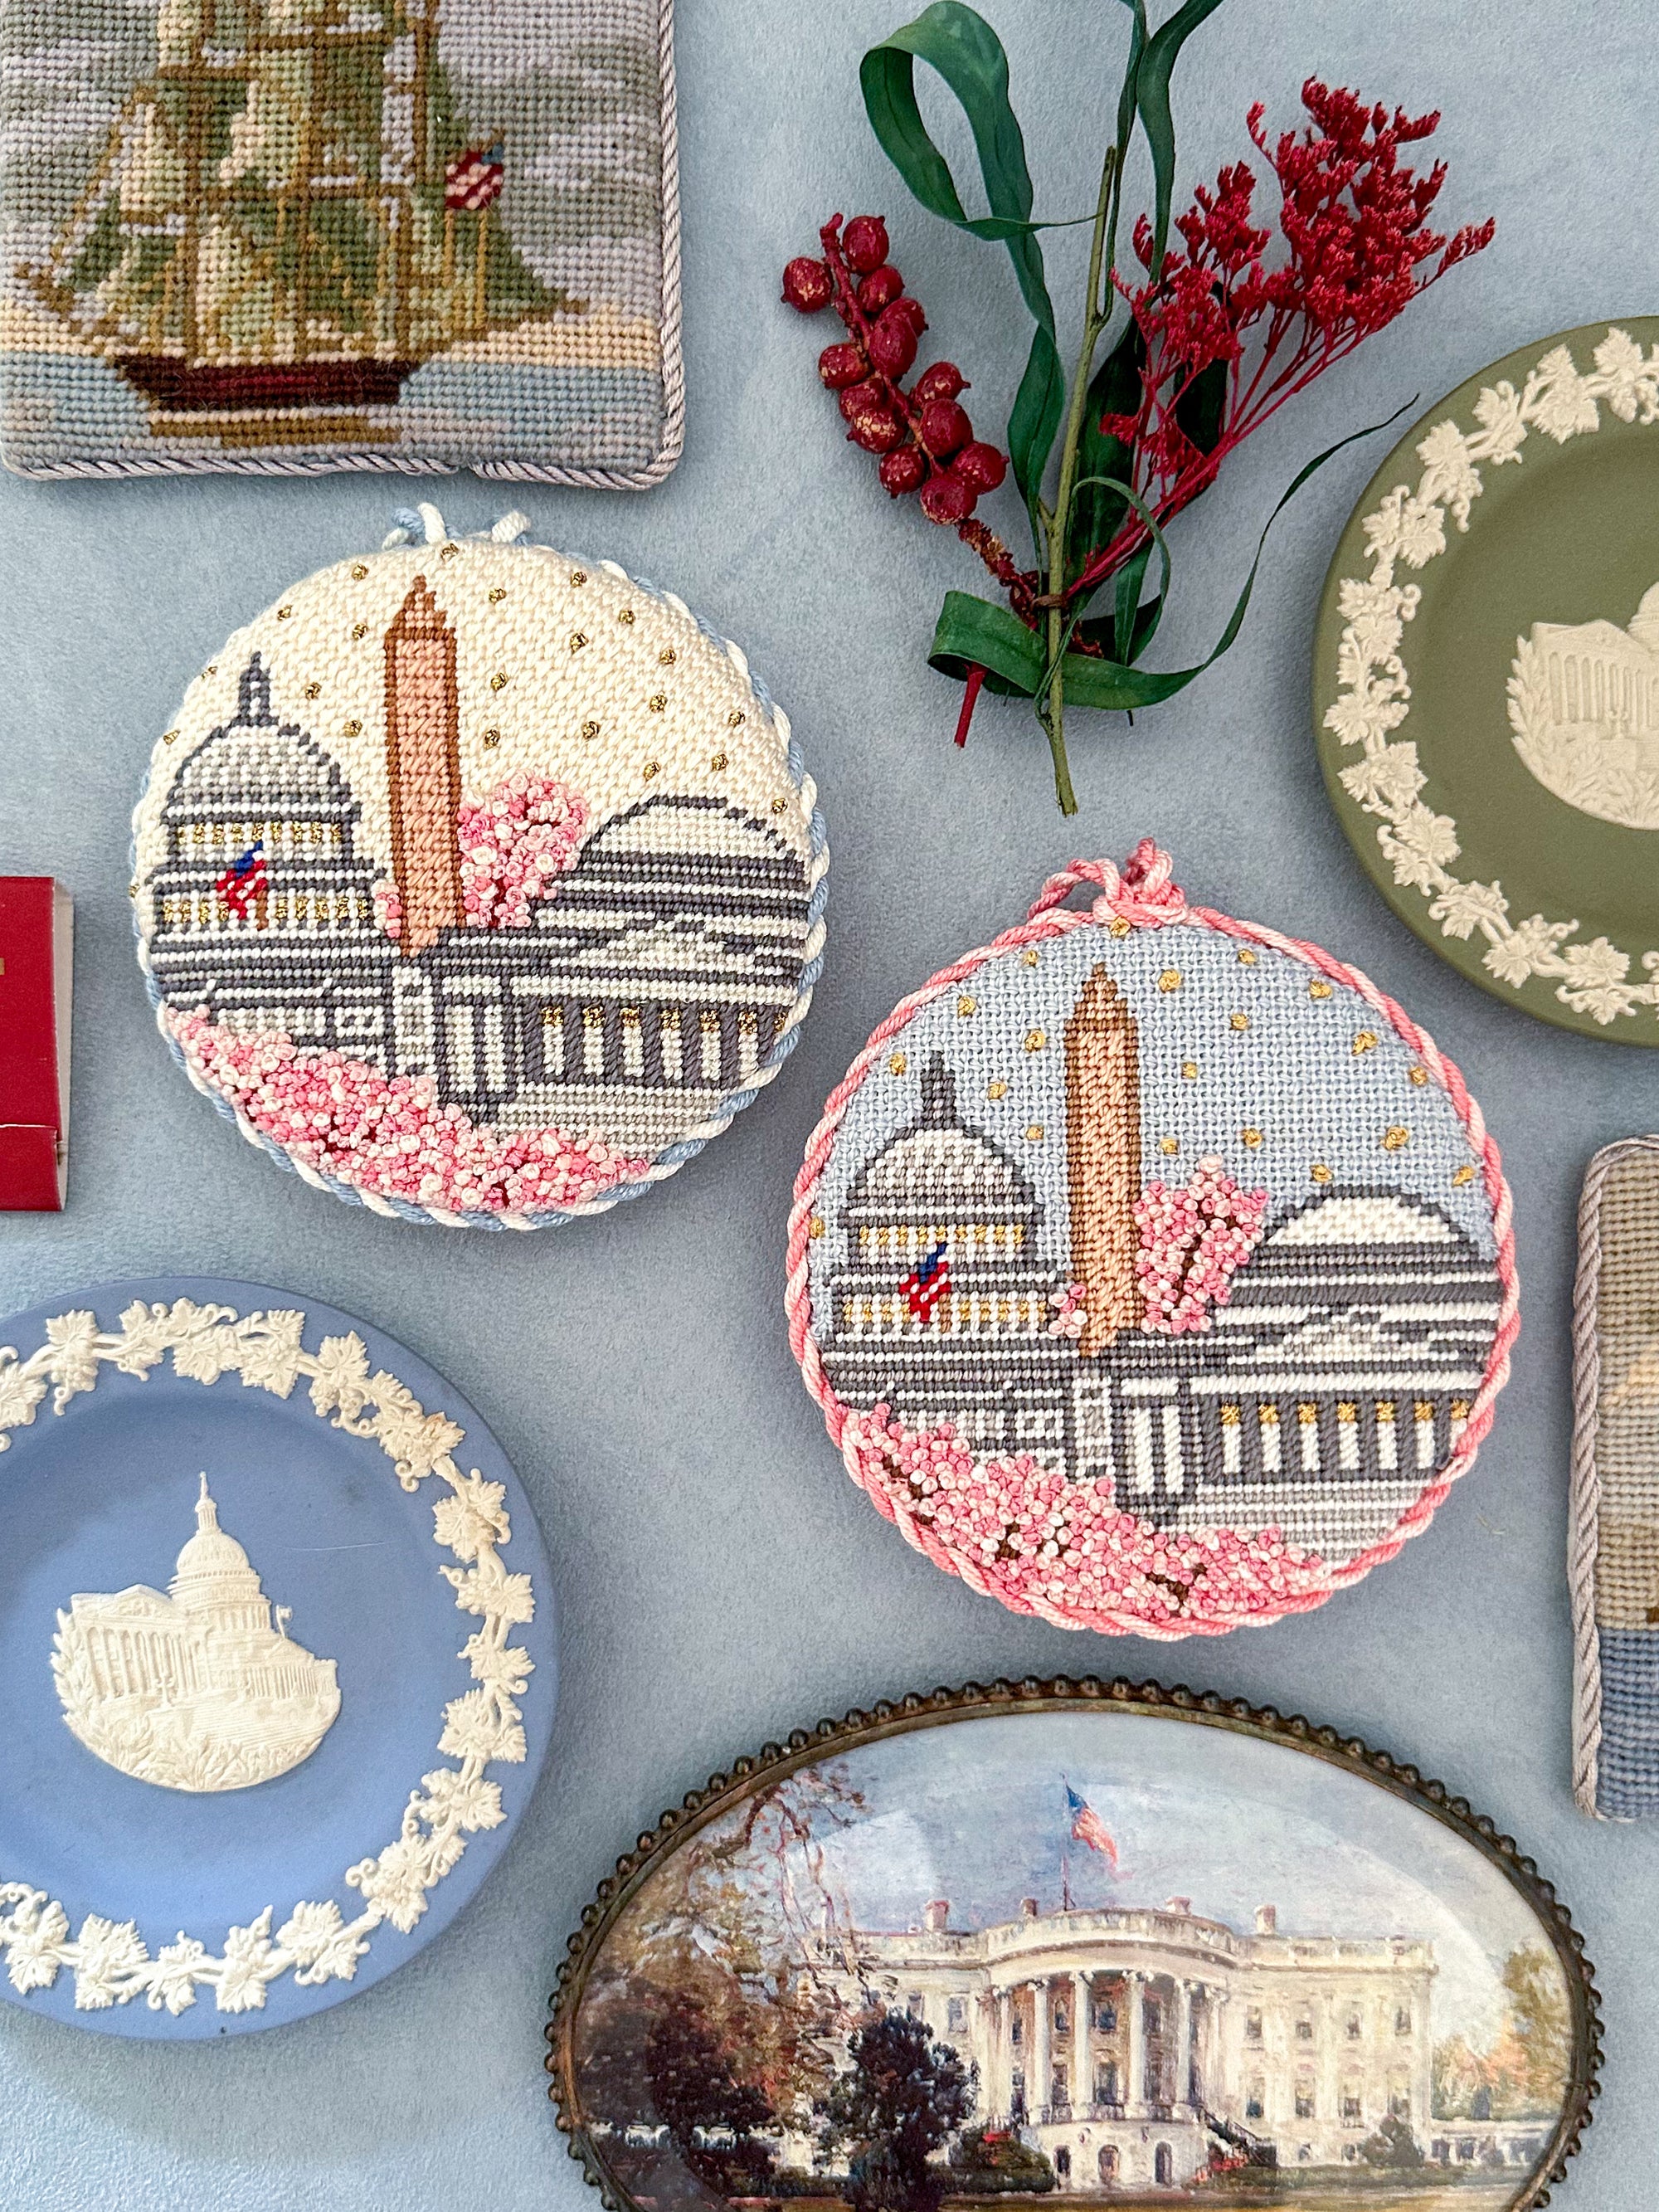
Needlepointing is a labor of love, where you create pieces of art that are meant to be treasured for many years. In order to ensure your needlepoint piece has a nice, long life, it is important to use stitch techniques that make it structurally sound. The higher the coverage, the more sturdy your piece will be!
Tent stitches are the most basic needlepoint stitch, and are the only stitches you need to complete any needlepoint project. One tent stitch diagonally covers one intersection of your canvas.
The Three Types of Tent Stitches
The tent stitch can be done three different ways, all of which look the same on the front of the canvas (see example above), but look different from the back. Each have different levels of coverage/durability:
1. Half Cross stitch (Low coverage/durability)
2. Continental stitch (Medium coverage/durability)
3. Basketweave stitch (High coverage/durability)
The more durable your piece, the longer it will last! I recommend using Half Cross stitch and Continental stitch for smaller, more detailed areas of your canvas, and Basketweave stitch for larger, simpler areas of your canvas (e.g. background). This is a great way to ensure your piece is durable and lasts forever. It is up to you, though - you can choose to use one or any combination of these stitches that work for you!
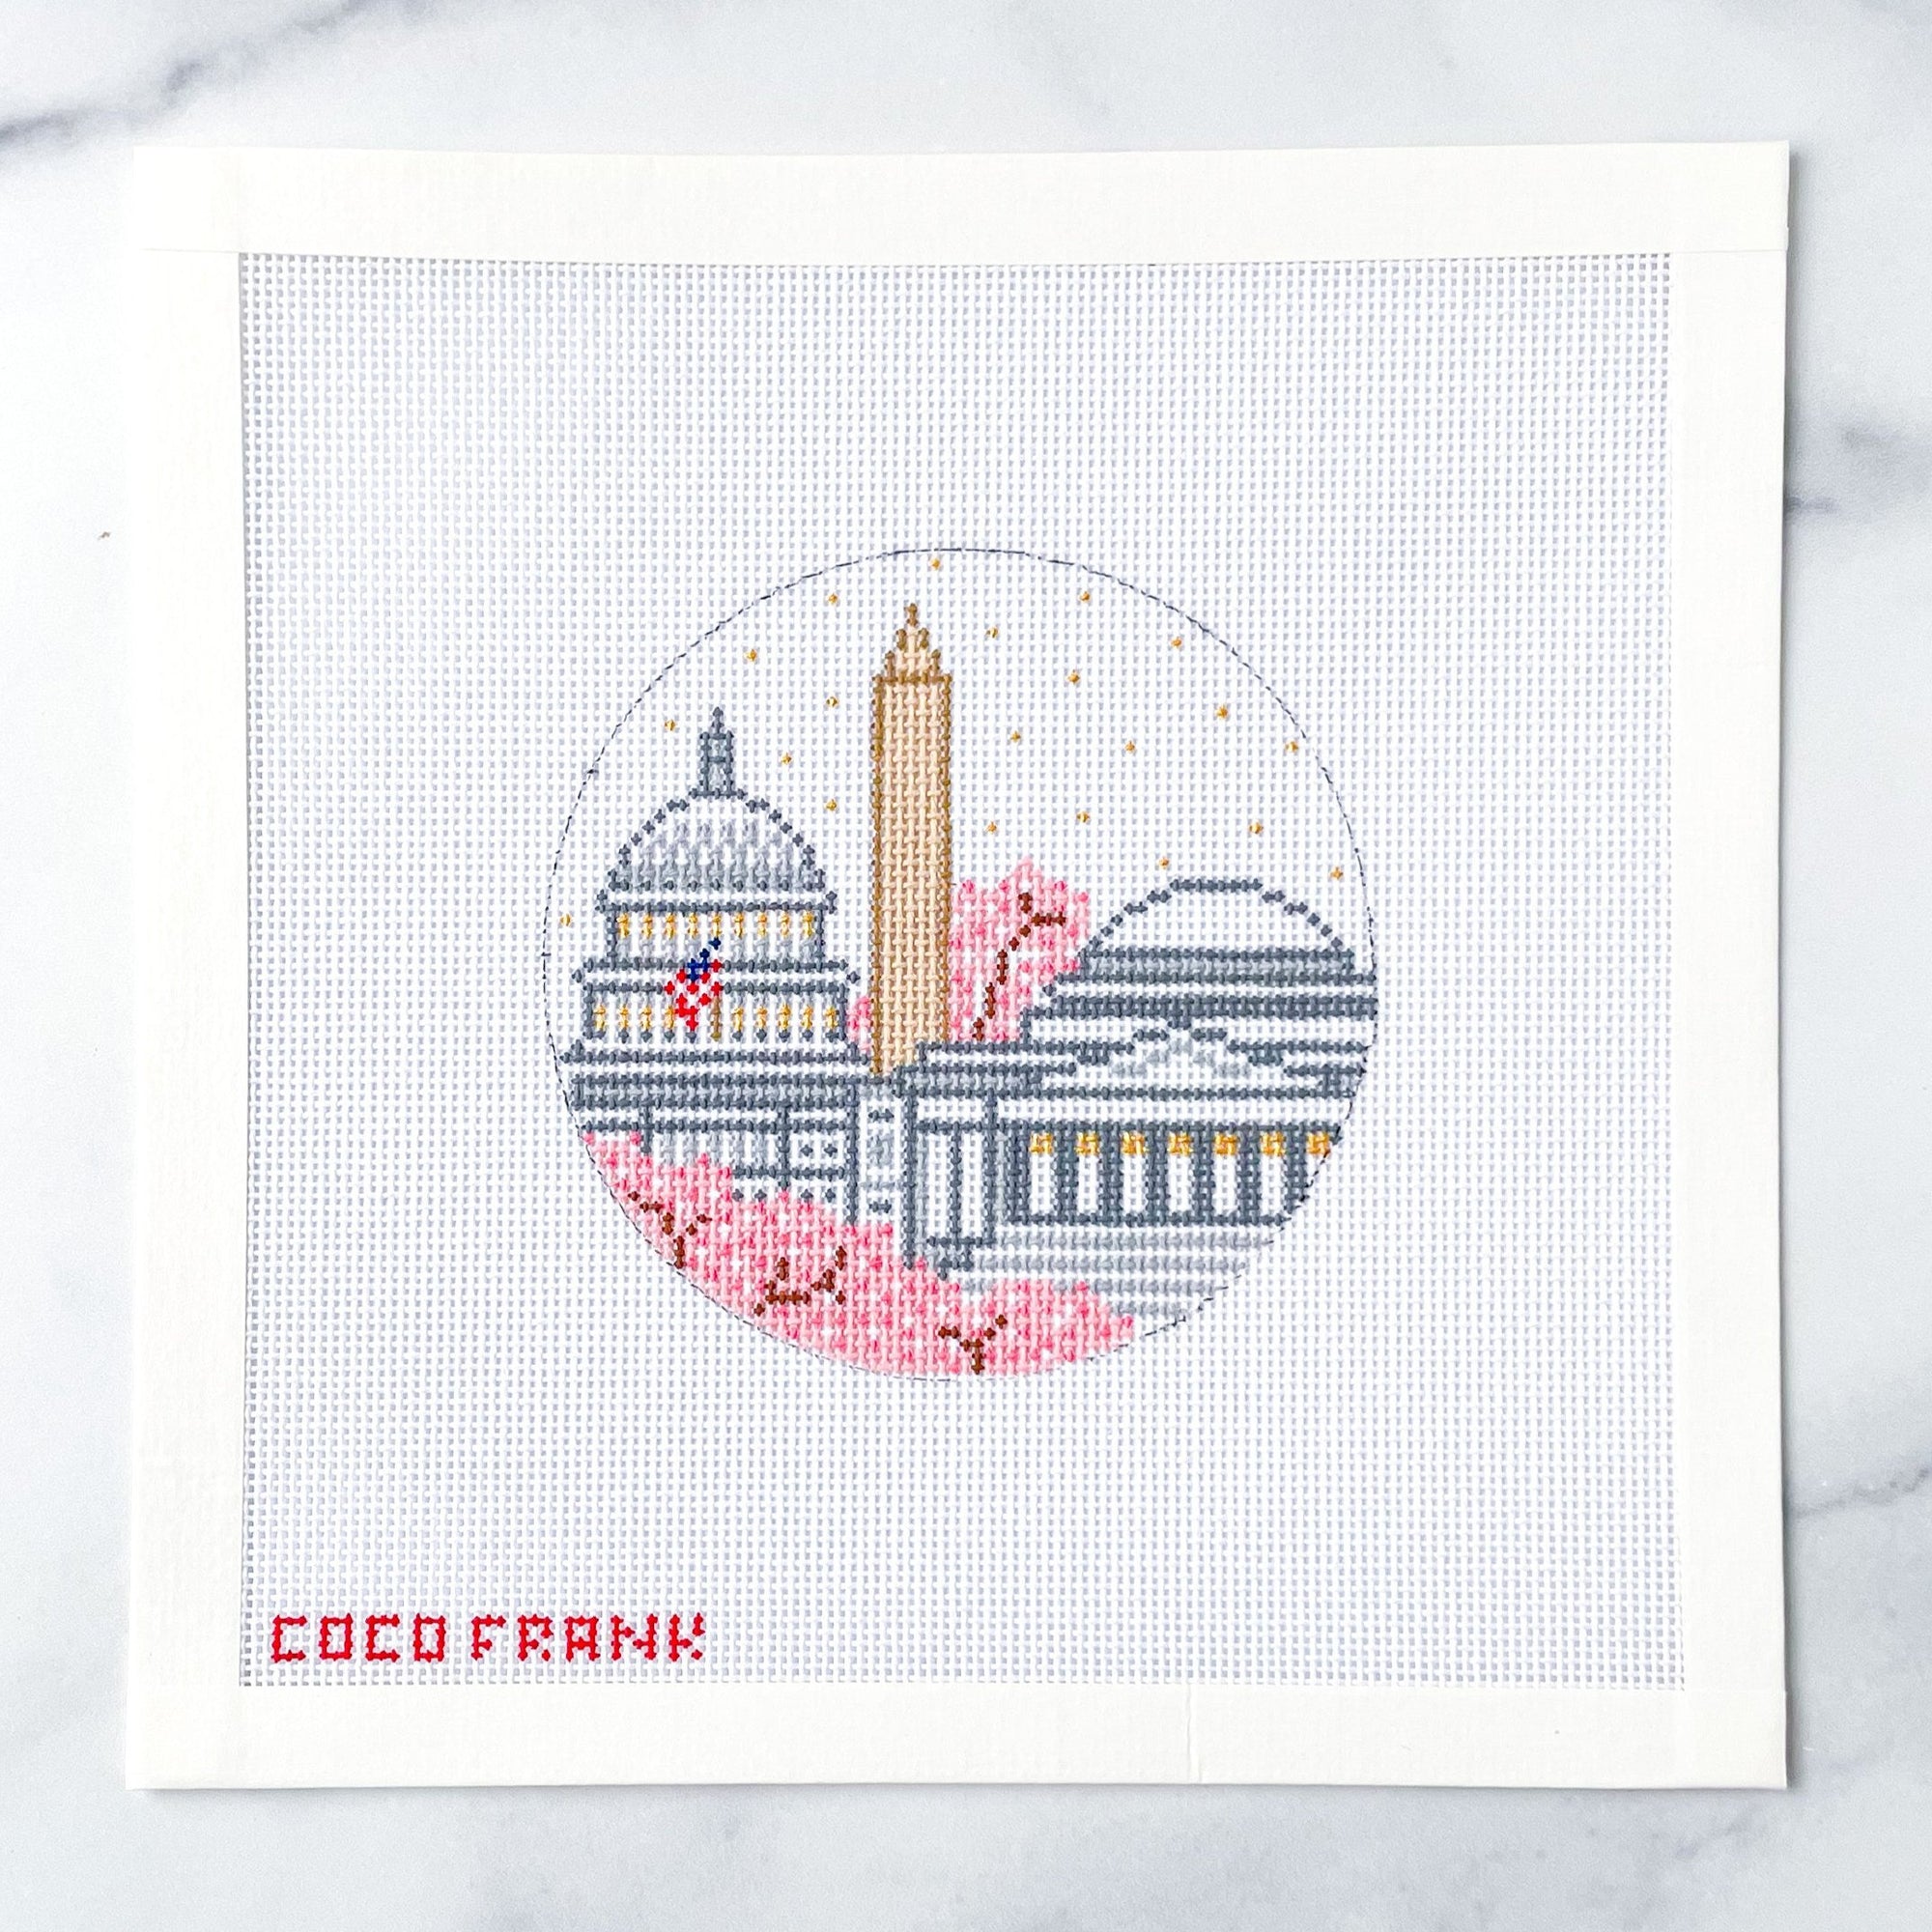
Each stitch covers one intersection of the canvas's mesh. The beauty of hand-painted needlepoint canvases is the artist has already done the counting for you (which is why the canvases are so expensive) - all you have to do is stitch over the intersections with the corresponding color!
For the diagrams below, come up through the back of the canvas for odd numbers, and down through the canvas for even numbers.
Half Cross Stitch
To begin stitching the Half Cross stitch, start from the left and stitch towards the right. For the first row, come up from the bottom left and down through the top right of the intersection. For the second row, come up from the top right and down through the bottom left of the intersection. Continue alternating this way for the remaining rows.
This stitch uses the least amount of fiber and is the least durable.

Continental Stitch
The Continental stitch is the opposite of the Half Cross stitch. To begin, start from the right and stitch towards the left. For the first row, come up from the bottom left and down through the top right of the intersection. For the second row, come up from the top right and down through the bottom left of the intersection.
This stitch offers more coverage than the Half Cross stitch and uses more fiber.

What is the difference between Half Cross stitch and Continental?
The easiest way for me to remember is for Half Cross stitch you go the shortest route to the next stitch, and for Continental you go the long way. This may seem confusing at first, but I promise with time it will become second nature!
Basketweave Stitch
The Basketweave stitch is the most durable needlepoint stitch there is. Before starting the Basketweave stitch, take a look at the mesh of the canvas. The threads that make up the canvas are woven over and under each other. "Poles" are when the top thread sits vertically, and "steps" are when the top thread sits horizontally (see diagram below). For the Basketweave stitch, you will stitch diagonally down the poles and diagonally up the steps. Think: "slide down the poles and walk up the steps"

And those are the three variations of tent stitches. If you found this helpful, share with a friend who wants to learn how to needlepoint! Let me know if you have any questions below ♥️
xx,
Coco